DIY Arrow Floor Pouf

This DIY Arrow Floor Pouf is awesome and super easy to make with this step-by-step tutorial!
I have a serious love of floor poufs. I only wish that my house were bigger so that I could have them in each room without it looking silly. Please tell me that I am not alone *wink*.
I had the pleasure of working with the Ribbon Retreat recently where this post was originally published.
I had the pleasure of working with the Ribbon Retreat recently where this post was originally published.

This is a fun, beginner project that can be tailored and personalized to suit your home.
DIY Arrow Floor Pouf:

You will need:
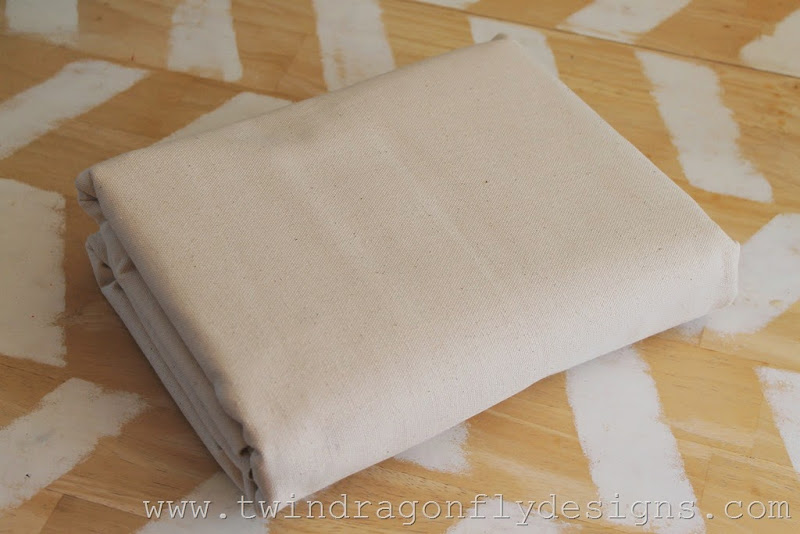
1 meter of material
I used Duck Cloth from the Ribbon Retreat because I plan on using this pouf on our deck. It is a durable, all weather material that is perfect for indoor/outdoor use.
acrylic paint
paint brush
miscellaneous sewing supplies

Painting fabric is a great way to create your own pattern and texture. I simply use regular, old acrylic paint and heat set it with an iron when the paint has dried. You can also use fabric paint or add a fabric paint medium to the acrylic paint. I have found that acrylic paint just by itself works just as well.

Paint the pattern that you want to create onto the fabric. Be sure to place newspaper under the project if you are using thinner fabric as the paint may bleed through to the back.

I used a ruler to create the straight lines of these arrows and free handed the rest of the image.

I love, love, love the look of these arrows!

Cut a section of the patterned fabric to 18″ by 50″.

Fold it lengthwise, right sides facing and sew together along the 18″ edge to create a tube shape. I used 1/2″ seam allowances throughout.

Measure two 16″ circles of fabric.

Cut out two circles of fabric.

Sew the circles to the ends of the tube shape. Leave a 3-4 inch hole for stuffing. Stuff and sew the hole closed.

Now you have a fun, personalized floor pouf!
This post contains affiliate links.
Crafting essentials for sewing projects:
- We love using this flat bottom dry iron for perfect seams.
- This sewing kit has everything we could possibly need!
- These scraps of cotton fabric are ideal for most sewing crafts.
- This rolling storage cart helps to keep our sewing supplies organized.

Truly, the ideas are endless! Blue fabric with a geometric pattern painted in white would be awesome…

Where can I put another floor pouf?!? Hmmmm…

I also made this pillow with a bit of the scrap material. Fun right?!

What kind of pattern would you DIY?!
If you love this DIY Arrow Floor Pouf, please help me share it on Facebook and Pinterest!


I love that you painted your own fabric!
Thanks! It’s totally fun :)
Love it!!!!
Awesome! I’ve wanted a pouf pattern. What did you stuff it with (it looks really full and like it is a good weight, like store bought ones)? Thanks!
Polyfil :)
Love this!
They take a lot of polyfill. I used a bunch of old towels that I was going to take to Good Will and then finished stuffing with polyfill. That worked very well but I want to make a couple more and have used all my old towels. I’m going to try to think of other ways to stuff that won’t make it an expensive project.
Love this – I was wondering about the stuffing as well – I was thinking those little pellets that stuff bean bags would work also – no? Thanks for the inspiration. I’ve been wanting to make a pouf – you just gave me an idea!
Yes! Anything that you would use for a pillow would work :)
Super cool! I love poufs too! Visiting from sugar bee crafts linky ;)
I’d love to put a zipper in it and store my guest blankets inside. Do you know how I would go about that?
What a great idea! Good luck :)
What are the finished dimensions for this pouf?
20-24″ in diameter :)