Easy Polymer Clay Plant Markers

These polymer clay plant markers are easy to create and are the perfect way to identify plants in your home. Follow this simple tutorial to make a few of your own!
Too busy to make these right away? Pin this post for later! Pin this project to your favorite craft board on Pinterest and it will be there when you’re ready.

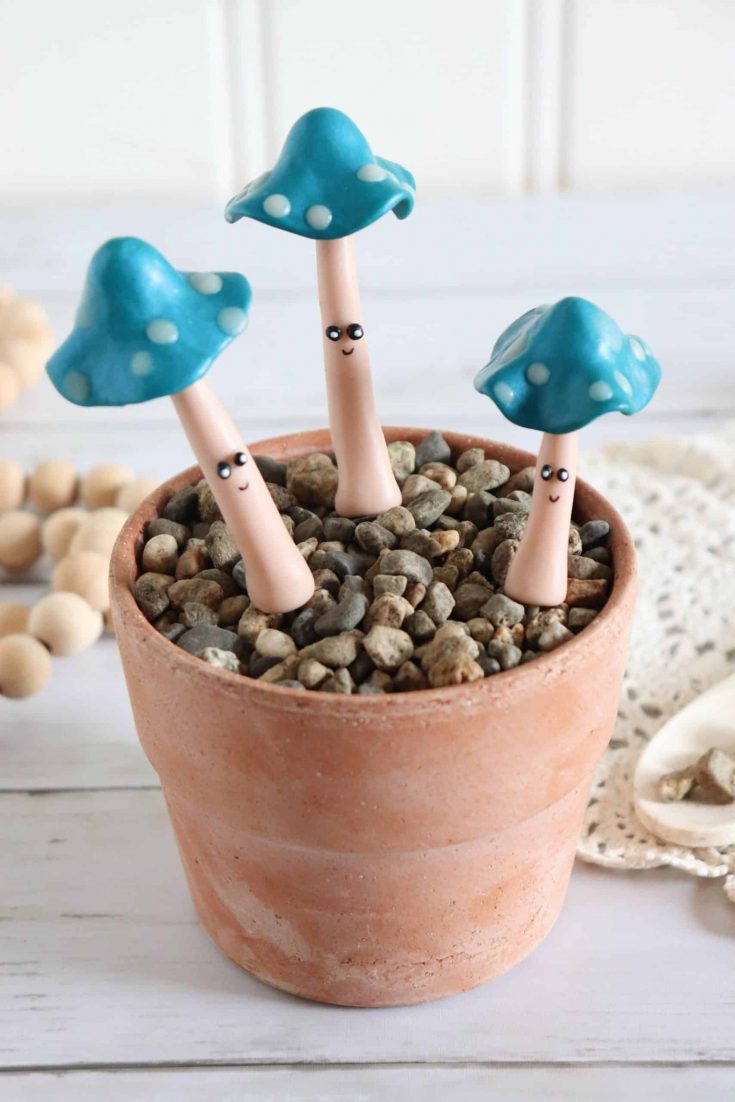
Life has been all about gardening lately, spring feels like it is just around the corner. Be sure to check out my How to Plant a Salsa Garden post or How to Make a Bee Friendly Planter for more gardening ideas!

When adding house plants to my collection it’s super easy to forget the names of each one. I often have to rely on Plant Snap to figure out which plant is which.
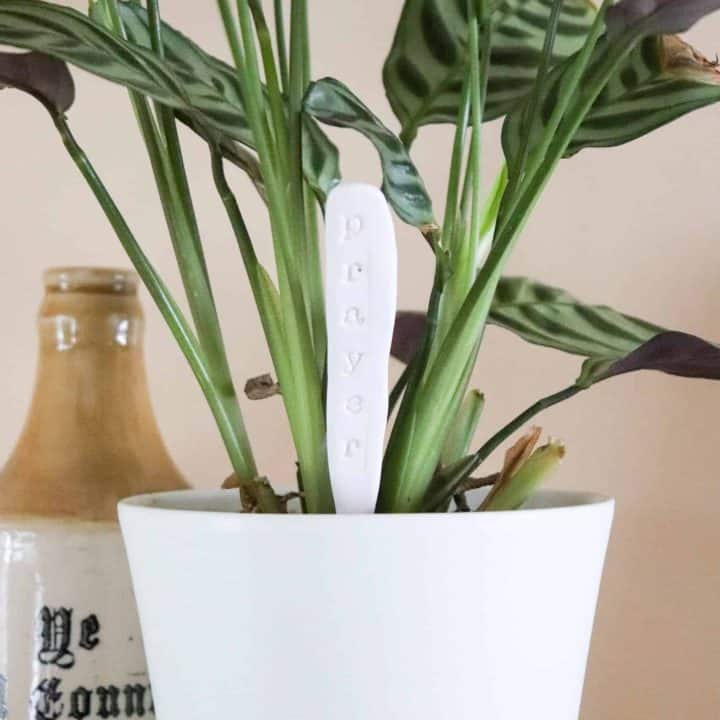
With these darling little plant tags, now I’ll always know! And they are much more aesthetically pleasing than the plastic ones that come from the store.

This post contains affiliate links.
Supplies that you will need:
- parchment paper
- baking sheet
- polymer clay in white
- clay cutting and shaping tools
- these awesome letter stamps

How to make plant markers:
- Begin by forming the clay into a soft, malleable ball.

2. Break the clay into 1″ balls and form them into long, cylindrical cone shapes.

3. Use a rolling tool to flatten the top portion of the cylinder, leaving a 1″ pointed tip at one end.

4. Create plant names with the stackable stamps.
I love that these stamps can be used and stacked both horizontally and vertically!

5. Press the letter stamps firmly into the flat portion of the clay.

Different plant names will need different lengths of clay to create markers with.

6. Place the maleable clay tags onto a parchment lined baking sheet and bake according to the package instructions. This is usually 20 minutes at 250 degrees F for me.

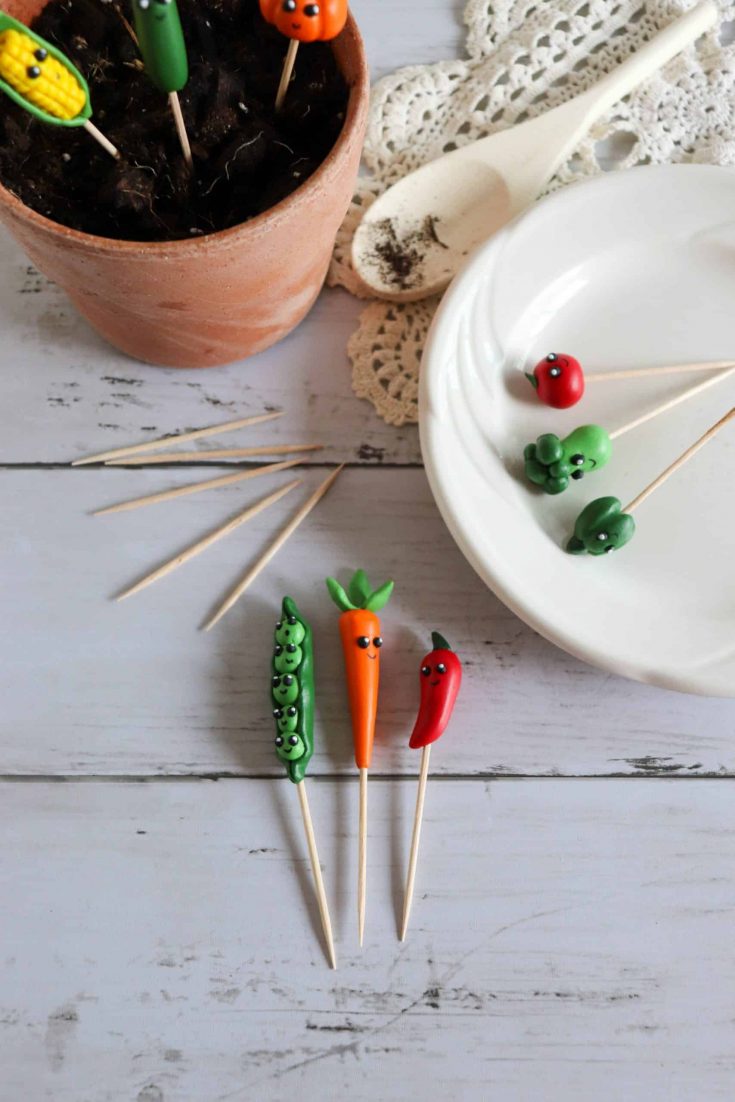
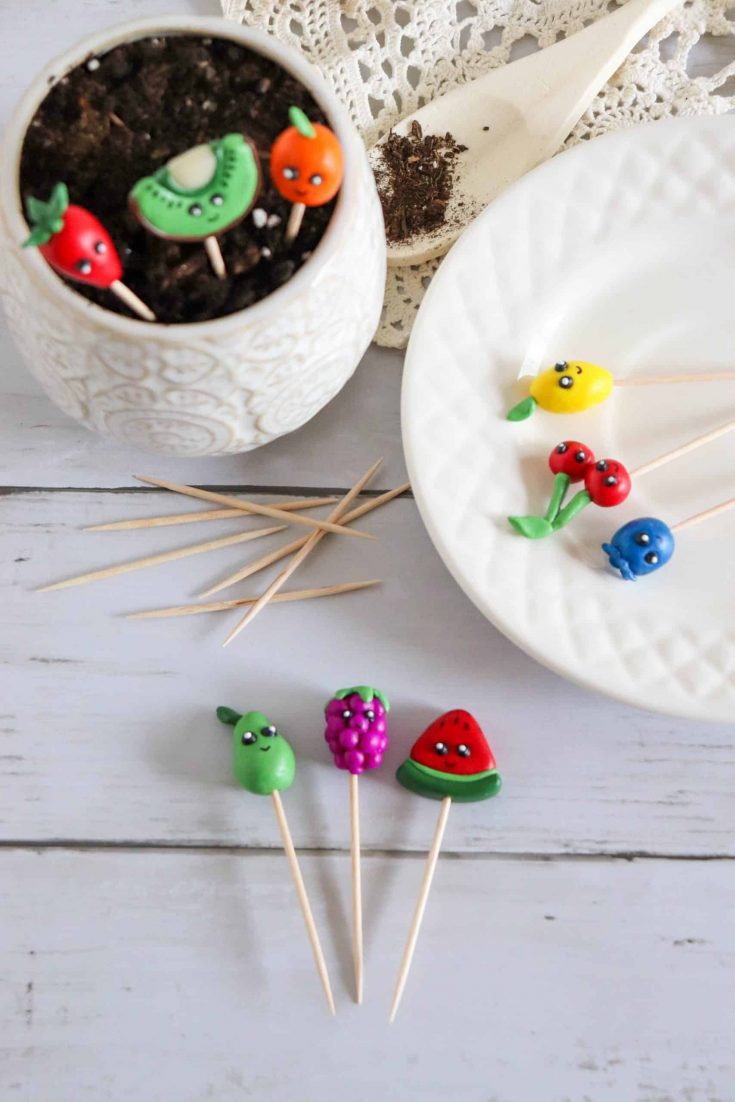
Be sure to check out my darling Vegetable Plant Markers and Fruit Plant Markers too!
My essentials for clay crafts:
- We love using this Sculpey Polymer Oven Bake Clay for all of our projects.
- This clay shaping tool kit is a must have for clay crafting!
- These paint brushes are ideal for most craft surfaces and a great price!
- This rolling storage cart helps to keep our craft supplies organized.

Polymer clay crafting tips:
- Work with a high quality product like sculpey clay.
- Use plastic wrap in an air tight container to store clay.
- Score where you want two pieces of clay to stick together.
- Shape cutters work best on a flat, solid work surface.
- A craft oven is not needed.
- Bake at low temperatures to allow the clay to set slowly and prevent cracking.
- You can find clay of all kinds of different colors at Michaels stores.

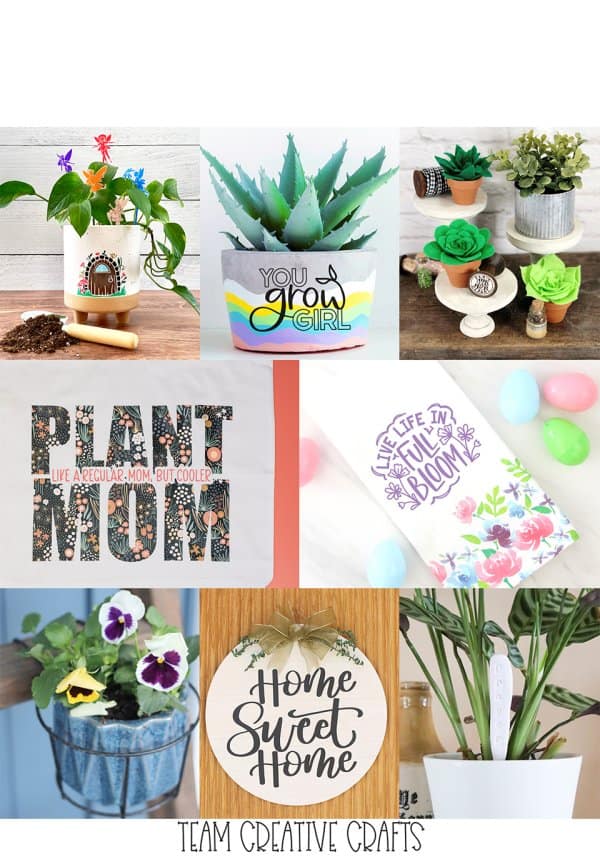
I am excited to join my blogging friends in sharing a ton of crafty garden ideas this month! Please visit all of the lovely bloggers in our hop:

Beth from Creatively Beth is sharing How to Make Felt Succulents complete with patterns
Lindsay from Artsy Fartsy Mama has created a You Grow Girl Planter with a Free SVG File
Liz from Liz on Call is sharing a Home Sweet Home Door Hanger with Free Cut File
Kimberly from Crafting Cheerfully is sharing an adorable DIY Fairy House Planter
Ginger from Ginger Snap Crafts has created a Garden Ladder perfect for Flowers or Herbs
Teresa from Simply Made Fun is sharing a Plant Mom Free SVG Cut File perfect on a tote
Elise from Polka Dotted Blue Jay has created a Live Life in Full Bloom towel for the kitchen
Heather from Homemade Heather is sharing how to make Easy Polymer Clay Plant Markers
If you love these polymer clay plant markers, please help me share them on Facebook and Pinterest so that others can enjoy them too!
Polymer Clay Plant Markers
These polymer clay plant markers are easy to create and are the perfect way to identify plants in your home. Follow this simple tutorial to make a few of your own!
Materials
- parchment paper
- baking sheet
- polymer clay in white
- clay cutting and shaping tools
- letter stamps
Instructions
1. Begin by forming the clay into a soft, malleable ball.
2. Break the clay into 1" balls and form them into long, cylindrical cone shapes.
3. Use a rolling tool to flatten the top portion of the cylinder, leaving a 1" pointed tip at one end.
4. Create plant names with the stackable stamps.
5. Press the letter stamps firmly into the flat portion of the clay.
6. Place the malleable clay tags onto a parchment lined baking sheet and bake according to the package instructions.