How to Refinish Wooden Stairs

Learn how to refinish wooden stairs with this easy step-by-step tutorial. Tackling this small home renovation project is easier than it looks!
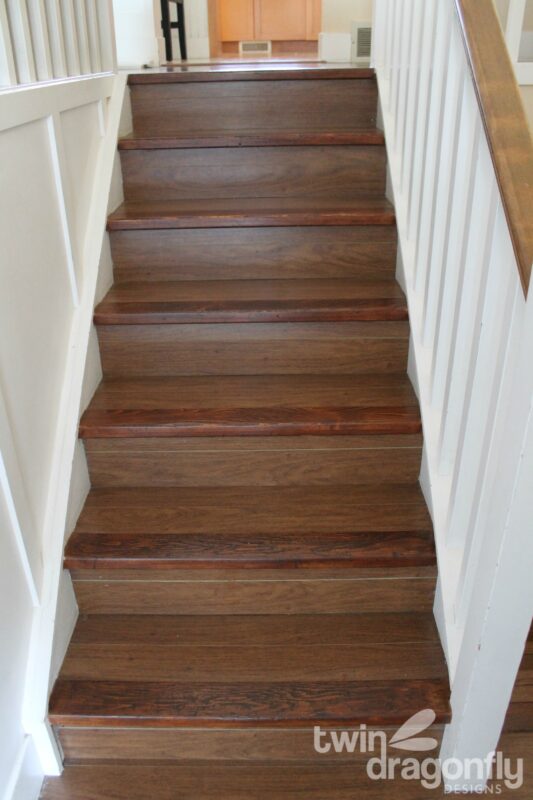
Last spring my basement flooded, days before I left for Mexico. I have been putting off the home repairs for quite some time. But enough is enough, now is the time to get cracking and so, I have been tackling all sorts of renovations this winter! Starting with these stairs leading into my main living area. Let me show you how I gave them a face lift!

I love a good before and after photo, don’t you? The nose pieces on these laminate stairs are wooden. So they get beat up fairly quickly with kid traffic and moving things to and fro.

I mean, would you look at that! You’d think the kids were playing “wood shop” on these stairs!! And when something looks like this for so long, I just got used to them, you know? I have stained them before to cover the wear but this time I wanted my hard work to last!
How to refinish wooden stairs:
Too busy to do this right away?! Pin it for later! Pin this project to your favorite board on Pinterest and it’ll be waiting for you when you’re ready.

- I began by sanding the nose piece on each stair with my hand held sander and 120 grit sanding paper. I gradually reduced the sanding paper to 200 grit for a smoother finish. Then I vacuumed up all of the dust and washed each stair by hand to eliminate any debris.

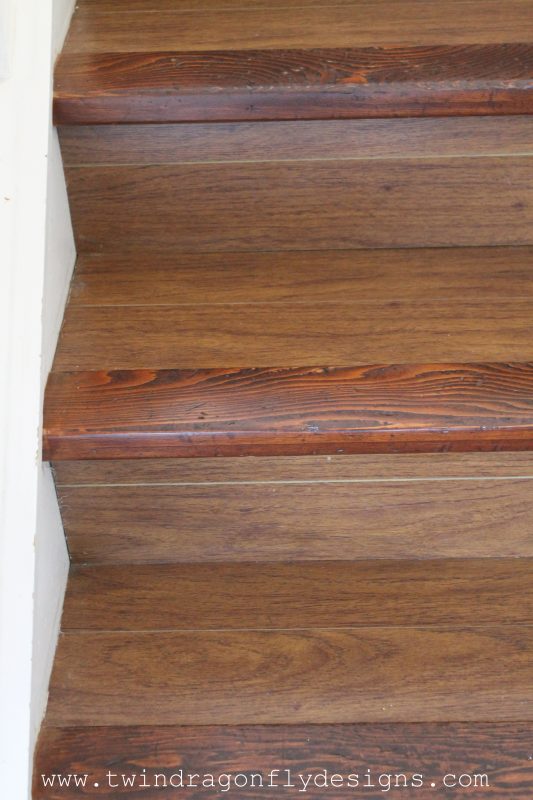
2. Then I stained each stair with wood stain using a dry, clean cloth with a pair of gloves on. I allowed the stain to dry at least two hours after each application and gave the stairs 2-3 coats of stain.

3. Finally I sealed each step with clear Varathane. I allowed this to completely dry between coats as well and covered each nose piece at least 3 times because I want this application to last!!

I am really pleased with how they look now! To think that I hadn’t really noticed how bad these stairs had gotten!! I love that this was a relatively quick and cheap fix too.
This post contains affiliate links.
Essentials for home decor projects:
- This Varathane Stain in American Walnut is the one I use most often.
- I love to use this Varathane Polyurethane to seal all of my projects.
- This Black and Decker hand held sander is my favorite.
- Apple Barrel acrylic paint is my brand of choice for the small details.

Another before and after photo for your viewing pleasure. Huge improvement right?!?
Have you been working on any home renos recently?? Please share and if you love this easy project, please help me share it on Facebook and Pinterest!


