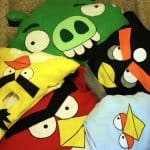
ANGRY BIRDS COSTUME TUTORIAL
Today I am sharing this Angry Birds costume tutorial that is complete with free patterns! I freaking love how these costumes turned out.
Yield: 5
Materials
- 1 1/2 meters of green & red felt
- 1 meter of blue black & yellow felt
- 1/2 meter of white felt
- 10 meters of broadcloth {an inexpensive lightweight cotton}
- 1 sheet of craft felt {found at a craft or dollar store} in these colours: orange brown, light green, dark green and grey.
- 6 meters of quilt batting
- 1 large bag of poly fil
- Black fabric paint or fabric marker
- Black head band {for pig crown}
- Scissors
- Thread
- Hot Glue Gun
- Glue sticks
- Pins
- Measuring tape
Instructions
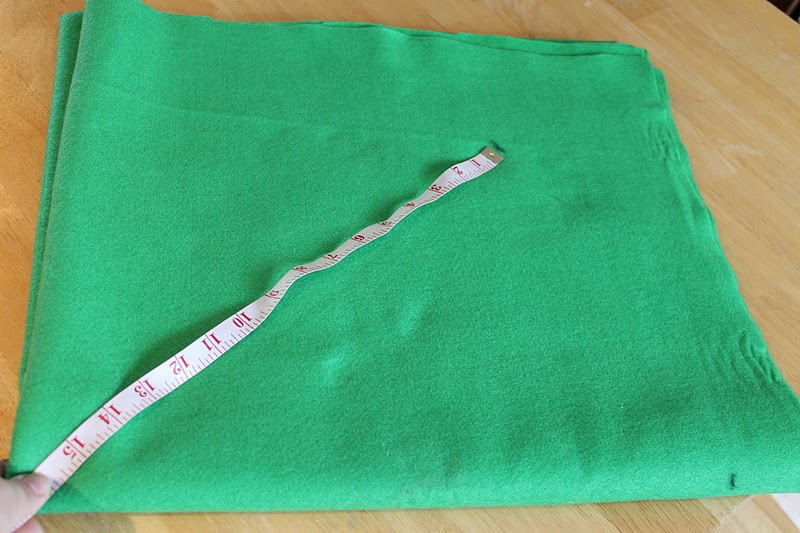
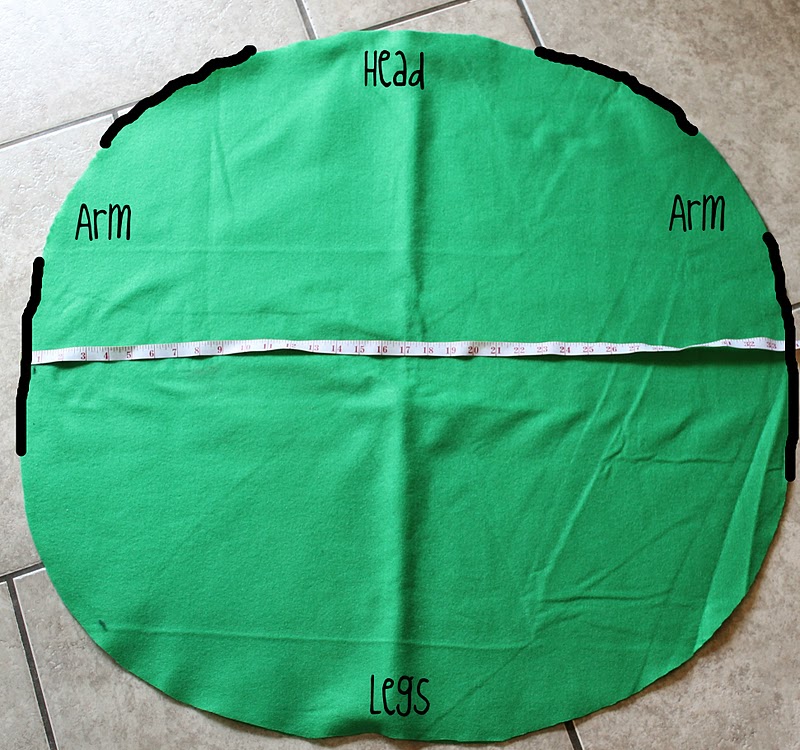
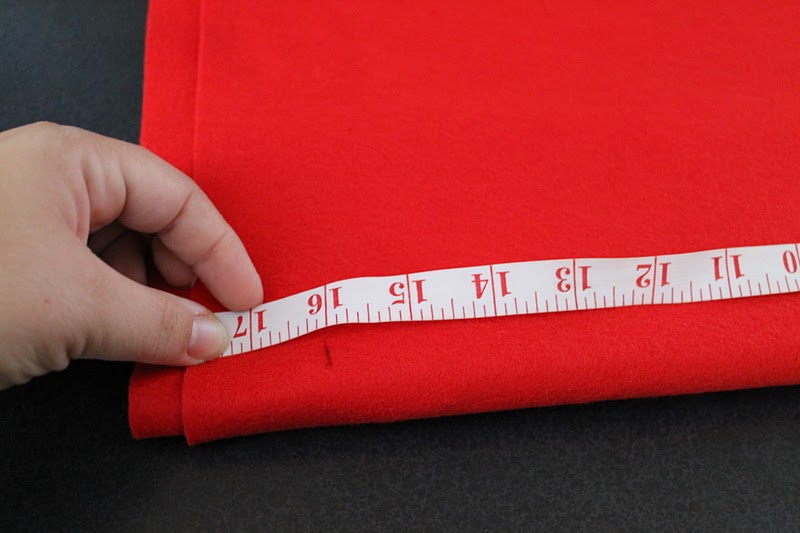
- 1. Fold the felt into quarters and measure 16″ from the center fold.
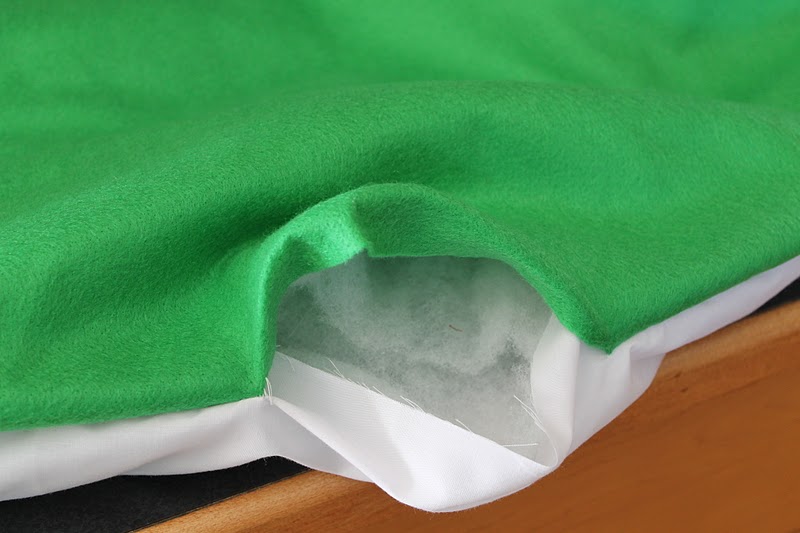
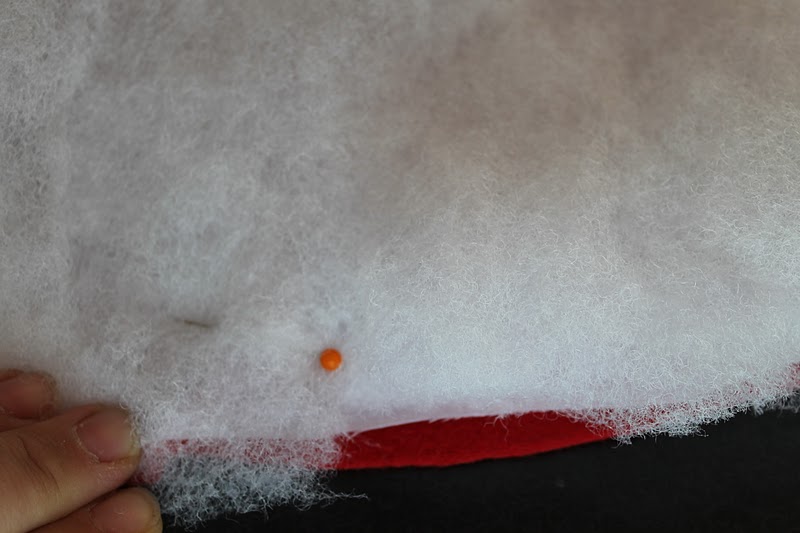
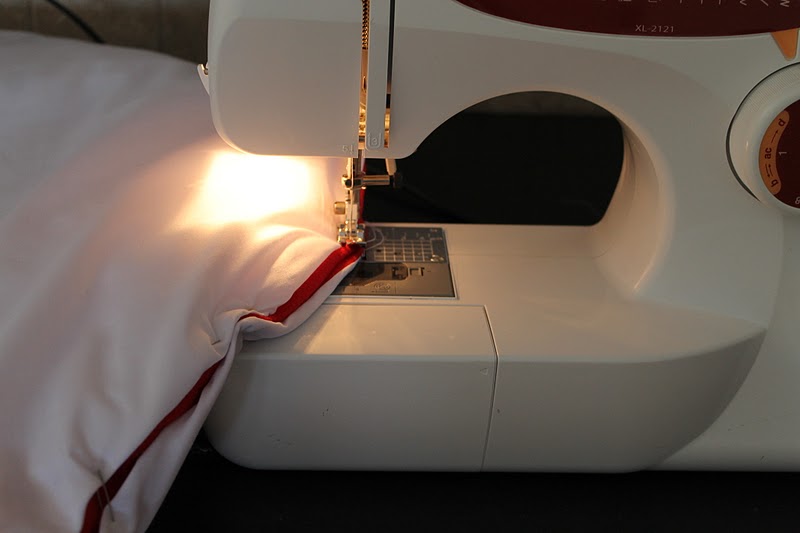
- 5. Lay one green circle and one cotton circle, right sides together. Top with a circle of quilt batting and pin together. The quilt batting is used in the adult costumes to provided added support to the upper portion and a smoother, less bumpy look to the finished costume. Sew together using a 1/4″ seam allowance.
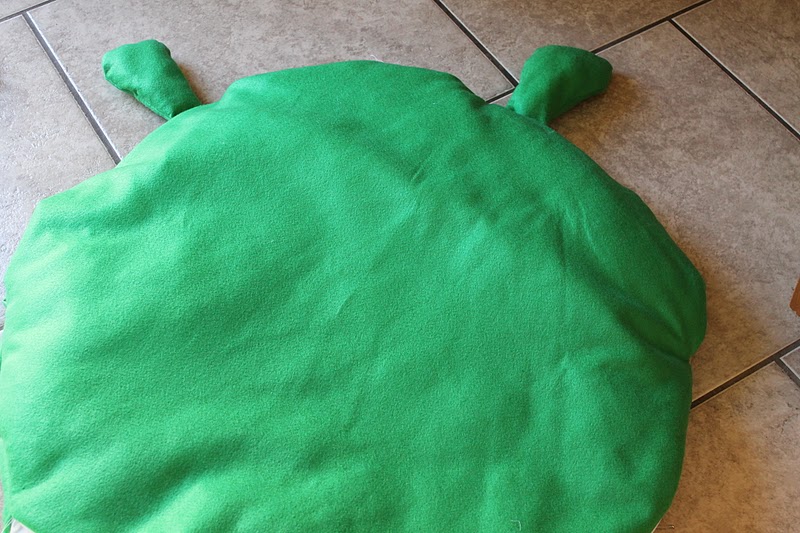
- 7. Repeat steps 5 & 6 so that you have two stuffed circles. These are the back and front of the pig.
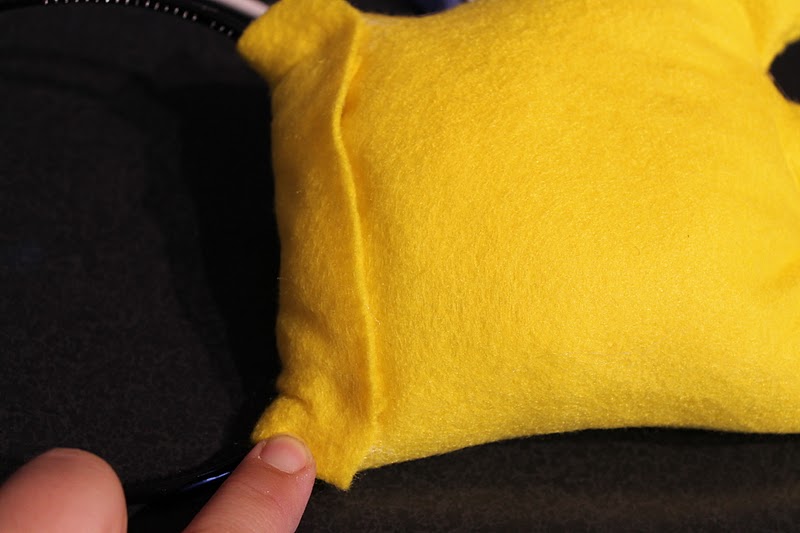
- 8. Pin the back and the front together. At this point I had Darcy try it on so that I could get the placement of his head and arms right. 9. Here is an example of where you are going to sew the back and front together {black lines = sew here}. The best way to get a good fit is to have your wearer try it on. Sew the ear pieces from the pattern together and stuff them with batting.10. Sew the front and back of the pig together, right sides facing, 1/4″ seam, along the black lines in step 9. Don’t forget to sew the ears into the shoulder seam.11. Invert the pig so the right sides are facing out.12. Stuff the front and the back of the pig with pillow stuffing. I really played with the fullness and amount of stuffing. Stuff it then try it on to see if it is full enough for you. Sew or hot glue the hole closed.13. Hot glue gun the features to the front of the pig.14. Outline the features with fabric markers or paint {paint actually worked better for me}.15. Sew the crown together and stuff it with batting.16. Wrap the end of the crown around a head band.17. Hot glue the crown in place.Red Bird
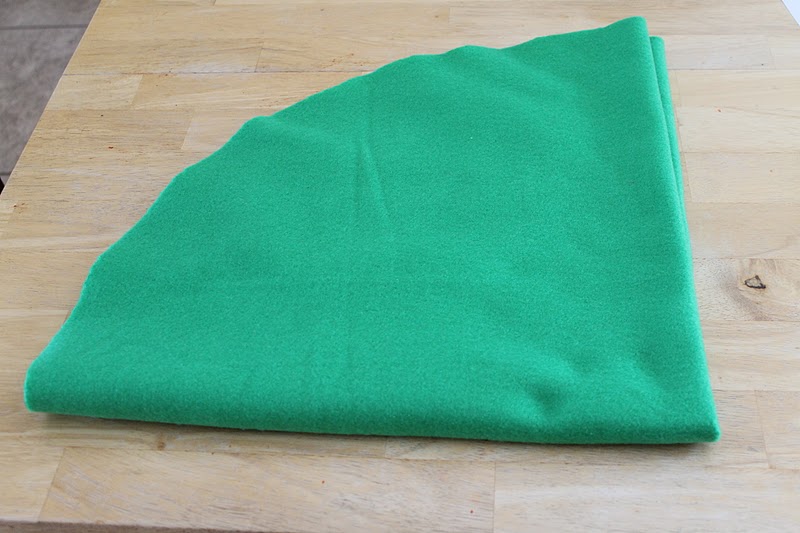
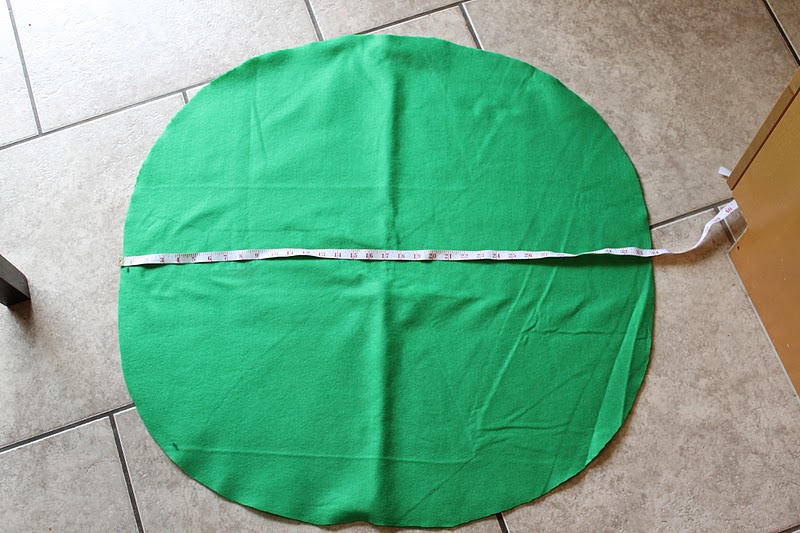
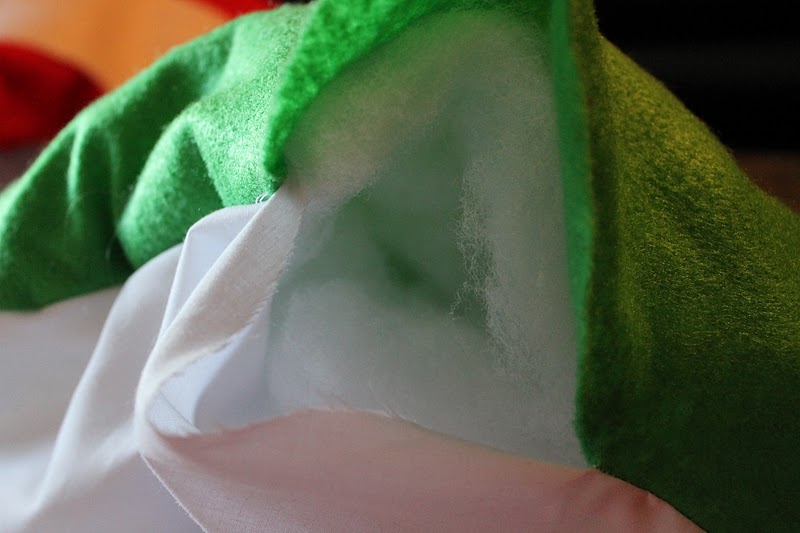
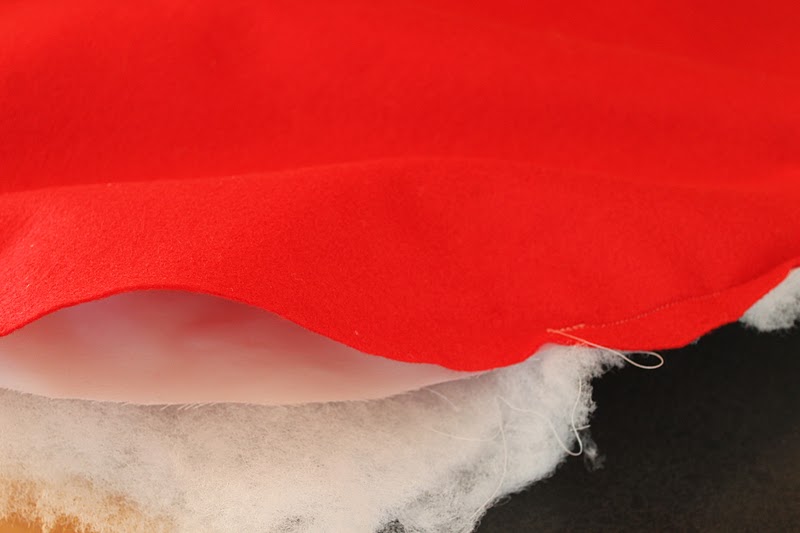
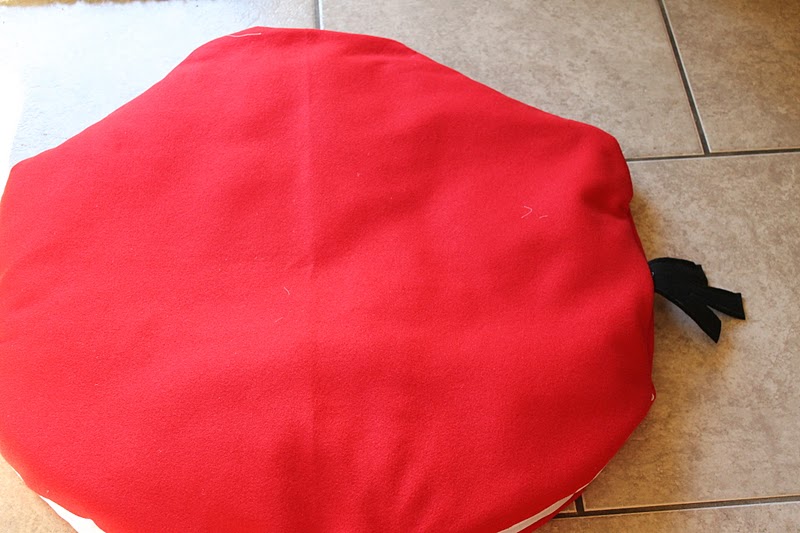
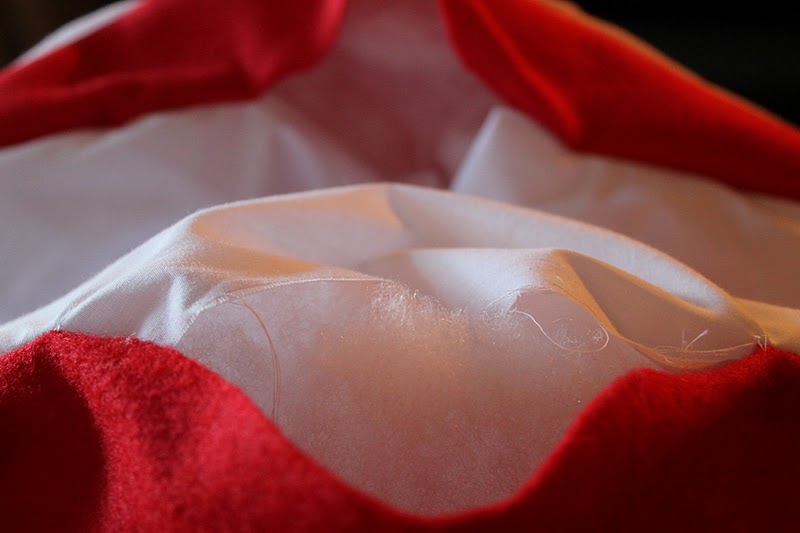
- 1. Fold the felt into quarters and measure 16″ from the center.2. Cut a curve along your measurements to create a circle when unfolded.3. Your circle should measure 32″ in diameter {repeat these steps so that you have two 32″ red circles.4. Cut two 32″ circles out of cotton and cut your features out of felt. Go here, here and here for the patterns.5. Lay one red circle and one cotton circle, right sides together. Top with a circle of quilt batting and pin together. The quilt batting is used in the adult costumes to provided added support to the upper portion and a smoother, less bumpy look to the finished costume. Sew together using a 1/4″ seam allowance.6. Be sure to leave a 4-6″ hole while sewing so that you can invert the piece, right sides out.7. Repeat steps 5 & 6 so that you have two stuffed circles. These are the back and front of the red bird.8. Pin the back and the front together. At this point I tried it on so that I could get the placement of my head and arms right.9. Go to the Green Pig Step 9 for an example of where you are going to sew the back and front together {black lines = sew here}. The best way to get a good fit is to have your wearer try it on. Sew the tail pieces from the pattern together.10. Sew the front and back of the red bird together, right sides facing, 1/4″ seam, along the black lines in Step 9. Don’t forget to sew the tail into the side seam.11. Invert the bird so the right sides are facing out.12. Stuff the front and the back of the red bird with pillow stuffing. I really played with the fullness and amount of stuffing. Stuff it then try it on to see if it is full enough for you. Sew or hot glue the hole closed.13. Hot glue gun the features to the front of the bird.14. Outline the features with fabric markers or paint {paint actually worked better for me}.