How to Can Salmon
Learn how to can your own salmon using a pressure cooker with this step-by-step tutorial—preserve that wild-caught goodness for easy, delicious meals all year long.
As you may know, my family and I have had the amazing opportunity to go on a couple of incredible fishing trips. Stocking the freezer with our own wild-caught salmon and other fresh fish has been a delicious bonus!
Real talk—freezer space is a precious commodity in my house. Between feeding teenage boys (along with all their friends) and trying to save a bit of money by purchasing Costco-sized everything, the freezer is always bursting.
So when we came back from our last fishing trip to Prince Rupert with a haul of fresh salmon, I knew we needed a better solution.
Too busy to make this right away? Pin it for later! Pin this post to your favorite board on Pinterest and it will be there when you’re ready!

Our fishing guide mentioned that he and his wife canned salmon every year. After he described how easy it was, I knew we needed to add this method of preservation to our repertoire.
Why You’ll Love This Recipe
Canning your own salmon is one of the best ways to preserve that beautiful wild salmon for months—no fridge or freezer required. It’s shelf-stable, full of nutrients, and way more flavorful than any can of salmon from the store.
Plus, when the kids are suddenly starving (again), you’ve got the main ingredient for salmon patties, wraps, or chowder at the ready. It’s a great way to make the most of your fresh fish—with way less stress and way more yum.
Canning is a great way to preserve food that would otherwise need fridge or freezer space. There are so many health benefits to this fatty fish, and I didn’t want any of it to go to waste.
It turns out, canning salmon in a pressure cooker is not only totally doable, it’s actually kind of fun in a science-experiment-meets-homestead-chic kind of way. And when you’re done, you’ve got gorgeous jars of delicious fish that don’t take up a single square inch of the freezer.
This incredibly simple and delicious recipe makes the best canned salmon. It’s so much more flavorful any can of salmon you can buy.
This post contains affiliate links.
Canning Supplies
- 23-Quart Pressure Canner – Great for processing foods like meat, soup, and vegetables.
- Ball Mason Jars – The size of mouth and jar will depend on your recipe. For example, wide mouth quart jars work well for pickles and regular mouth pint jars are great for salsa.
- Snap Lids and Rings – New, unused snap lids are needed to get a good seal on your jars.
- Canning Jar Lifter – This is used to lift the hot jars safely out of the boiling water bath.
- Magnet Snap Lid Lifter – This makes pulling the snap lids from the water after being sterilizer much easier.
- Jar Canning Funnel – Perfect for pouring sauce and jam into mason jars.
- Ladle – For pouring liquid into the jars.
- Over-the-Sink Strainer – This is my go-to strainer for processing a lot of fruit and vegetables.
- Rubber Tongs – For grasping hot jars and lids when sterilizing.
- Tea Towels – Used for cleaning and handling hot jars.
Pressure Sealing Tips
Pressurizing in glass jars is by far the safest method of preserving. In order to pressure seal your canned goods, a pressure canner is used to cook the preserved foods to extremely high temperatures and expose them to such pressure that they are forced to seal tightly shut.
Ingredients
- Fresh salmon steaks – Use fresh salmon for best results, but store-bought works too if you find a great sale.
- Coarse salt – Perfect for a simple brine that brings out all that delicious, rich flavor.
- White vinegar, optional – A splash helps keep your canner shiny and stain-free.
I have not included portions in the post because this canning method may be used for any amount of fish. Simply estimate how many jars you will need for the amount of salmon you have.
Instructions
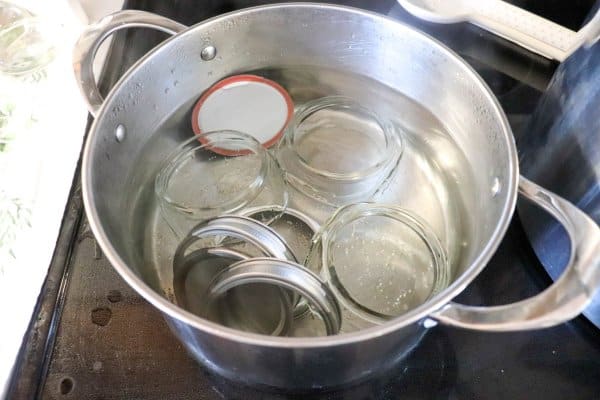
1. Begin by washing your jars, screw bands, and lids in warm, soapy water, then sterilize them.

2. Cut your salmon filets into 1-inch-thick steaks.

3. Brine salmon in a solution of 8 parts water to 1 part coarse salt. Cover the salmon and brine in the fridge for at least 1 hour.

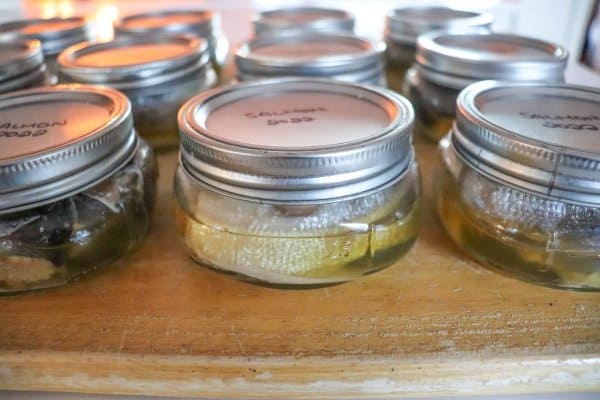
4. Pack jars with salmon, skin side facing out, leaving 1-inch headspace at the top.
5. Do NOT add liquids—the fish will release enough juices during pressure cooking. Just tighten the lids hand-tight.

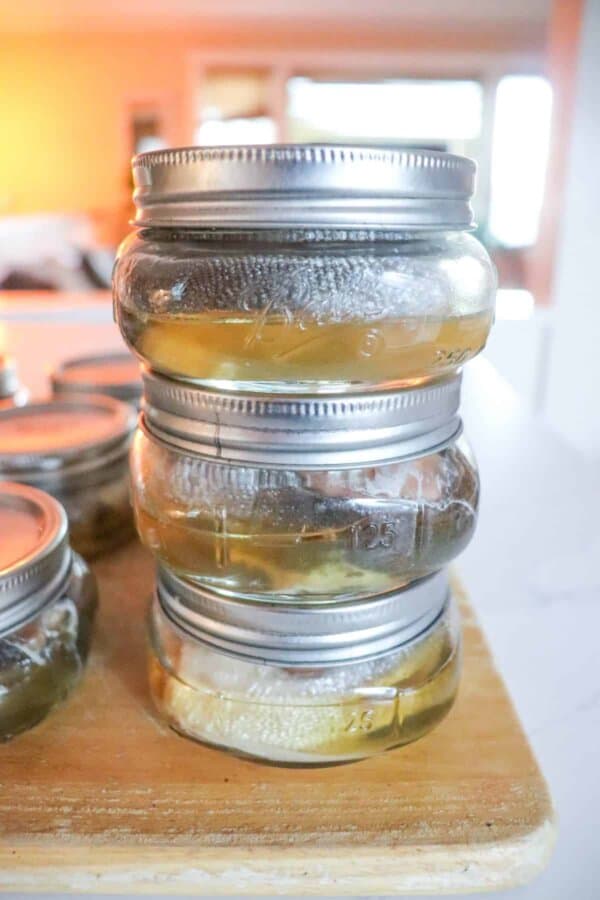
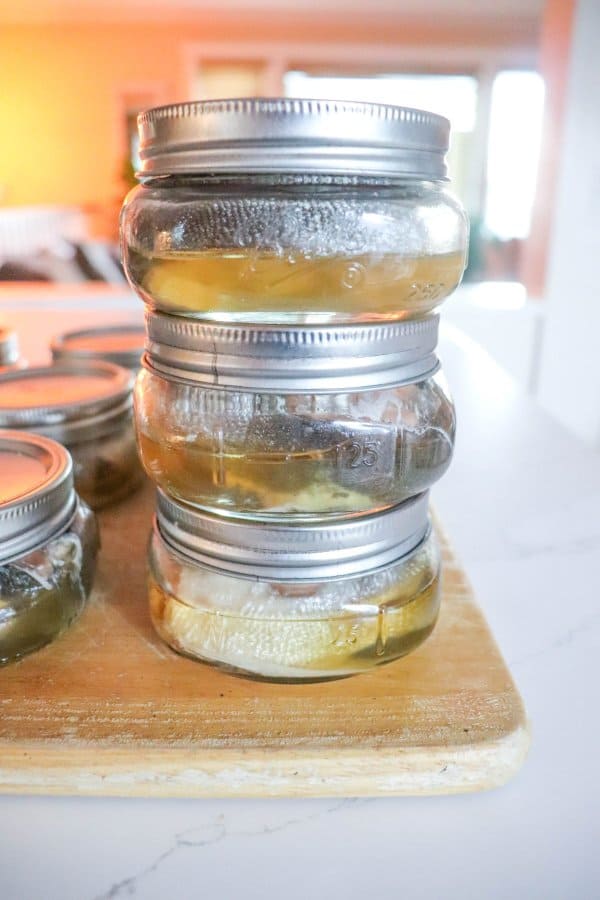
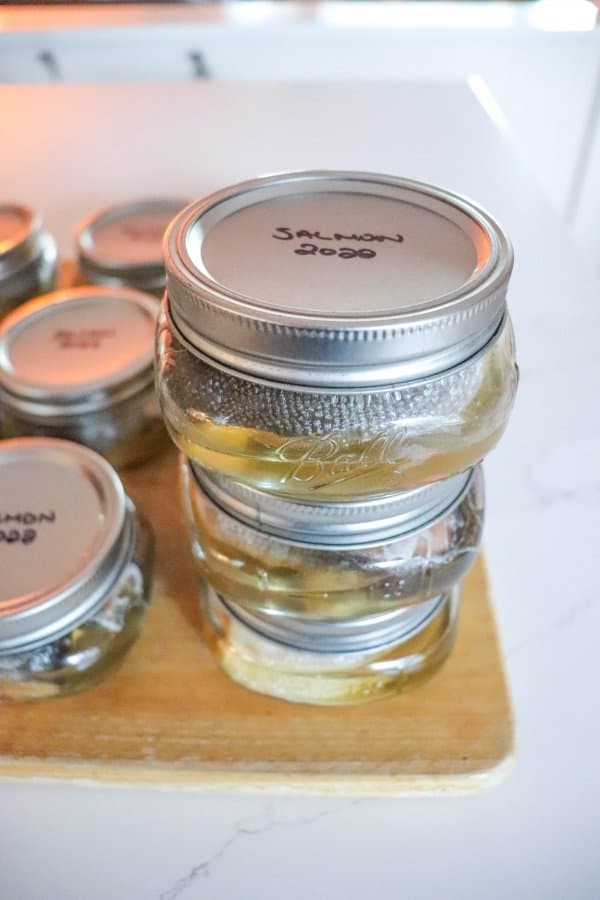
6. Place jars on a canning rack in the pressure cooker. They can be stacked two layers high with a rack between the layers.
Tip: Be sure to use a canning rack, otherwise the jars may break in the canner.
7. Fill your canner with 12 cups of boiling water and 1 tablespoon vinegar (to prevent staining).

8. Lock the canner lid and bring to 11 pounds of pressure. Process for 90 minutes.
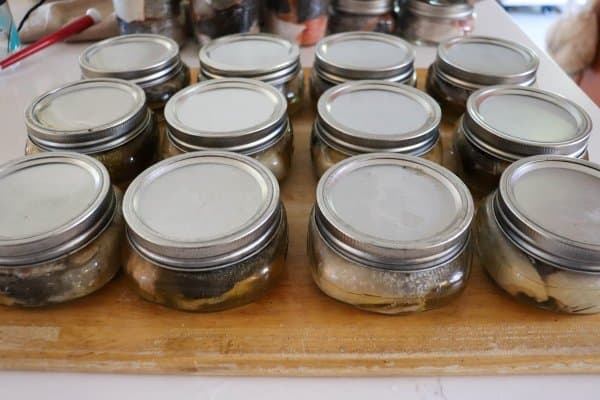
9. Let the pressure come down naturally. Remove jars with tongs and cool on a towel.
Tips and Tricks
- When home canning, use the right tools for the job to ensure food safety. Safe canning practices are essential for preventing bacteria growth inside the canning jars, which can result in serious illness. The Ball Blue Book is an excellent resource.
- A pressure cooker is not the same as a pressure canner. Don’t mix these up!
- Never use water bath canning for fish. It doesn’t reach the high temperatures needed for food safety.
- Each type of pressure canner is a bit different. Always check your type of pressure canner and follow the manufacturer’s instructions carefully.
- Use wide mouth jars for easier packing and removing of salmon filets later.
- You can remove the salmon bones and skin before canning, but it isn’t necessary.
- If leaving the skin on, pack the salmon filets skin side out.
- To get good seals on your jars, make sure you use new lids and that your jars have really clean rims.
- Once cooled, check the jars for good seals. Store your sealed jars in a dark place (like a cupboard) for future meals.
- For added flavor, try lightly cold smoking the fish before canning for a gentle smoke flavor.
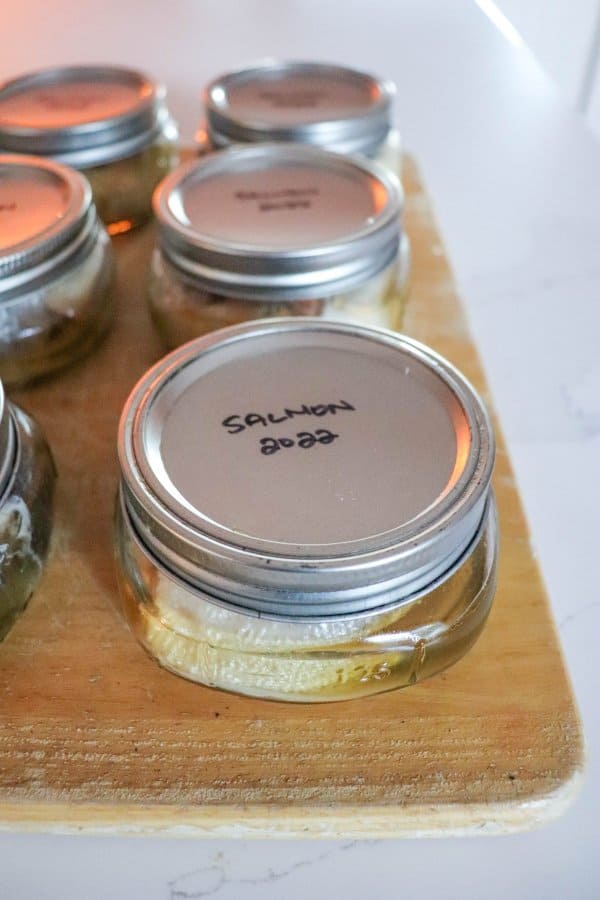
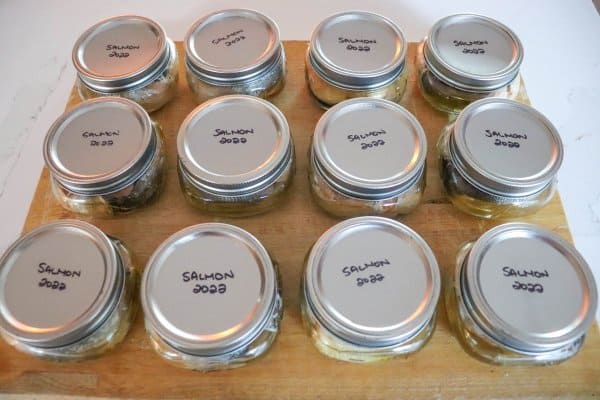
- Label your jars with the date—your future self will thank you.
Easy Ways to Use Your Canned Salmon
- Make crispy, golden salmon patties—serve with tartar sauce or tuck them into a bun.
- Toss with mayo, lemon, and dill for a fresh salmon salad that’s great on crackers or bread.
- Roll up a speedy salmon wrap with cream cheese and greens.
- Stir into creamy pasta for a salmon pasta dinner.
- Use in hearty salmon chowders or soup on chilly days.
Frequently Asked Questions
Can I can salmon in a water bath?
Nope! Fish is a low-acid food and must be pressure canned to avoid serious health risks. A dial pressure gauge or weighted gauge canner is a must.
How long is canned salmon good for?
Properly home-canned salmon can last up to a year or more if stored in a cool, dark place. Just check that the seal is still intact before eating.
Do I have to remove the skin and bones before canning?
You don’t have to! The salmon bones soften during the pressure canning process and are actually a great source of calcium.
What size jars should I use?
Half-pint jars are great for single meals or salmon quiches, while quart jars are perfect if you’re feeding a hungry crew.
Can I use frozen salmon?
Yes! Just make sure it’s fully thawed and patted dry before starting the canning process. This helps maintain the best quality for your final product.
Whether you are brand new to canning or a seasoned pro, nothing beats seeing your beautiful jars of salmon, all lined up and ready to enjoy! It’s satisfying, it clears out that cluttered freezer, and let’s be honest…it makes you feel like a total kitchen boss.
If you love this canned salmon recipe, please give it a five-star review and help me share it on Facebook or Pinterest so that others can enjoy it too.

Canned Salmon Recipe
Ingredients
- Fresh salmon steaks
- Coarse salt
Instructions
- Begin by sterilizing the jars and lids.
- Cut salmon into 1" steaks.
- Brine salmon in a solution of 8 parts water, 1 part coarse salt. Cover the salmon and brine in the fridge for at least 1 hour. Drain the brine and pat the salmon dry with paper towel.
- Pack jars with salmon, skin side of the fish to the outside of the mason jars, leaving 1" of head space.
- Do NOT add liquids. Adjust lids to be hand tight.
- Place jars on a canning rack in the pressure cooker, they can be stacked two layers high with a rack between the layers. Fill the canner with 12 cups of boiling water and 1 Tbsp vinegar (to prevent staining).
- Heat the canner to 11 pounds pressure and process for 90 minutes.
Notes
- Be sure to use a canning rack, otherwise the jars may break in the canner.
- When home canning, use the right tools for the job to ensure food safety. Safe canning practices are essential for preventing bacteria growth inside the canning jars, which can result in serious illness. The Ball Blue Book is an excellent resource.
- A pressure cooker is not the same as a pressure canner. Don’t mix these up!
- Never use water bath canning for fish. It doesn’t reach the high temperatures needed for food safety.
- Each type of pressure canner is a bit different. Always check your type of pressure canner and follow the manufacturer’s instructions carefully.
- Use wide mouth jars for easier packing and removing of salmon filets later.
- You can remove the salmon bones and skin before canning, but it isn’t necessary.
- If leaving the skin on, pack the salmon filets skin side out.
- To get good seals on your jars, make sure you use new lids and that your jars have really clean rims.
- Once cooled, check the jars for good seals. Store your sealed jars in a dark place (like a cupboard) for future meals.
- For added flavor, try lightly cold smoking the fish before canning for a gentle smoke flavor.
- Label your jars with the date—your future self will thank you.

I saw that beautiful mother making canned salmon on that Alaskan wilderness program. Never have I seen such a little cups of gold five years or more. I’ve wanted those this year. I’m gonna make them.
It’s so good!