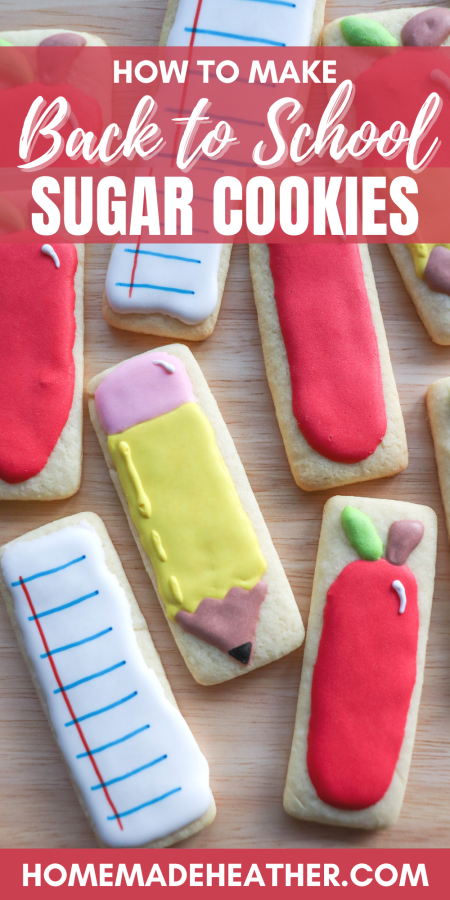
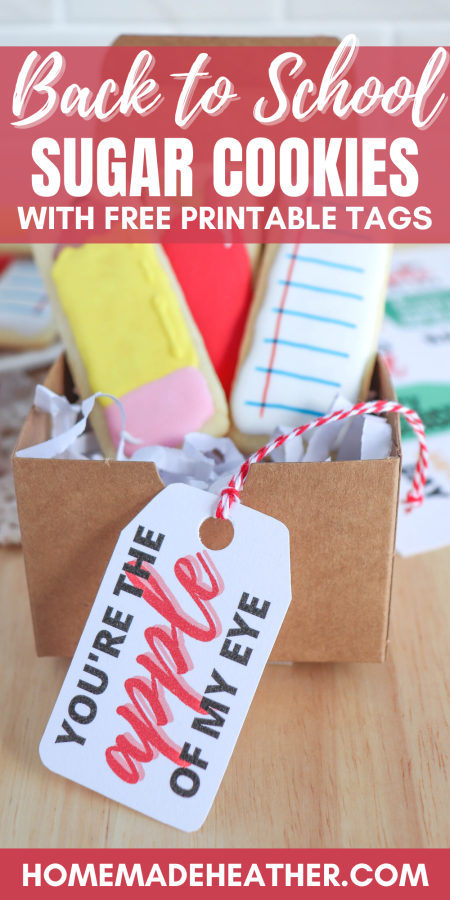
Back to School Sugar Cookies with Printable Gift Tags
Sweeten the first day of the new school year with these Back to School sugar cookies. They’re fun to bake, easy to decorate, and perfect for gifting.
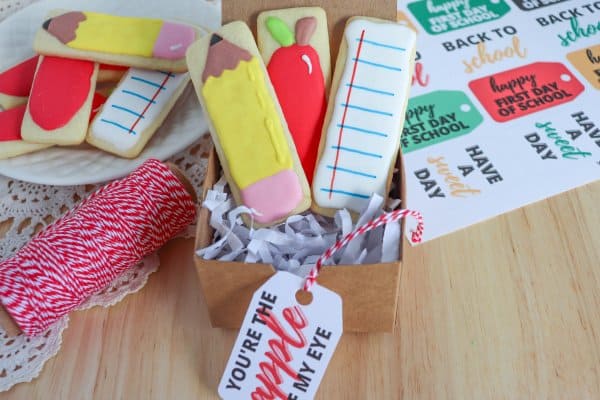
Creating treats, like these classic sugar cookies, to celebrate Back to School is actually super easy! Grab the free printable tag below and make a darling gift for your child’s new teacher this year.
There’s something magical about a fresh pack of crayons, a brand-new notebook, and…a plate of sugar cookies decorated to match. These colorful, royal icing-topped treats make any first day a little brighter.
Whether you’re making them for a class party, a teacher gift, or just to add a sweet treat to your kiddo’s lunch bag, these sugar cookies are an absolute win.
I’ve made these fun cookies with my boys for years, and while they are more into eating the icing straight from the bottle than actually helping decorate, the tradition sticks. And hey, a little extra powdered sugar on the counter just makes it feel more like a baking day.
Too busy to make this right away? Pin it for later! Pin this post to your favorite board on Pinterest and it will be there when you’re ready!
Why You’ll Love This Recipe
This back to school cookie recipe is as versatile as it is delicious. You can use my from-scratch dough or hack it instead with store-bought dough for those extra-busy weeks.
The royal icing design possibilities are endless — think apples, pencils, lined paper, or even crayons. Plus, they’re sturdy enough to wrap up as adorable gifts with my free printable tag.
Sugar cookie dough is totally versatile and easy to make with simple ingredients like butter, granulated sugar, and all-purpose flour. They also make the perfect base for cookie decorating.
You can decorate them for holidays, like Christmas and Easter, go with a food theme, like these watermelon and donut cookies, or make a simple birthday version using your child’s favorite colors. The only limit is your imagination!
A Note on Decorating With Royal Icing
When adding details to your sugar cookies, it’s important to wait until the layer of flooded icing is completely dry. Otherwise the icing may crack and the colors will bleed.
So be sure to set aside plenty of time to decorate the cookies. In fact, you may even want to spread it out over a few days.
Also, before you get started, make sure that you have all the tools that you need to make and decorate these cookies. I found our cookie cutters and icing bottles at Michaels, but you can also order them from Amazon below.
This post contains affiliate links.
Sugar Cookie Supplies
- KitchenAid Stand Mixer
- Baking sheets
- Parchment paper
- Rolling pin
- Mixing bowls
- Measuring cups and spoons
- Cookie cutters
- Icing bottles
- Wire cooling rack
- Cookie scribe or toothpick
- Food writers
This is my grandma’s classic sugar cookie recipe – time tested and delicious. The only thing that I have changed over the years is swapping out shortening for butter.
Back to School Sugar Cookie Recipe
Ingredients
- White sugar – Sweet, simple, and the base of every perfect sugar cookie.
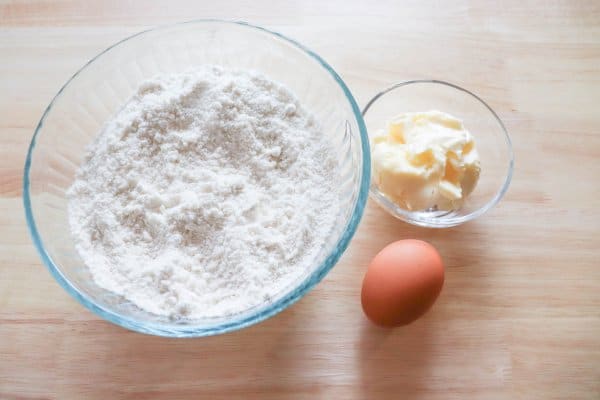
- Butter, room temperature – Soft enough to mix easily, but still buttery-rich for that melt-in-your-mouth texture.
- Egg – The glue that holds our dough together.
- Milk – Just enough to make the dough smooth without getting sticky.
- Vanilla extract – Just a splash, but it makes your kitchen smell like heaven.
- All-purpose flour – The sturdy backbone of any good cookie recipe.
- Baking soda – Gives our cookies that perfect light texture.
- Salt – A pinch to balance all that sweetness.
Tip: Pre-made Pillsbury refrigerated sugar cookie dough can be used to create these cookies as well. Simply add 1/4 cup of flour to the dough, combine well, and roll as directed. I love quick mom hacks like this!
Instructions
1. Preheat the oven to 350°F and line a baking sheet with parchment paper.
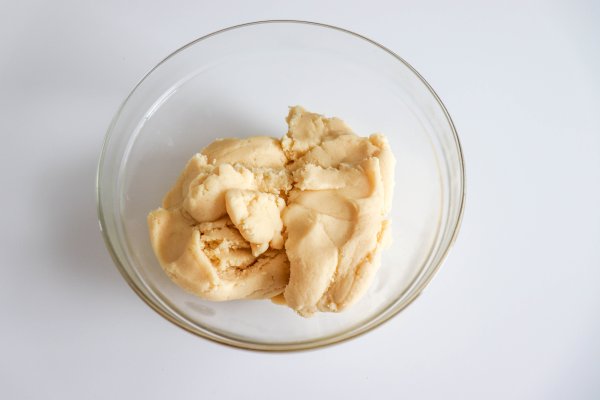
2. In a large bowl or stand mixer, combine dry ingredients. Add butter, egg, milk, and extract. Mix on medium speed until a soft dough forms.
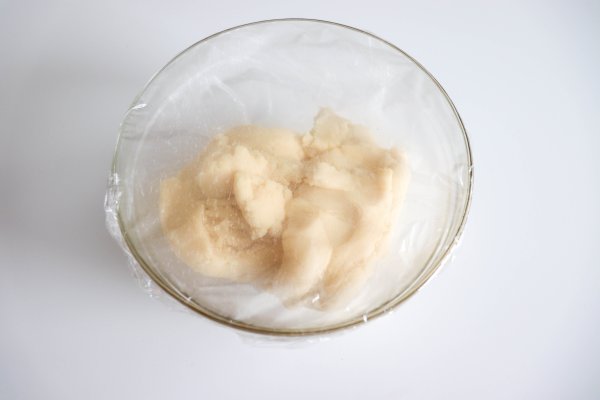
3. Chill the dough in the refrigerator for at least one hour. This helps to prevent the dough from spreading when baked.
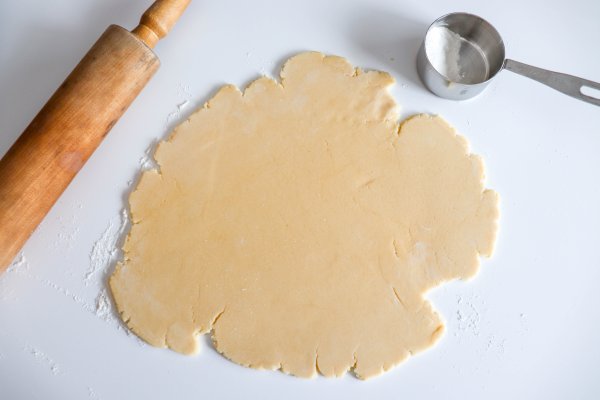
4. Dust your surface with flour and use a rolling pin to roll the dough to 1/4″ thickness.
5. Use cookie cutters to cut shapes from the dough. Place the cookies on the prepared baking sheet.
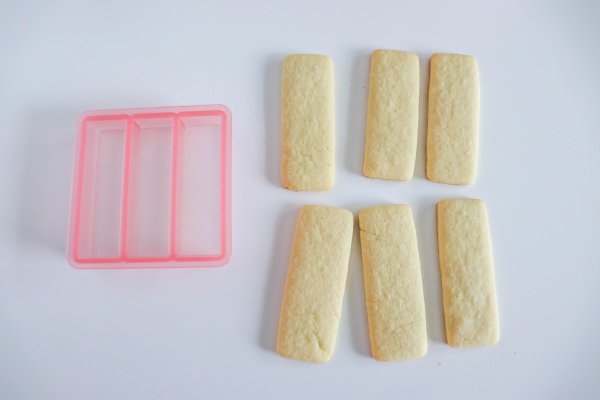
6. Bake until the cookies are lightly brown around the edges, about 7 minutes.
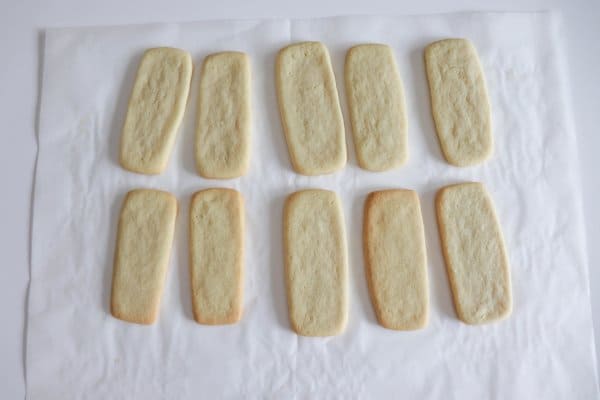
7. Place the cookies on a wire rack and cool completely before decorating.
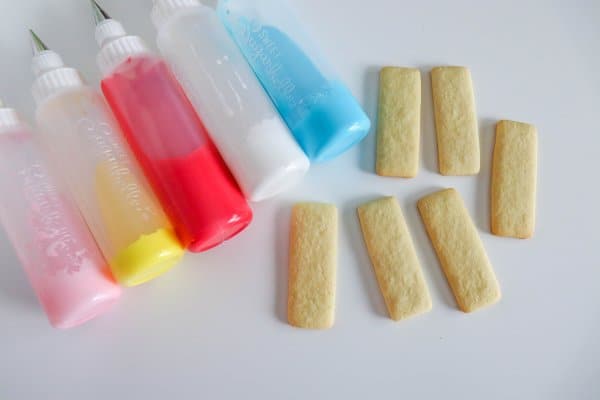
This recipe will make about 60 rectangular cookies.
Decorating Your Back to School Cookies
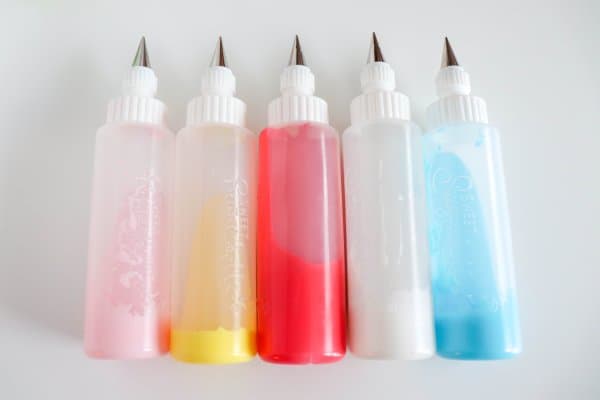
Use my easy royal icing recipe, tinted in light green, pink, yellow, brown, blue, red, and white, to make the best icing for these cookies!
I prefer to use icing bottles over a piping bag because I find they are easier to handle and give me a lot more control. Here I have our different colors of icing ready in each bottle.
My Royal Icing Tips
- If the icing is too hard, add more water one drop at a time.
- If the icing is too soft, add more powdered sugar one teaspoon at a time.
- Icing can be stored in an airtight container at room temperature for up to two weeks.
- To use, mix the royal icing with a hand mixer so that it becomes smooth and shiny again.
- Flood consistency is reached when a spoonful dropped onto a flat surface takes 10 – 15 seconds to become completely smooth.
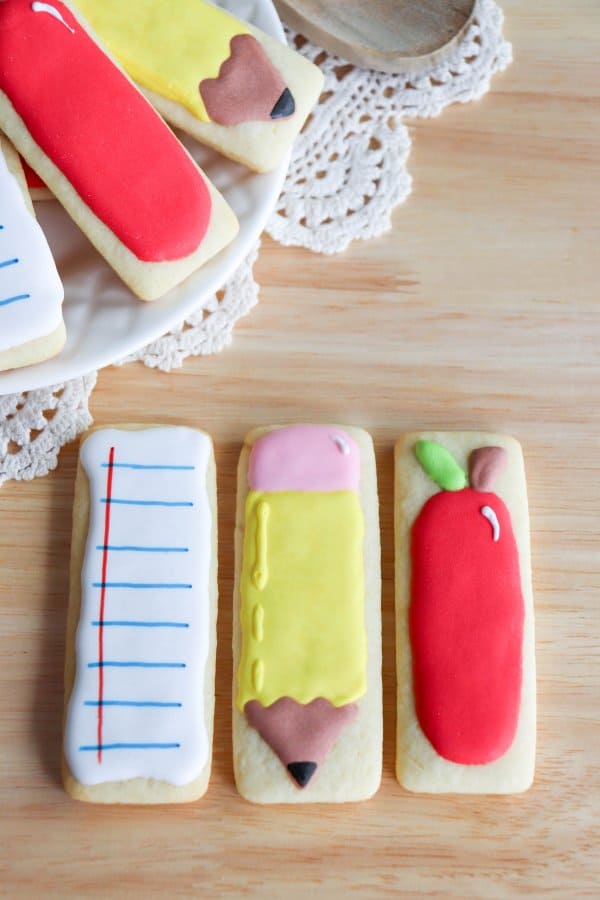
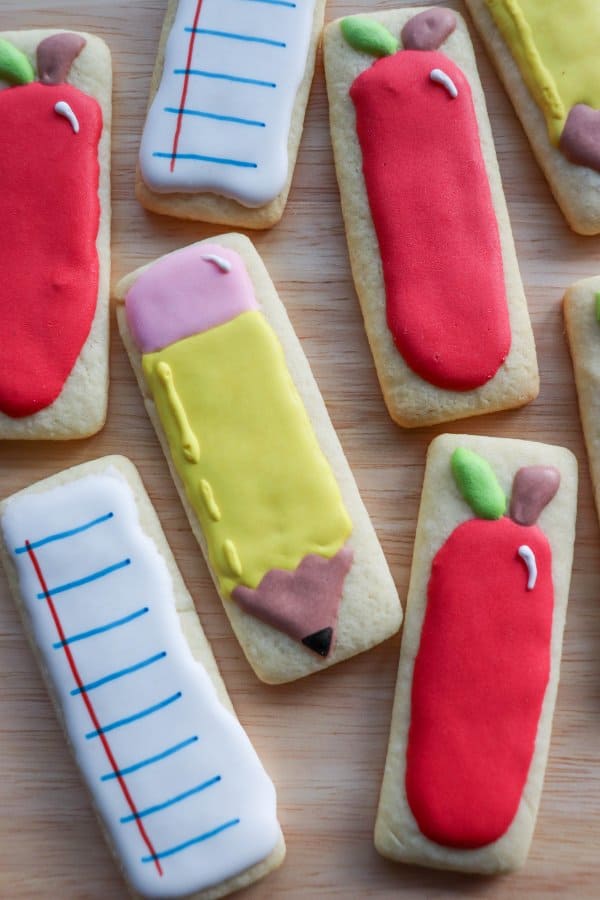
These instructions will show you how to decorate school-themed cookies like these ones. The sky is the limit though, so have fun with this process! You can decorate each cookie with all sorts of patterns and designs.
How to Decorate Back to School Cookies
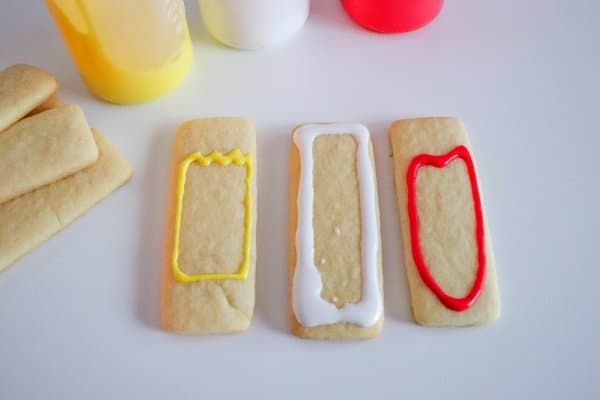
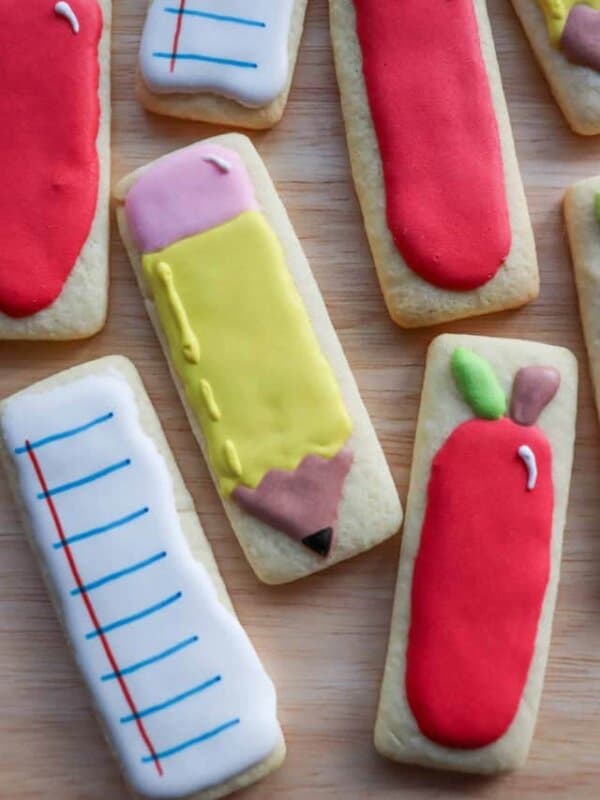
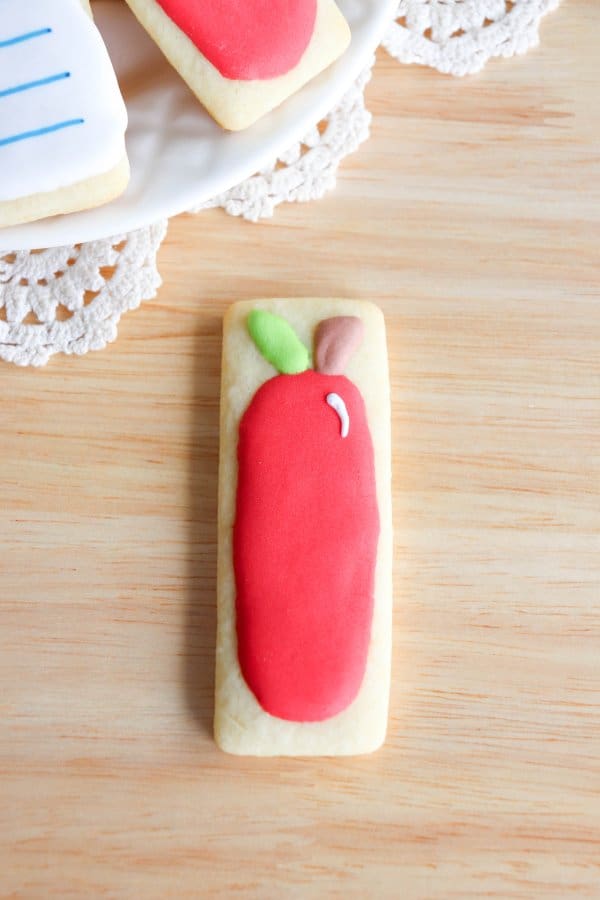
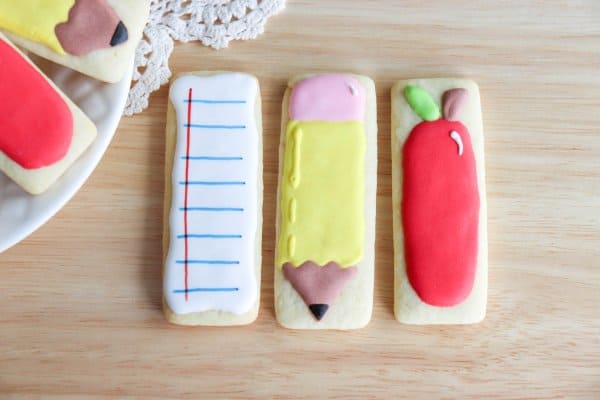
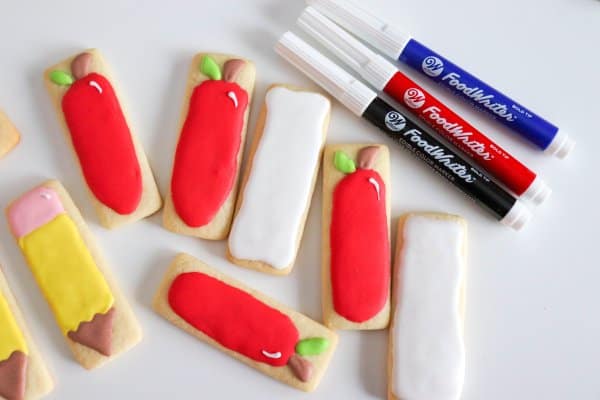
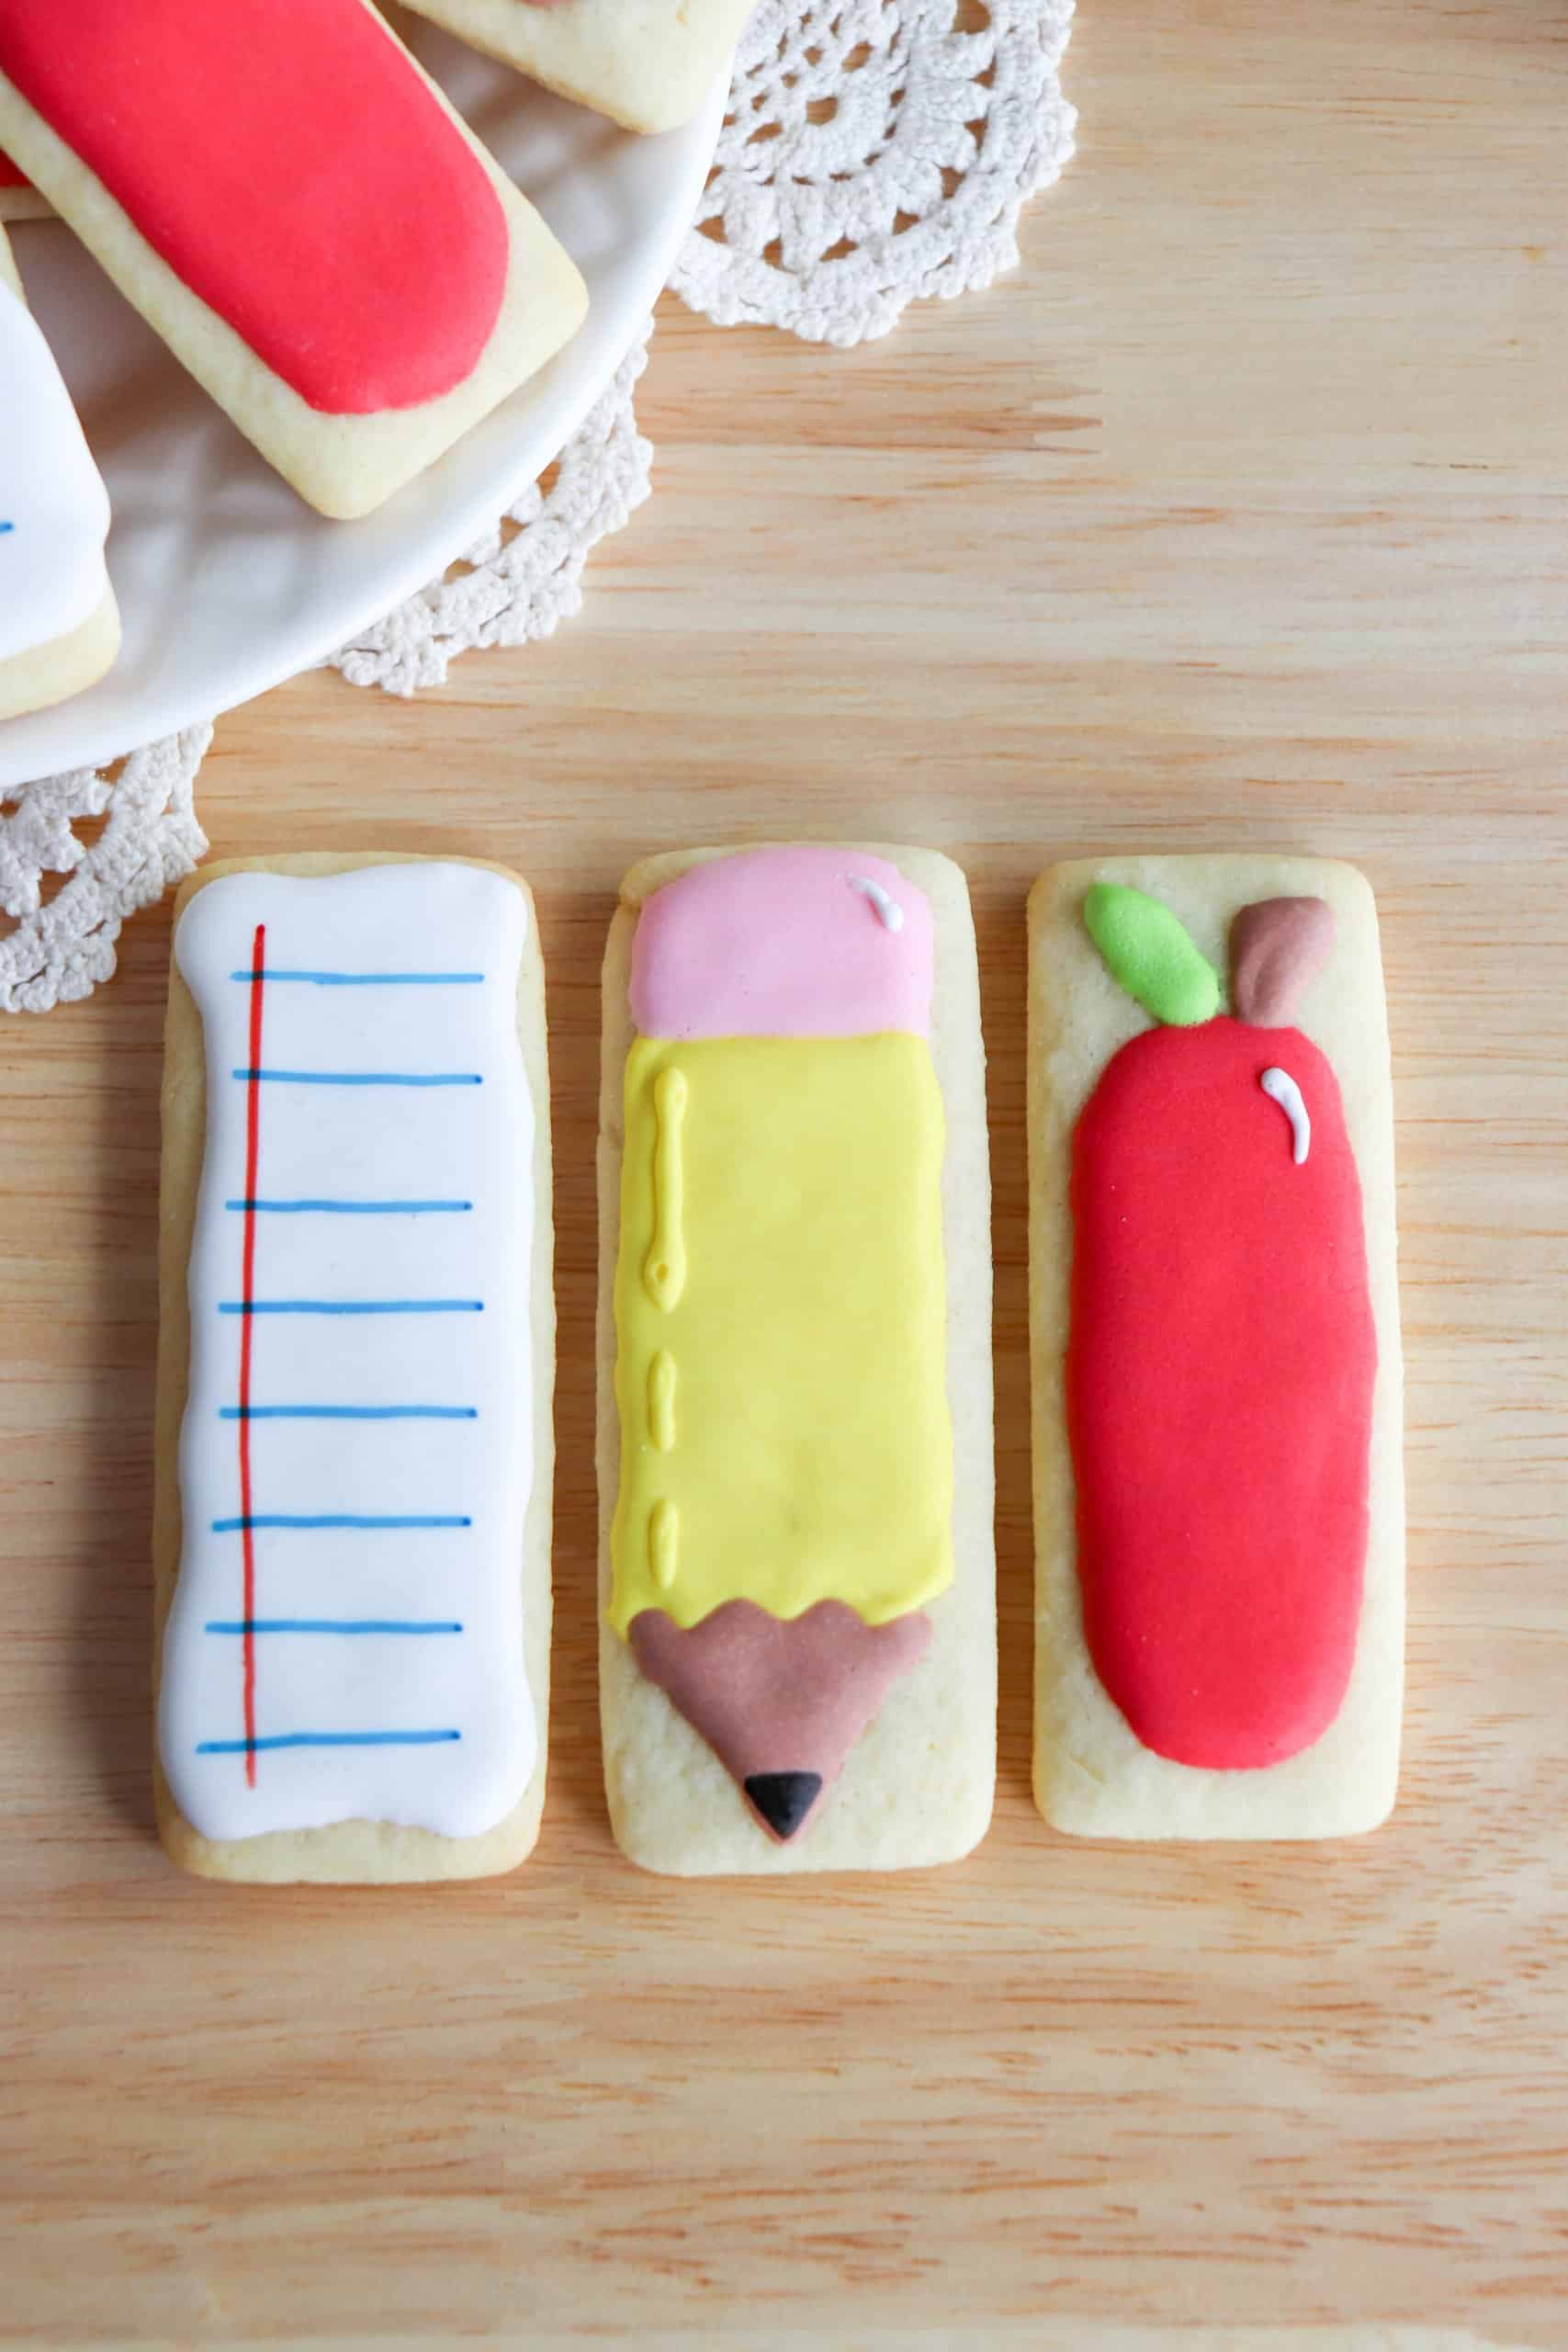
1. Outline each shape with a line of icing and flood the center. Make a red apple, white paper, and yellow pencil shape.

2. Use a toothpick or scribe to coax icing into corners or spaces. Let dry for 30 minutes.
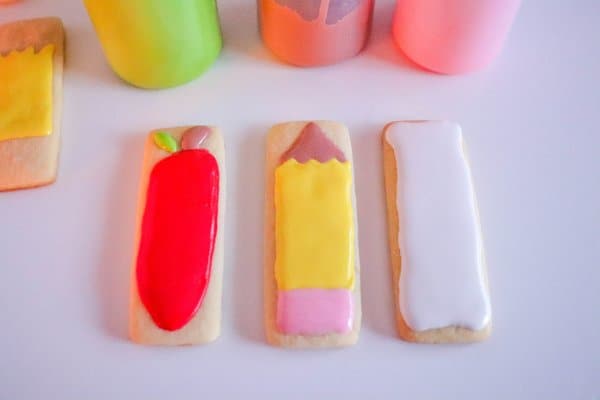
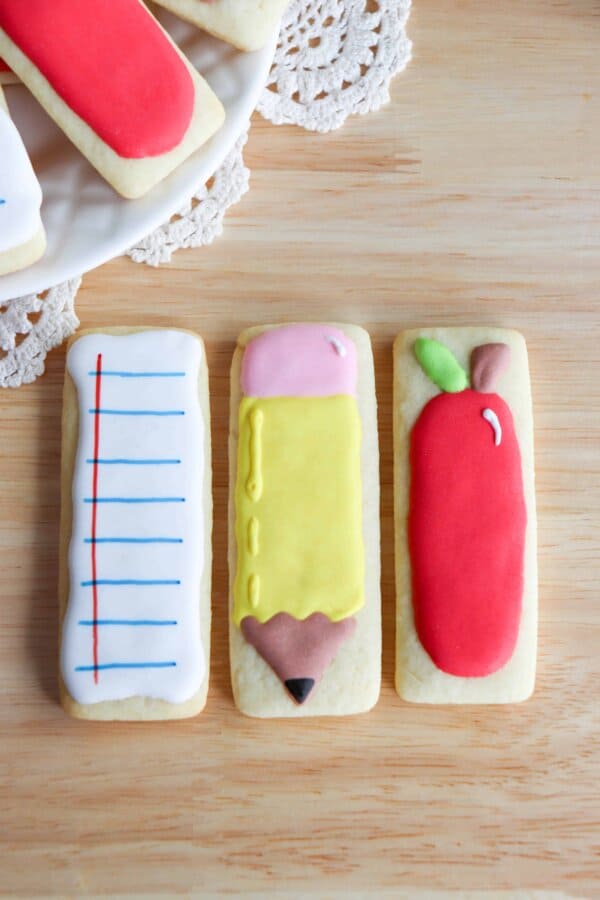
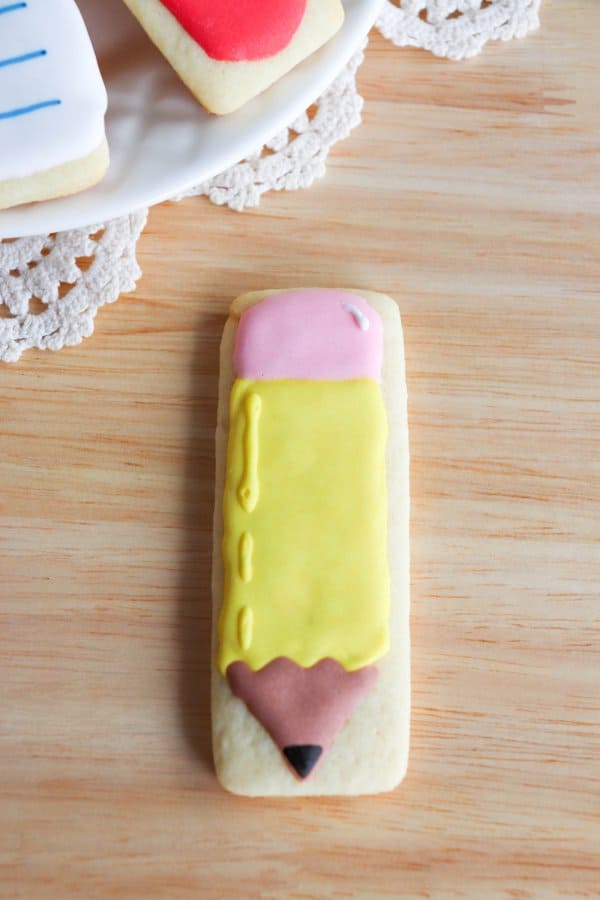
3. Add a stem and leaf to the apple and an eraser and tip to the pencil.
4. Allow the icing to completely dry before adding details with food writers. This will take at least two hours.

5. Use a black food writer to add a tip to the pencil. Add yellow piping details and a white accent to the eraser.
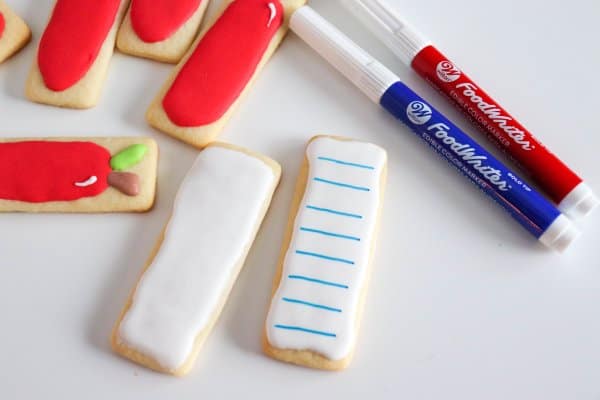
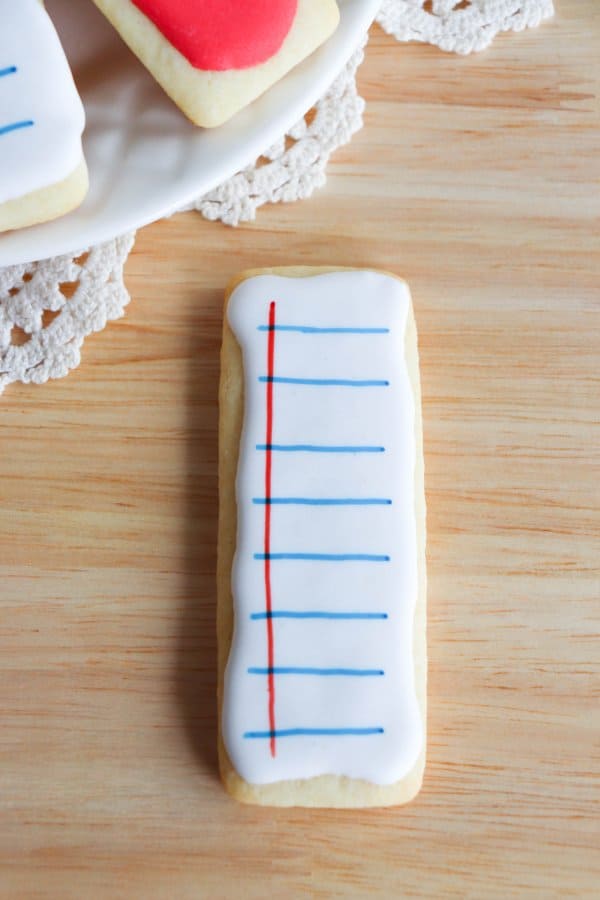
6. Use a red and blue food writer to add lines to the sheet of paper. Add a white accent to the apple.
These easy school sugar cookies make a delicious treat and they are far easier to create than you would think! All you need is a little patience and practice.
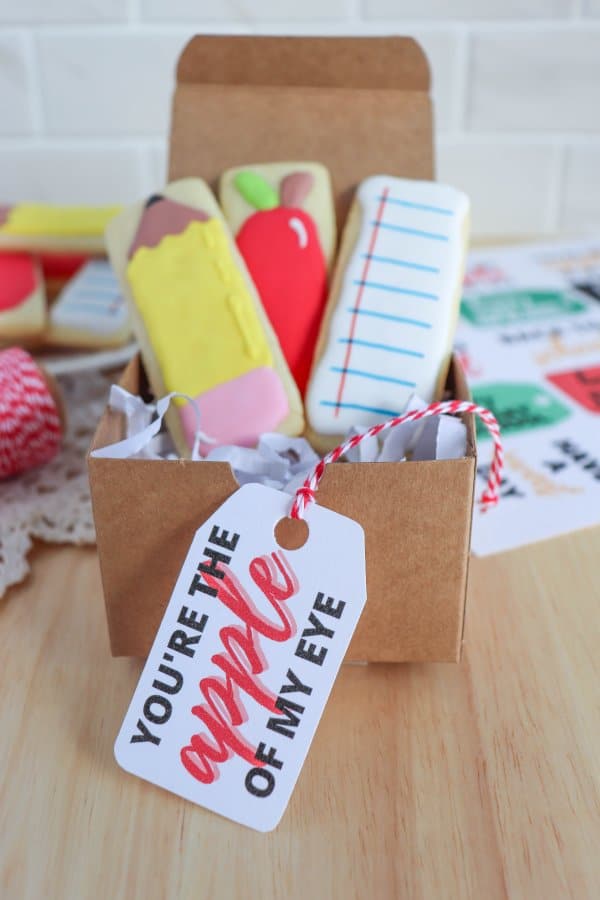
Allow the icing to completely harden for at least four hours before packaging or storing the cookies. Wrap in cellophane, tie with twine, and attach my printable gift tag for the ultimate back to school cookie gift.
Tips and Tricks
- Roll dough between two sheets of parchment for easy cleanup.
- Always let royal icing layers dry completely before adding details.
- If you are feeling uncertain about your decorating skills, use a piece of wax paper taped to a printed template and pipe royal icing transfers for perfectly consistent shapes.
- Let transfers dry at least 24 hours, then gently peel them off and attach with a dot of fresh icing.
- Choose gel food coloring over liquid to keep your icing from thinning out and losing shape.
- Always mix gel colors a shade lighter than you want and let the color sit in the icing for 15–20 minutes before using so it fully develops. The colors will deepen as the icing dries.
Be sure to check out my Back to School Printables for more fun ideas!
This post contains affiliate links.
Some of My Baking Essentials
- I love using this non-stick bakeware for all of my baking.
- These silicone mitts are perfect for grasping hot pans and baking dishes.
- This Henckel Knife is my favorite for slicing and dicing in the kitchen.
- These parchment paper bags are perfect for packaging and these large Rubbermaid food storage containers are great for storing baking in the freezer.
Frequently Asked Questions
How far in advance can I make these cookies?
You can bake and freeze sugar cookies (undecorated) up to a month in advance. Decorated cookies stay fresh for up to a week in an airtight container.
Can I use store-bought dough?
Yes! Just mix in an extra 1/4 cup of flour to make it sturdy enough for cutting shapes.
How do I store decorated cookies?
Once the icing is fully dry, store them in single layers separated by parchment paper in an airtight container.
Can I make these gluten-free?
Yes, just swap in a good gluten-free all-purpose flour blend.
What’s the best way to package the cookies for gifting?
Use clear cellophane bags with ribbon or twine, and don’t forget the printable tag for extra charm.
Enter your name and email below to get an instant download of the files! You are then registered for my weekly email Newsletter that is full of fun recipes, easy crafts, and free printables.
File Usage
- All digital files on Homemade Heather are for personal use only.
- Please direct others to the original website link when sharing.
- Digital reselling, resharing, or distribution is prohibited and NOT allowed.
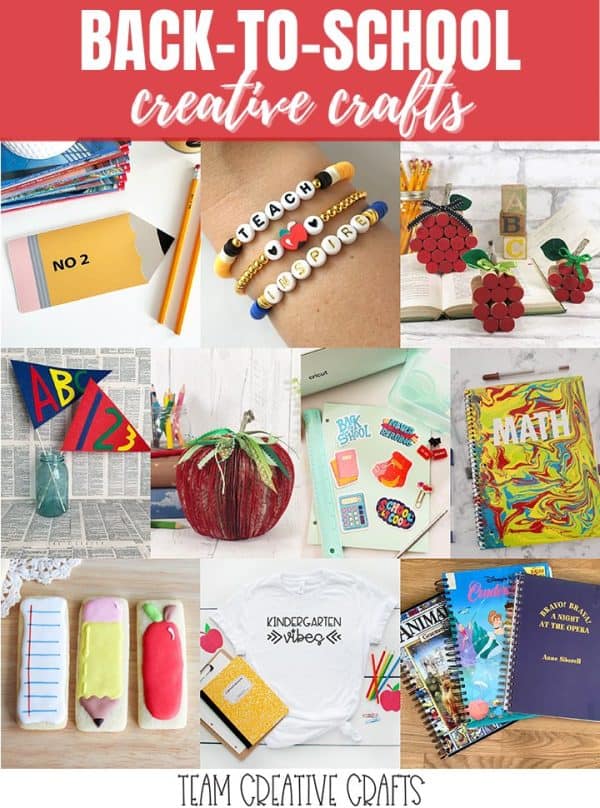
Be sure to check out all of the creative ideas in this month’s Creative Crafts blog hop!
More Back-to-School Ideas
- Beth of Creatively Beth is sharing an Upcycle Wine Cork Apple that would make the cutest back-to-school gift for that special teacher.
- Create a sweet gift for your new teacher with a fun set of Back-to-School Themed Bracelets that you can make in about an hour. Lindsay of Artsy Fartsy Mama shows you how.
- Greet your new teachers with a Free Printable Pencil Card created by Liz from Liz on Call. Tuck a gift card inside!
- Create colorful Paint Pour Notebooks with this fantastic step-by-step tutorial created by Blanca of Creativities Galore.
- Candice of She’s Crafty Crafty is showing her team spirit with a colorful set of Back-to-School Felt Flags. A great way to learn your ABC’s and 123’s.
- Learn how to make Back-to-School Stickers with your Cricut cutting machine. Michelle of Michelle’s Party Plan-it is sharing a complete tutorial.
- Jane from DIY by Jane is sharing a set of Upcrafted Book Journals. Take the covers from your favorite books and create the cutest notebooks.
- Make those first day photos the cutest with Back-to-School SVG Cut Files that can be made into shirts. Diana from The Girl Creative is sharing the free files.
- Laura of Me and My INKlings has created an Upcycled Book Apple, the perfect back-to-school gift for your favorite teacher.
If you love these back to school sugar cookies, please give them a five-star review and help me share them on Facebook or Pinterest so that others can enjoy them too!
Be sure to check out my other Sugar Cookie Recipes.
Back to School Sugar Cookies
Ingredients
- 1 cup white sugar
- ½ cup butter room temperature
- 1 large egg
- 4 Tbsp milk
- 1 tsp vanilla extract
- 2 cups all-purpose flour
- 1 tsp baking soda
- ¼ tsp salt
Instructions
- Line cookie sheets with parchment paper.
- In a large bowl with an electric mixer or stand mixer with paddle attachment, combine dry ingredients. Add butter, egg, milk, and extract. Mix on medium speed until a soft dough forms.
- Chill the dough in the refrigerator for at least one hour. This helps to prevent the dough from spreading when baked.
- Preheat the oven to 350 degrees F.
- Dust your surface with flour and use a rolling pin to roll the dough to 1/4" thickness on the floured surface.
- Use cookie cutters to cut shapes from the dough. Place the cookies on the prepared baking sheet.
- Bake until the cookies are lightly brown around the edges, about 7 minutes.
- Place the cookies on a wire rack to cool before decorating with royal icing.
Video
Notes
- Use the step-by-step instructions in the blog post to decorate the cookies.
- Roll dough between two sheets of parchment for easy cleanup.
- Always let royal icing layers dry completely before adding details.
- If you are feeling uncertain about your decorating skills, use a piece of wax paper taped to a printed template and pipe royal icing transfers for perfectly consistent shapes.
- Let transfers dry at least 24 hours, then gently peel them off and attach with a dot of fresh icing.
- Choose gel food coloring over liquid to keep your icing from thinning out and losing shape.
- Always mix gel colors a shade lighter than you want and let the color sit in the icing for 15–20 minutes before using so it fully develops. The colors will deepen as the icing dries.
Nutrition

These sugar cookies are so cute! I’ve never made sugar cookies before but these make me want to try and make some.
You should! They are so fun <3