Four Steps to Planning and Building a Cut Flower Garden
Cut flower garden planning made simple! Learn how we designed, built and planted our first backyard cut flower garden from the ground up.
When people visit our garden, one of the first questions they ask is, “How did you build all of this?”
The truth is, our cut flower garden didn’t happen overnight. It started months (even years) before a single flower was planted.
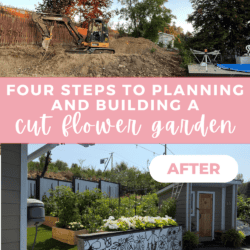
After our carriage house build we were left with a mound of dirt next to our new building that was covered in rocks and weeds. I had tried, unsuccessfully, to spread wildflower seeds every spring but that just wasn’t working.
Too busy to make this right away? Pin it for later! Pin this post to your favorite board on Pinterest and it will be there when you’re ready!
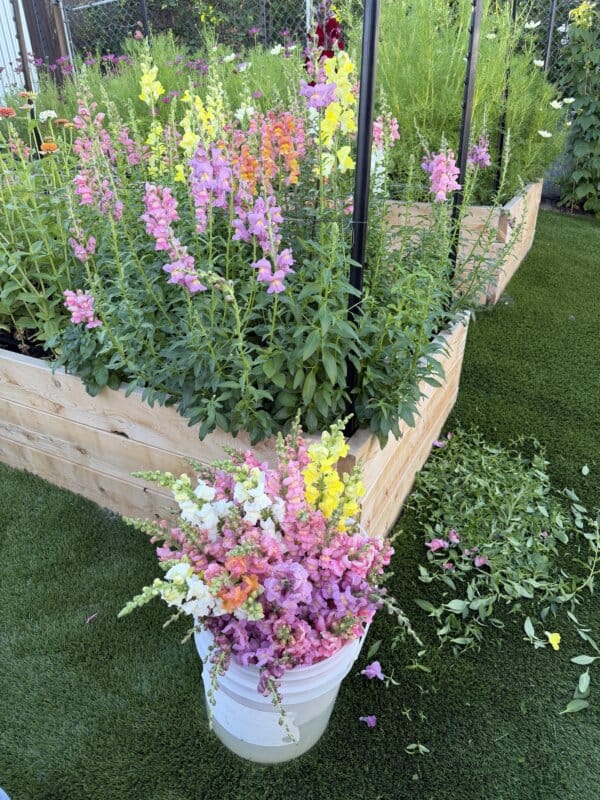
Last fall, we began dreaming about what this space could become. I sketched layouts, researched cut flowers, watched countless gardening videos and planned bouquets before I ever ordered our first seed packet.
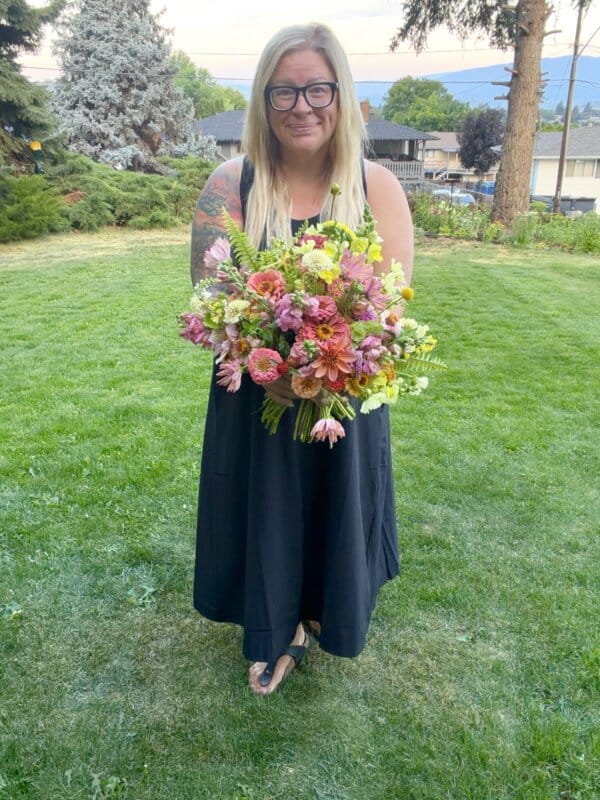
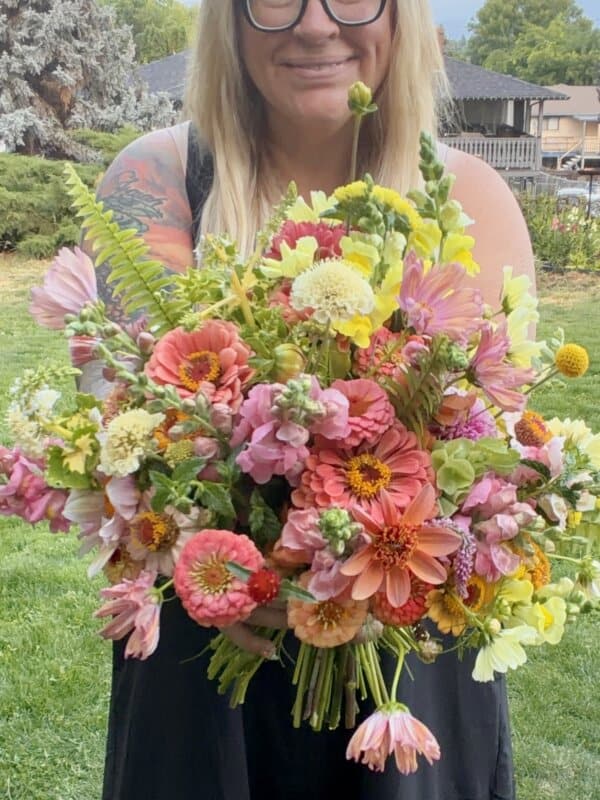
We knew that we would plant vegetables and flowers but the inspiration for the extent of the cut flower garden was my good friend, Lisa. She took me to some of her friends gardens last fall to gather flowers for bouquets and I was instantly smitten. Cut flowers needed to become a central feature of our garden!
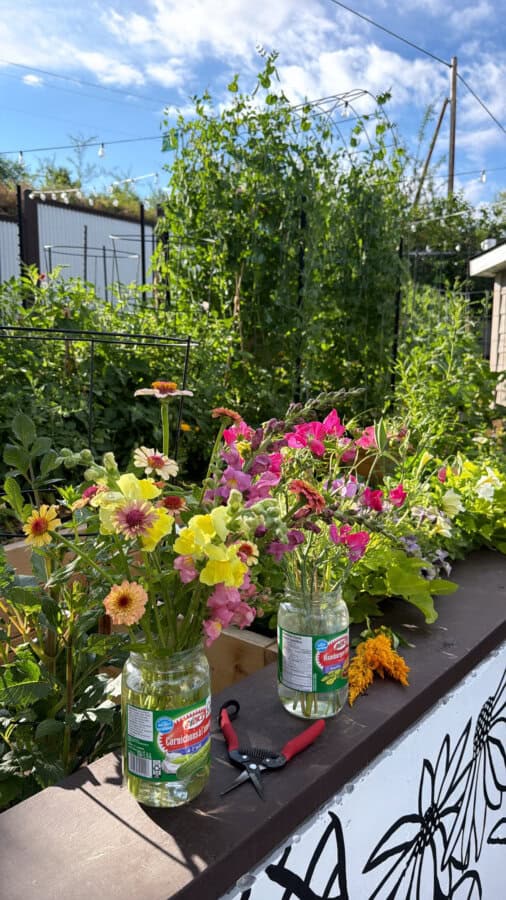
Looking back now, I’m so glad that I took the time to plan and really try to visualize what our garden would look like. It made spring building and planting so much smoother and gave us a garden that’s both beautiful and productive.
More Gardening Posts
- Four Steps to Planning and Building a Cut Flower Garden
- What We Planted in our Cut Flower Garden
- Our First Year Cut Flower Garden Tour
- The Fresh Cut Flower Stand
1. Planning the Layout
Our biggest goal was to create a garden that was practical to work in while still feeling inviting. We also wanted to utilize as much of our property as possible and maximize the growing space.
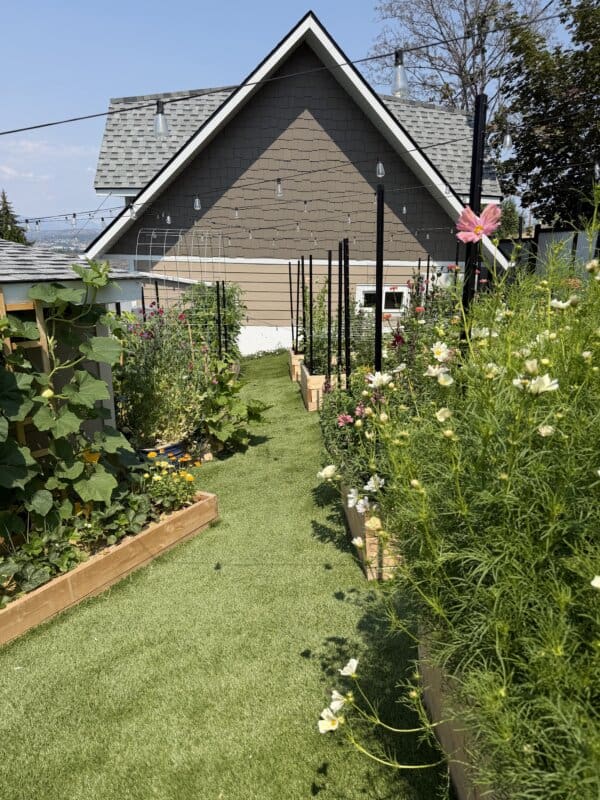
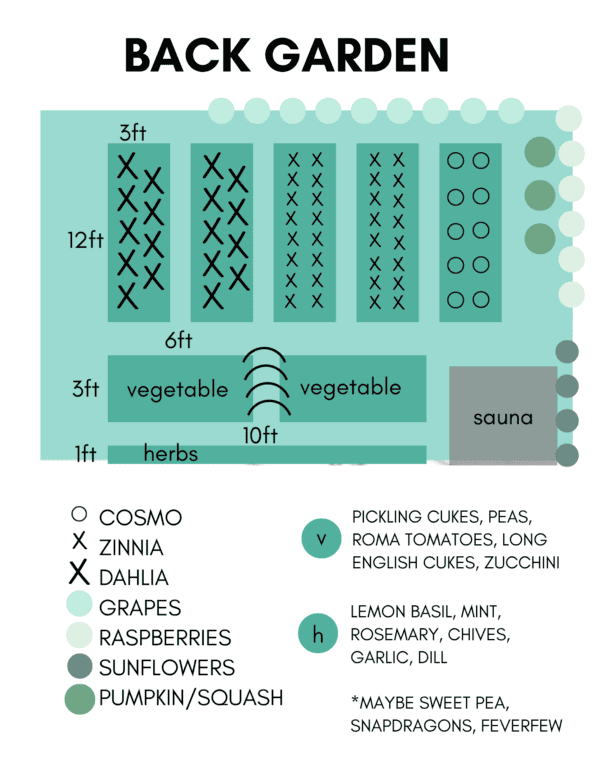
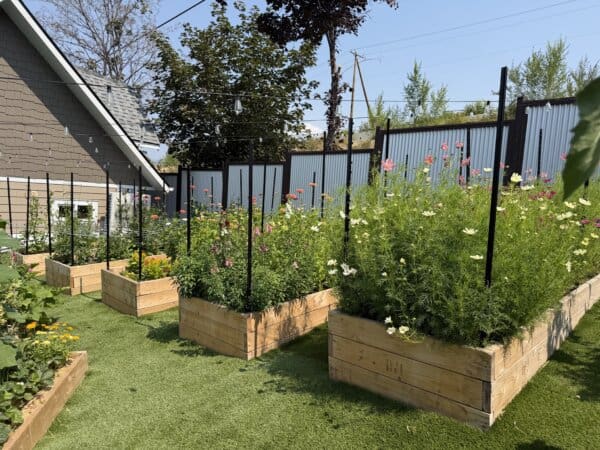
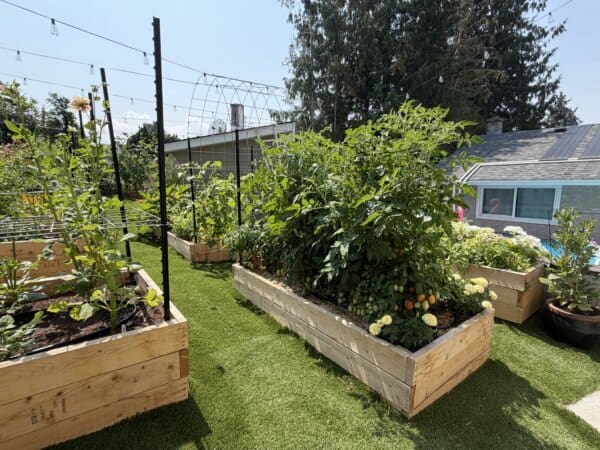
In the back garden, we dedicated five raised beds to cut flowers and added several more for vegetables, herbs and fruit. The layout allows us to move easily through the garden for watering, harvesting and weeding while keeping everything within reach.
The back garden is about 325 sq ft with nine raised beds in total. It’s surrounded by first year grapes, raspberries and sunflowers.
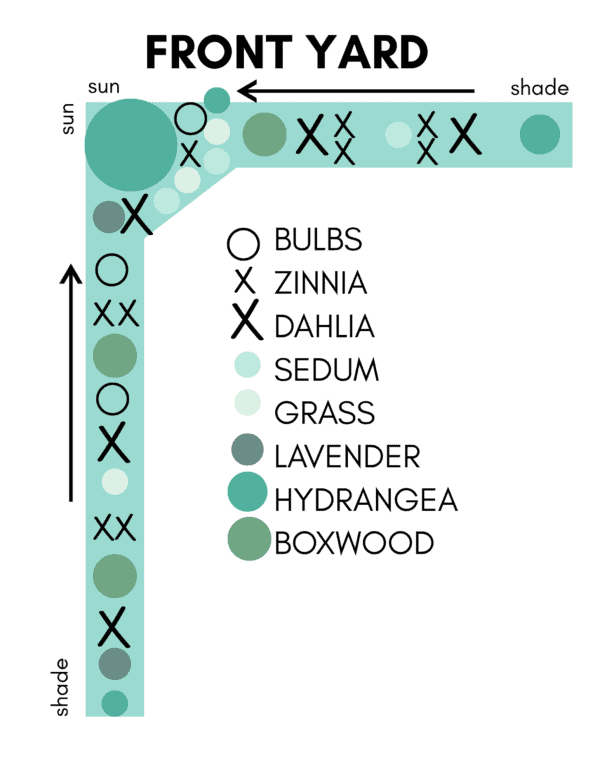
In the front garden, we dug up the bark mulch, ripped up the landscape fabric and made plans for cut flowers to join the established perennials in the front beds. The front garden is about 400 sq ft with half of the beds being primarily in the shade.
When planning your own garden, think about how you’ll actually use the space. It’s much easier to harvest bouquets when you have wide paths and organized planting beds.
2. Choosing the Right Location
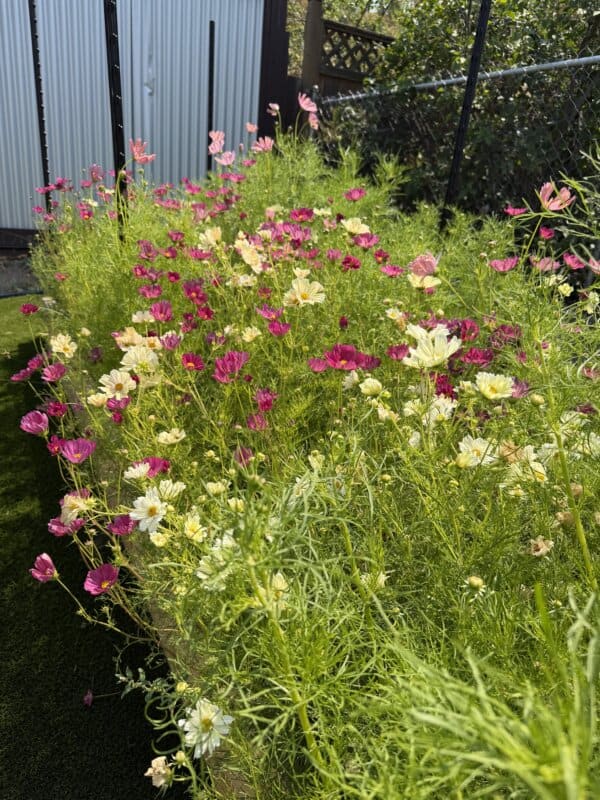
One of the best decisions we made was placing the cut flower garden in the sunniest part of our backyard. Most cut flowers thrive in full sun, and the location gives our dahlias, zinnias, cosmos and snapdragons plenty of light throughout the day.
We trimmed back many of our mature trees to provide more sunlight for flowers – this is key in having a successful growing season and early blooms!
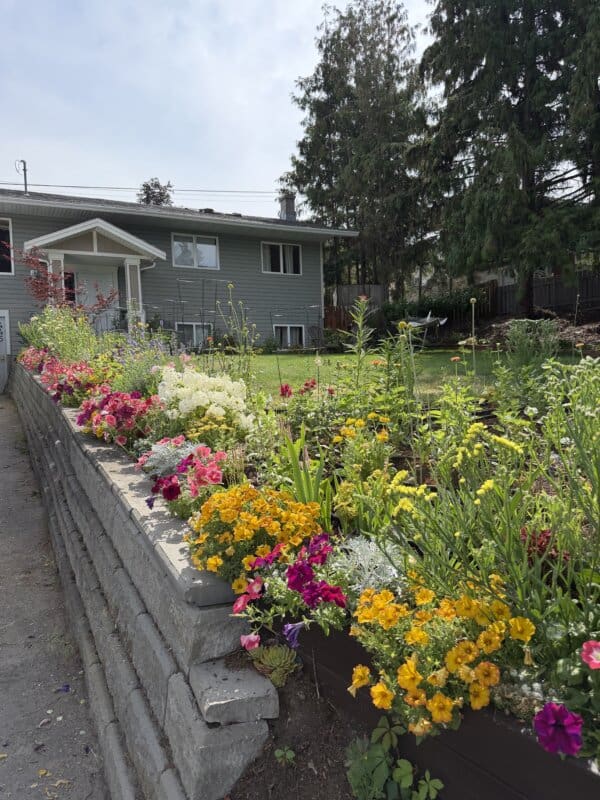
We also transformed our front perennial garden into nearly 400 square feet of additional cut flowers and bouquet fillers, making the most of every sunny corner of our property. In the more shady spots I planted fillers like hosta, heurchera, astilbe, hydrangeas and hellebore to create even more interest to the garden.
3. Building the Raised Beds
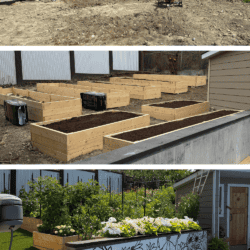
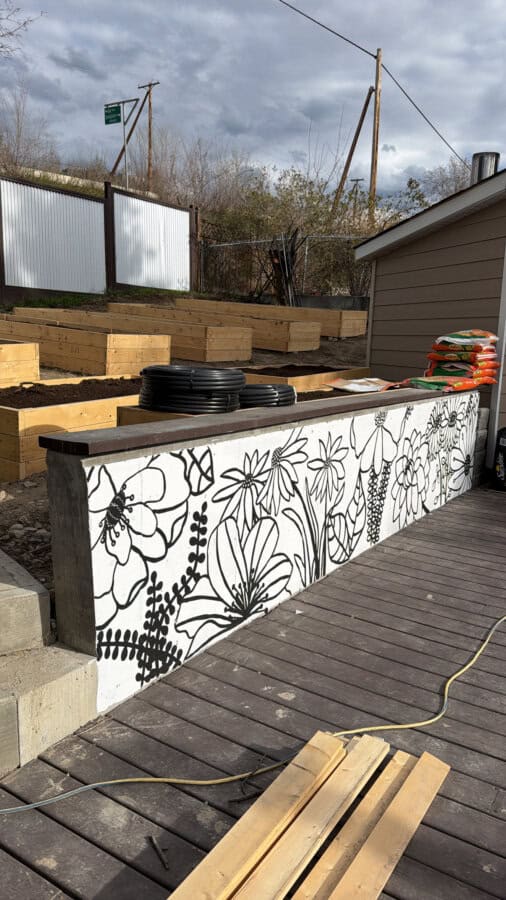
Martin built every one of our raised beds using natural 2×6 lumber. We had to make these custom because of the slope that we were working with in the back yard.
We chose to leave the wood unfinished because we love the rustic look and know it will weather beautifully over time. Each bed measures approximately 3 feet by 12 feet by 1-2 feet tall, making it easy to reach the center from either side without stepping into the soil.
Building the beds ourselves kept costs down and allowed us to customize the layout to fit our backyard perfectly.
4. Soil, Compost and Irrigation
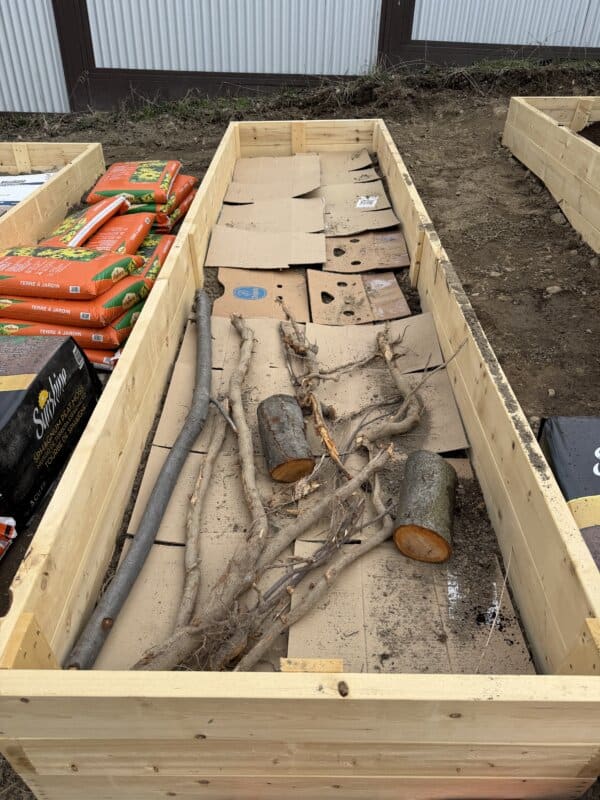
Before filling each raised bed, we covered the bottom with cardboard to help suppress weeds. Next came a layer of twigs, branches and other organic material, followed by a rich mixture of quality garden soil, peat moss and well-aged manure.
This layering method helps improve drainage while adding organic matter that will continue breaking down over time. The cardboard really works to reduce weeds! In beds where we did not lay cardboard the weeds have started to come up already.
We used a mixture of 1/2 garden soil, 1/4 peat moss and about 1/4 manure in each of the raised beds. I did not add direct fertilizer until after we saw the greenery of plants sprouting.
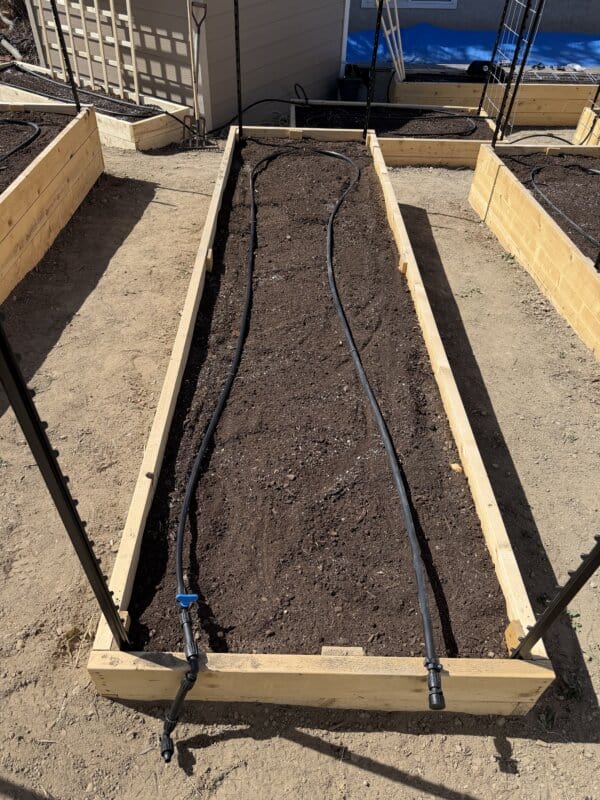
One of the best investments we made was installing drip irrigation throughout both the front and backyard gardens. Connected to automatic timers, the system waters consistently—even when we’re away camping.
Living in a semi-arid climate means every drop of water counts, so the drip system has been a game changer. Our drip system is half inch with holes every 12″, we purchased about 750ft of drip line and 150 ft of solid line for both the front and back garden beds. We also purchased a few feeder lines that we installed separately to water each of the flower pots around the garden.
We needed to add a pressure reducer for the lines and I purchased a BHyve water timer that we installed at each hose bib. This allows us to program different zones to be watered at different times and is a game changer when it comes to hands free watering throughout the season.
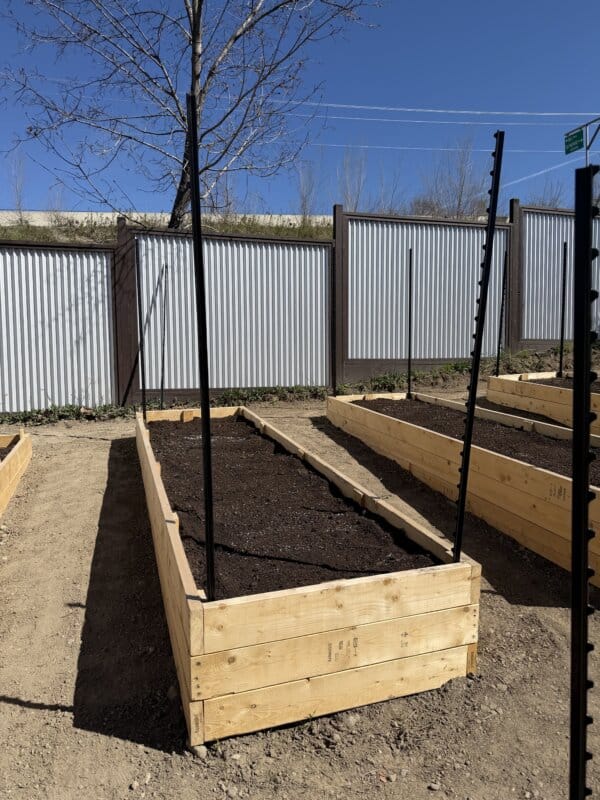
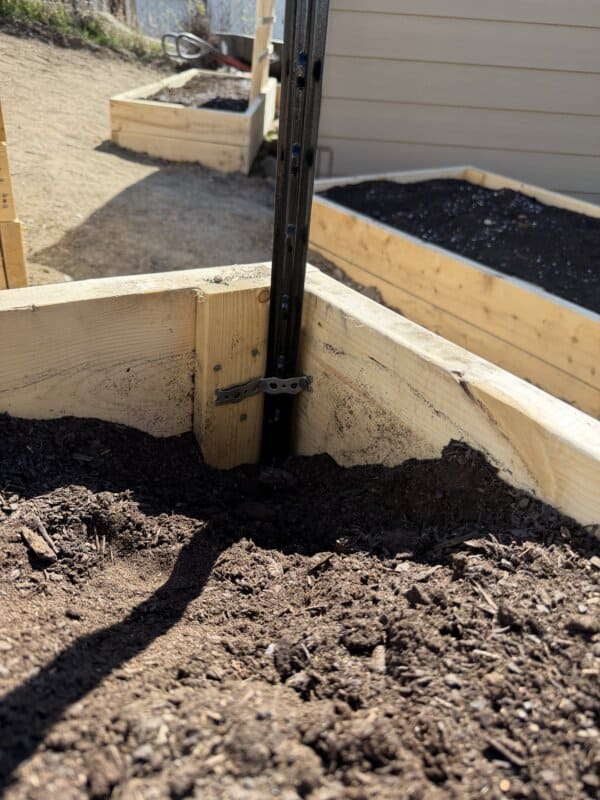
We also added t posts (that I painted black) to all the beds to help to provide support for the flowers and fasten trellis’s to. We installed six t posts into each 3 x 12ft cut flower bed, one at each corner and two in the center. This makes coralling the blooms with twine later on in the season much easier.
Materials We Used
This post contains affiliate links.
Here’s what we used to build our garden:
- 2×6 lumber for raised beds (from Home Depot)
- Deck screws
- Cardboard for weed suppression
- Twigs and branches for the base of each bed
- Garden soil, peat moss and manure
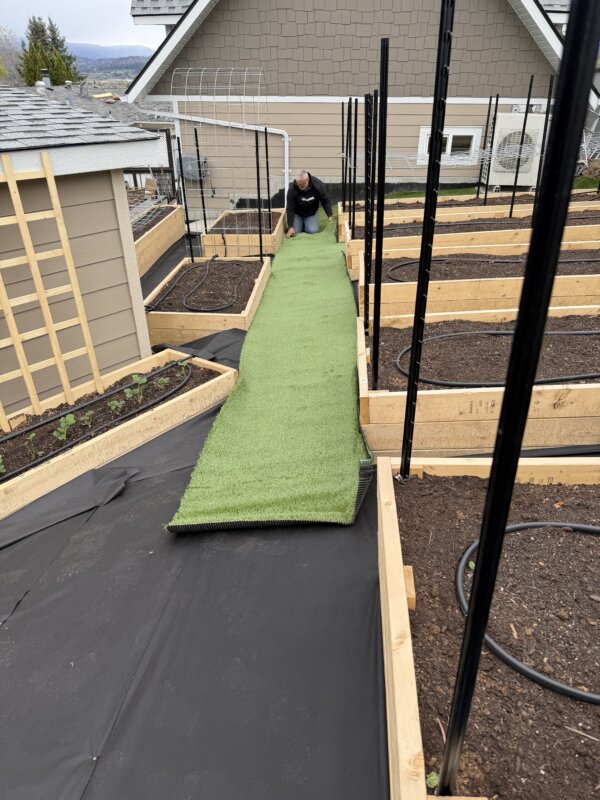
- Artificial turf between beds
- Cattle panel trellises (found at out local feed supply store, Buckerfields)
- T-posts for flower support (from Home Depot)
- Drip irrigation with B-Hyve timers (found locally at Pro Source Supply)
Each item was chosen to make the garden easier to maintain while creating a clean, organized space.
How Much It Cost
Because we built everything ourselves, we were able to keep costs lower than purchasing pre-made garden kits.
Our approximate costs included:
- Raised bed lumber: $800
- Soil and amendments: $500
- Artificial turf: $2,500
- Cattle panel trellises: $250
- T-posts: $200
- Drip irrigation: $1,200
- Dahlia tubers, seeds and plants: $1,000
While it was certainly an investment, we see it as creating a space that will continue producing flowers, vegetables and memories for years to come.
Things We’d Do Differently So Far
Even in our first season, we’ve already learned a few valuable lessons.
Next year we’ll plant far more bouquet fillers like feverfew and yarrow because our focal flowers are blooming faster than our filler flowers. Timing can be tricky in cut flower gardening as the weather changes from year to year.
We’ll also continue succession planting so we have a steady supply of blooms throughout the season. Pro Cut White Lite sunflowers are a prime example of a bloom that we will be doing this with next year.
One thing we have learned is how important it is to use dead wood for filling boxes and not branches that have been recently cut. We made the mistake of filling the bottom of our beds with a recently cut plum tree and now we have plum tree shoots coming up! We plan to take them out and amend the beds this fall.
That’s one of the joys of gardening—every year teaches you something new.
Our Best Tips for Building Your Own Cut Flower Garden
- If you’re thinking about starting a cut flower garden, don’t feel like everything has to be perfect. Gardening is a practice in patience and perseverance.
- Start with a plan, choose flowers you genuinely love, invest in good soil, and install irrigation if it’s within your budget.
- Most importantly, build a garden that fits your lifestyle. Whether you have one raised bed or ten, growing flowers has a way of slowing you down and encouraging you to spend more time outdoors.
Frequently Asked Questions
Why did you choose raised beds?
Raised beds warm up earlier in the spring, drain well, reduce weeds and make harvesting much easier. Our raised beds bloomed weeks before the flowers planted in the front garden beds.
Why did you use artificial turf?
Artificial turf gives us clean walkways without mowing, watering or fighting weeds. It also keeps mud out of the garden after rain.
Would you build the same garden again?
Absolutely! We’d make a few planting adjustments, but the overall layout has worked beautifully for our first season.
Our garden began as a way to finish up our backyard build. Today it’s one of our family’s favorite places to gather, work and create together—and we wouldn’t change a thing.
Be sure to check out my next post in this series – What We Planted in our Cut Flower Garden. Remember to spread kindness like dandelion seeds—because the smallest act of generosity can bloom into something beautiful.