What We Planted in Our Cut Flower Garden
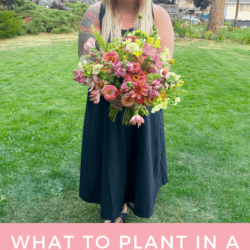
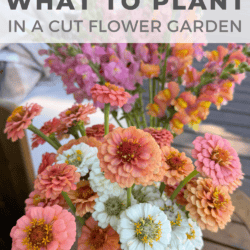
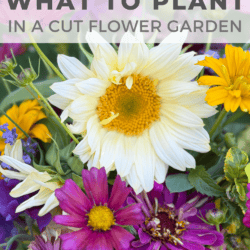
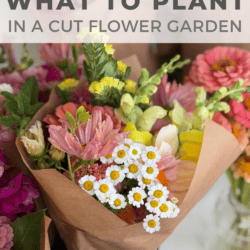
Learn what we planted in our cut flower garden complete with flowers, vegetables and bouquet fillers! We’ve included seed-starting tips and lessons learned in our first year.
One of the questions that I am often asked is, “what is that”!? Especially when I share a flower or filler that adds that “wow” factor to our bouquets.
The next question is always, what should I plant in my own cut flower garden? And my short answer? A little bit of everything!
Since this is our very first year growing a dedicated cut flower garden, I wanted to experiment with a wide variety of flowers to see what thrives in our garden, what works well in bouquets and, most importantly, what brings us joy.
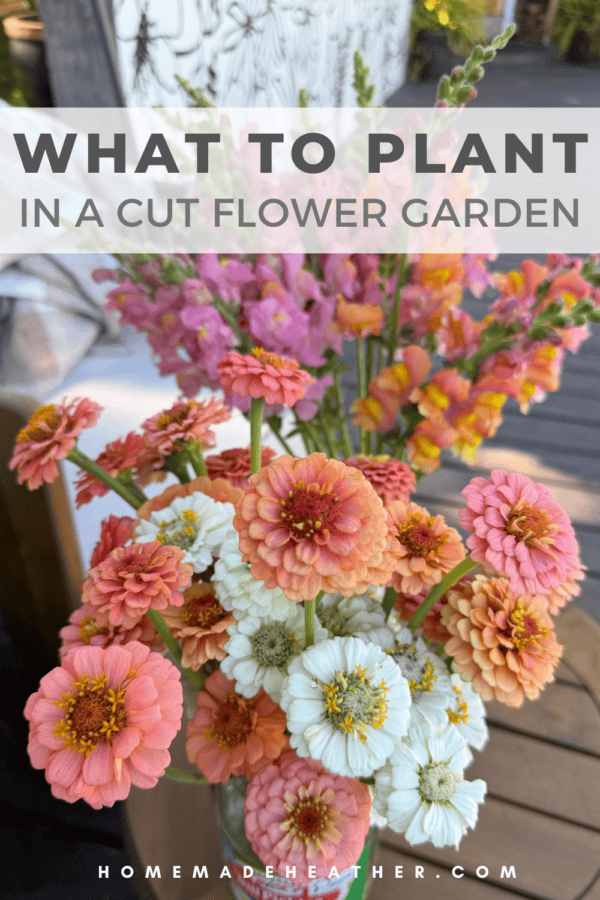
Too busy to make this right away? Pin it for later! Pin this post to your favorite board on Pinterest and it will be there when you’re ready!
More Gardening Posts
- Four Steps to Planning and Building a Cut Flower Garden
- What We Planted in Our Cut Flower Garden
- Our First Year Cut Flower Garden Tour
- Our Pay What You Can Flower Stand
Be sure to check out my Cut Flower Garden Supplies and Flower Stand Essentials on Amazon with these affiliate links. Thank you for supporting Homemade Heather!
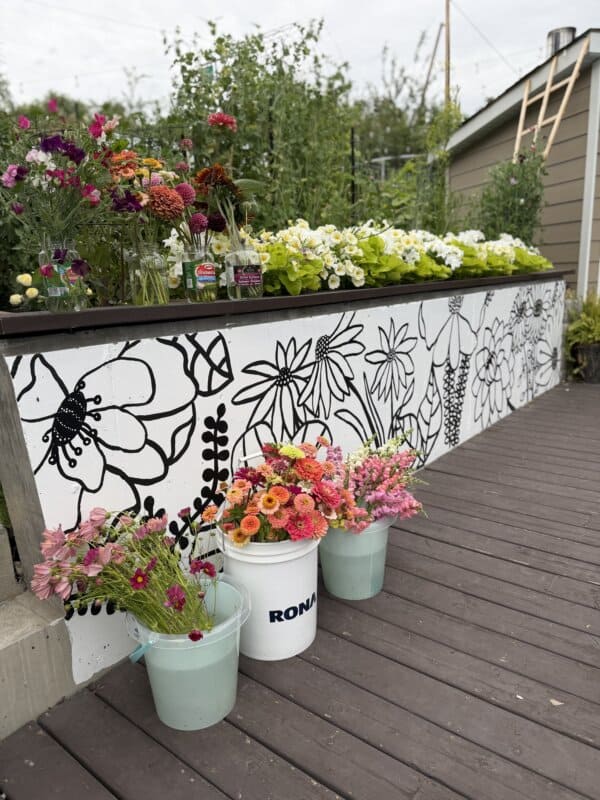
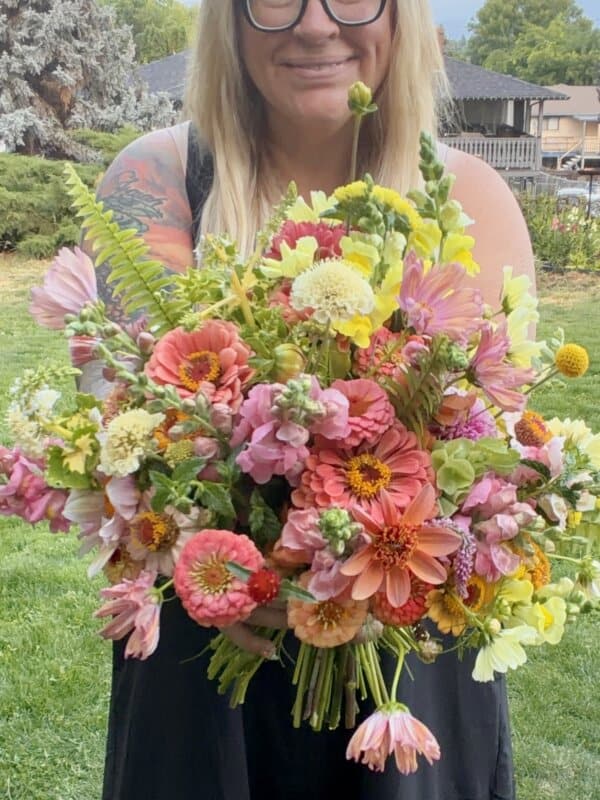
Rather than planting random flowers, I actually planned our bouquets first. I thought about focal flowers, filler flowers, greenery, texture and bloom times so we’d have everything we needed to create beautiful arrangements throughout the growing season.
Looking back, that was one of the best decisions I made. Without a variety of flowers available to us at all times, we couldn’t offer the market bouquets that I was looking for.
How I Chose What To Plant
I divided all of our plants into three main categories: focal, filler and greenery. We would need a good mixture of each of these kinds of stems to build bouquets.
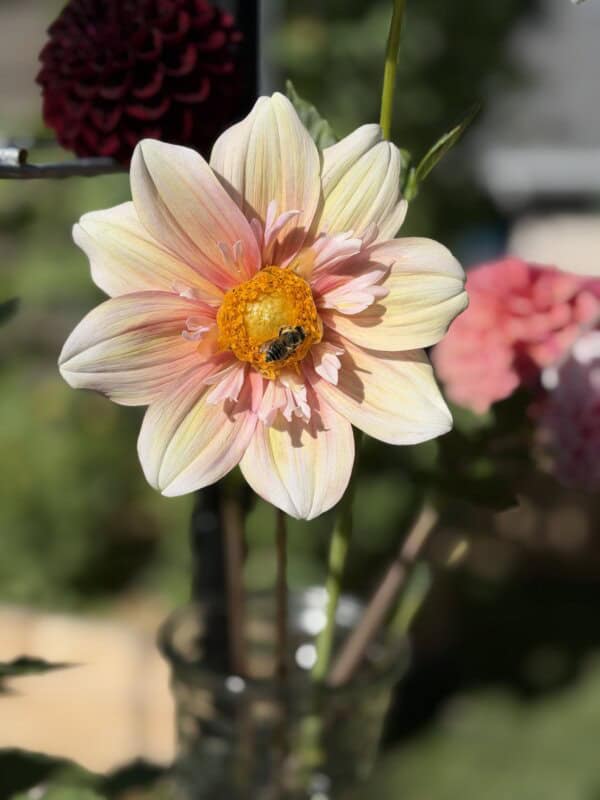
Focals:
I knew from the very beginning that dahlias would be the stars of our garden. Although I had never grown them before (talk about going all-in), I absolutely fell in love with their incredible colours, endless variety and long stems that make them perfect for bouquets.
They take a little extra work and can be temperamental but I had to trust that they’d be worth every minute.
- Dahlias – we planted over 80 plants in our first year cut flower garden. This is a lot and not something that I would recommend for every first year grower. Start small with a few varieties that you find appealing.
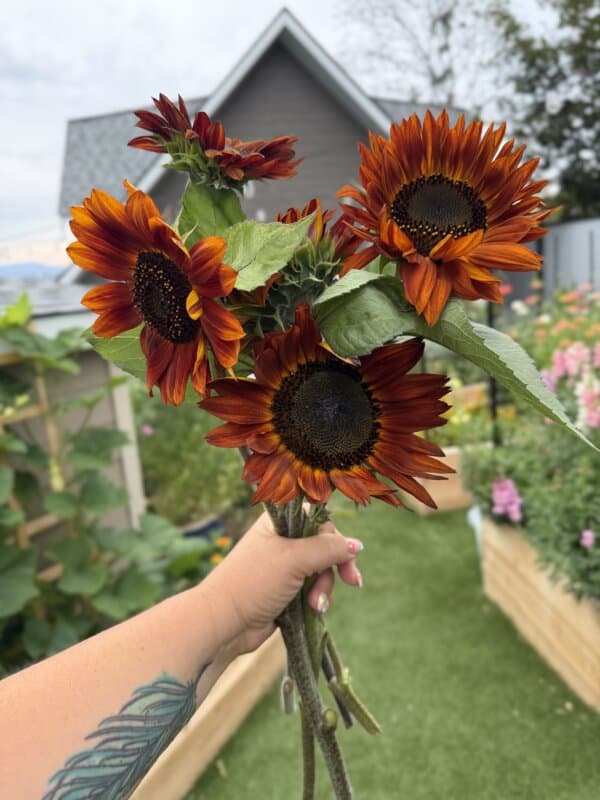
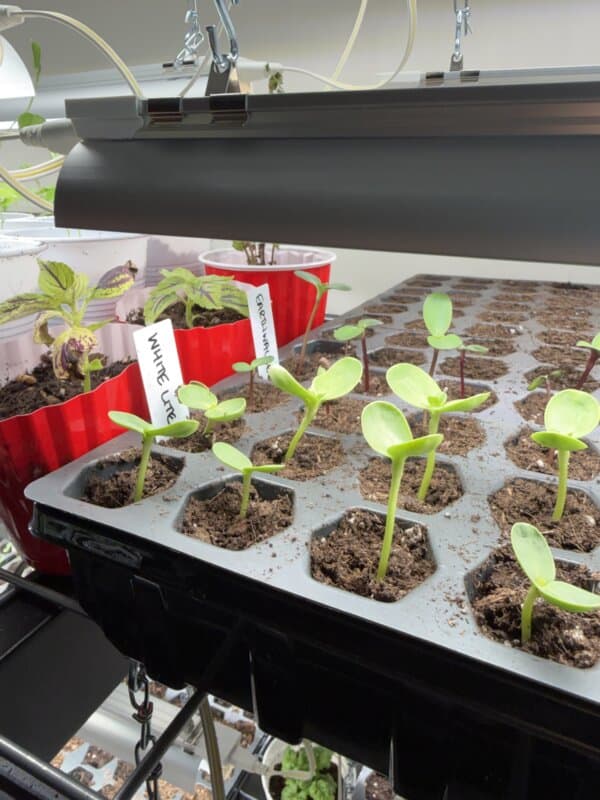
- Pro Cut Sunflowers – we planted several “one and done”, no pollen varieties. Pro Cut White Lite has been a favorite!
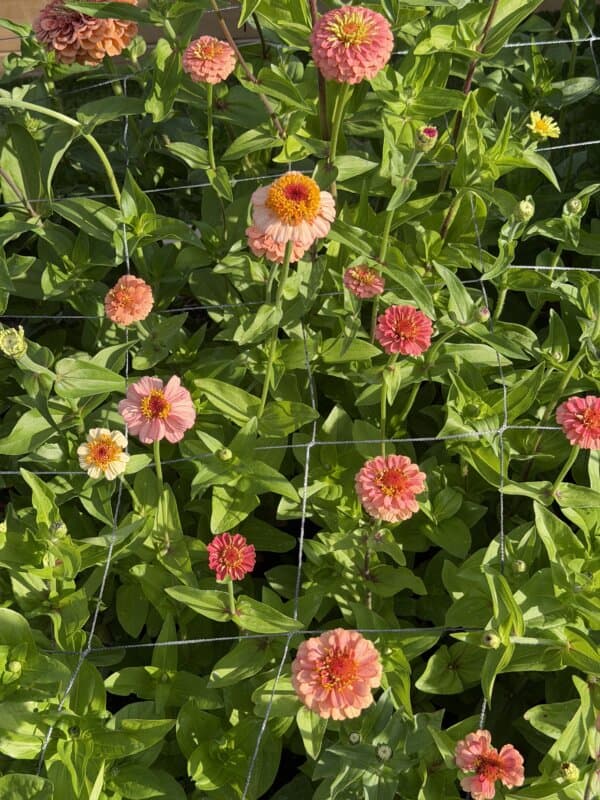
- Zinnias – the giant varieties make great focal flowers and come in an array of forms and colors.
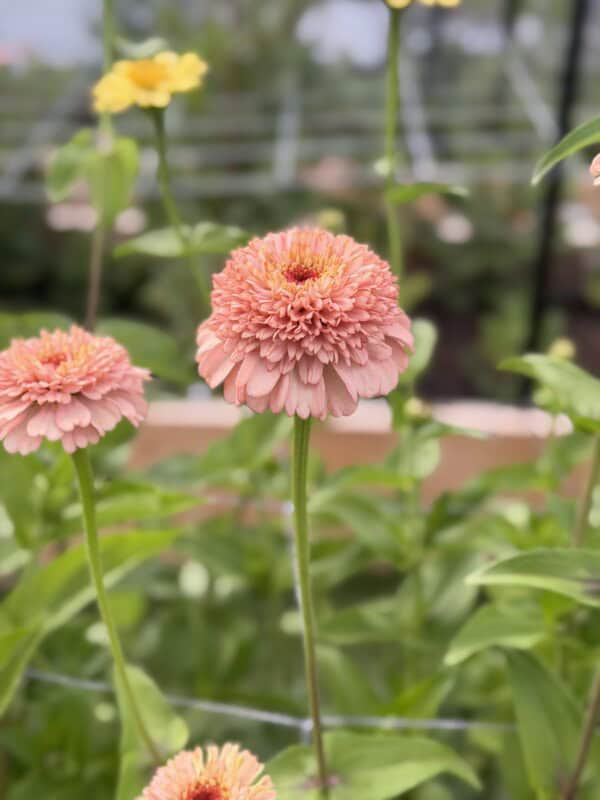
Fillers:
From there, we chose flowers that would bloom at different times and complement one another in arrangements. We wanted soft textures, bright colours and plenty of flowers that would encourage repeat blooms (cut and come again) all summer long.
Our fillers included different shapes too! Like spikes, discs and balls – helping to add dimension, interest and texture to bouquets.
- Zinnias – smaller varieties work well as a filler.
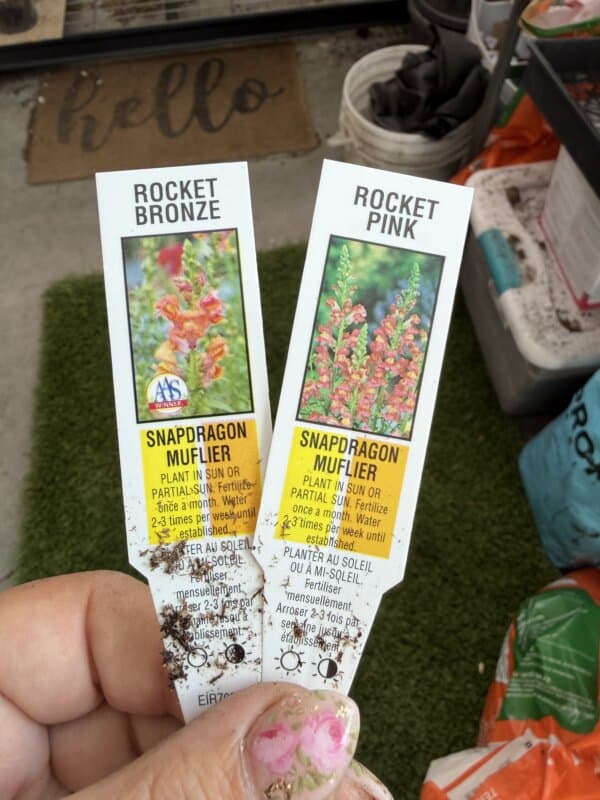
- Snapdragons – one of my favorite ways to add a pop of color, I used the rocket varieties.
- Cosmos – prolific, easy to grow and productive. These have become a work horse in our garden! I planted a mix and found that the dark pink/red color bloomed first with the yellow and peach colors later in the season.
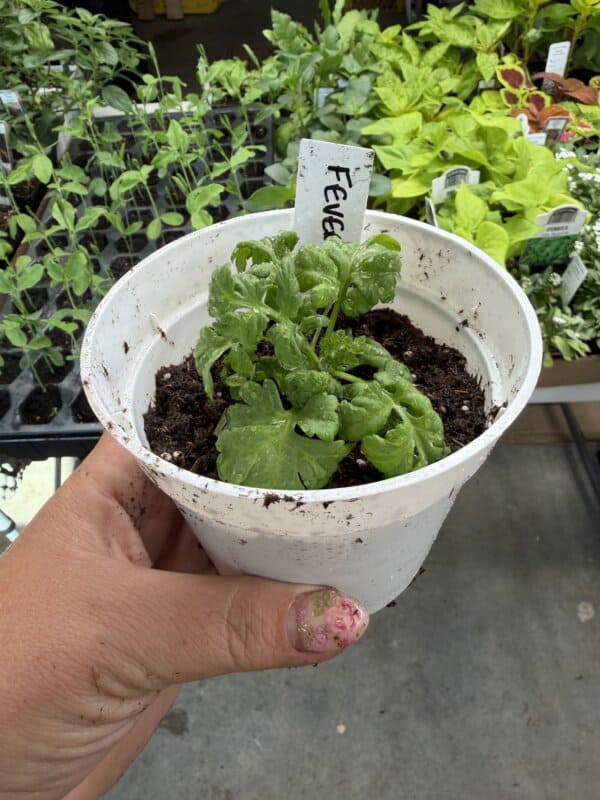
- Feverfew – I started with five plants and wish that I had planted at least a dozen more.
- Yarrow – we had three plants and I added two more in early summer, we could have used more.
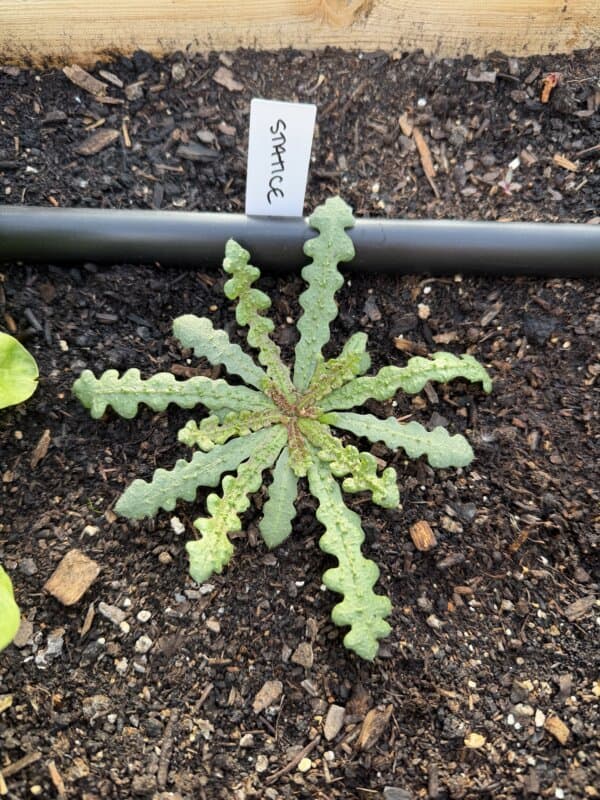
- Statice – prolific, long lasting and colorful. Poker statice will definately be returning next year.
- Strawflower – a favorite for many! Getting the color right was sometimes tricky in our bouquets as I planted a mix and had many oranges rather than pink or peach tones.
- Sweet peas – they smell wonderful but can be tricky to grow. We are not sure that they will return next year because they often get tangled up and don’t have the best stem length.
- Crasepedia – this makes a cool pop of color in any bouquet! I hopw to plant more next year.
- Rudbekia – another great daisy-like addition that comes in many colors. I only planted a few but would consider more in the pink tones.
- Pincushion flower (Scabiosa) – these make a nice airy addition to bouquets and come in a ton of colors
- Celosia – has been difficult to grow so far, we are hoping to be able to use this in fall bouquets.
- Lavender – a perennial that offers both purple or white flowers.
Greenery:
Greenery offers a fresh backdrop for blooms and helps to fill out a bouquets nicely without using up all of your flowers.
- Mint – adds a wonderful smell
- Basil – this does too!
- Ferns – I have taken to using the ferns in my flower pots.
- Raspberry Leaves – our raspberries are still too small to use but someday we hope to add them to bouquets.
- Ornamental grass – we have several, blue and bunny tail grass are favorites.
- Boxwood – a perennial that is handy to add to bouquets although often has a short stem length.
- Hydrangeas – I recently purchased a limelight hydrangea, bobo hydrangea and three limelight hydrangea trees. All have bloomed in their first year which has been lovely!
- Coleus – comes in a varitety of colors and has a wonderfully long vase life. I will be harvesting more of these to use in bouquets mid summer.
- Nigella Green – these have the coolest seed pods! My plants were gifted from Amanda and Five Acres Flower Farm.
- Bells of Ireland – these have a wonderful spike shape and bright green color that makes a statement in bouquets. They are “one and done” meaning that they do not come back once cut, so every stem is precious!
Seeds and Plant Sources
One of my favourite parts of this journey has been discovering the incredible gardening community here in Kelowna.
Most of our flower seeds came from Circle Farms, a company based in Calgary, while many of our seedlings were purchased locally here in Kelowna from the Greenery Garden Centre.
Use code “HomemadeHeather10” to get 10% off your first order with Circle Farms!
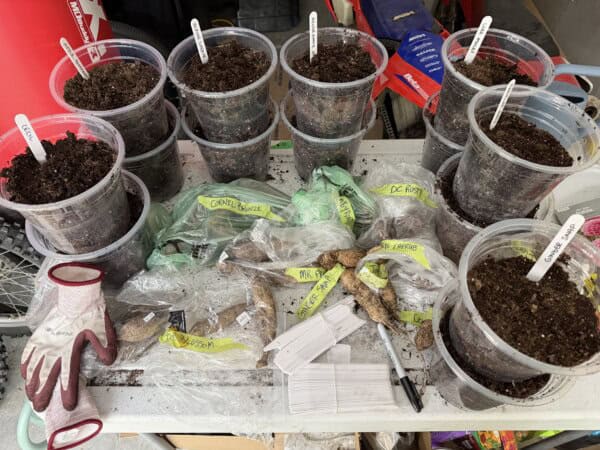
Our dahlias have an even more meaningful story.
Last fall, I reached out to the local flower community looking for dahlia tubers to practice with. I was overwhelmed by the generosity of local growers who happily shared extra tubers with me. Then, in the spring, even more friends gifted us with additional varieties.
Those acts of kindness became the inspiration behind everything we’re doing with our Fresh Cut Flower Stand and Kelowna Flower Collective!
We purchased the remaining dahlia tubers from local growers at a plant sale here in Kelowna. I just love knowing where all of our blooms are from and supporting our flower community!
I use a program called Clade to keep track and manage all of our dahlia inventory. It is a tool that makes planning your garden and learning about each of your dahlias so easy!
Holly and Joe, the dahlia farmers and developers behind Clade, are super helpful with new updates all the time. I love that I can find out the size and height of specific varieties right away and enjoy scrolling through the visualizer to dream about what my plants will look like in bloom.
Starting Seeds Indoors
February was busy around here!
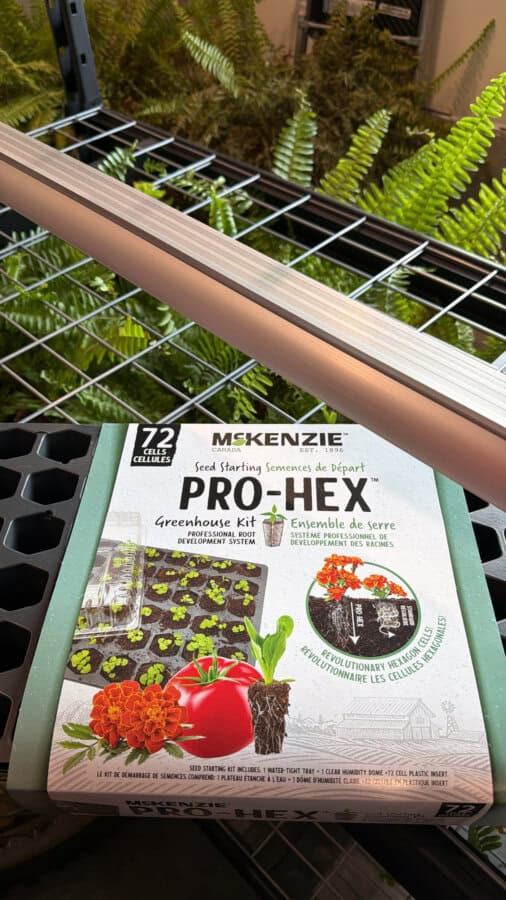
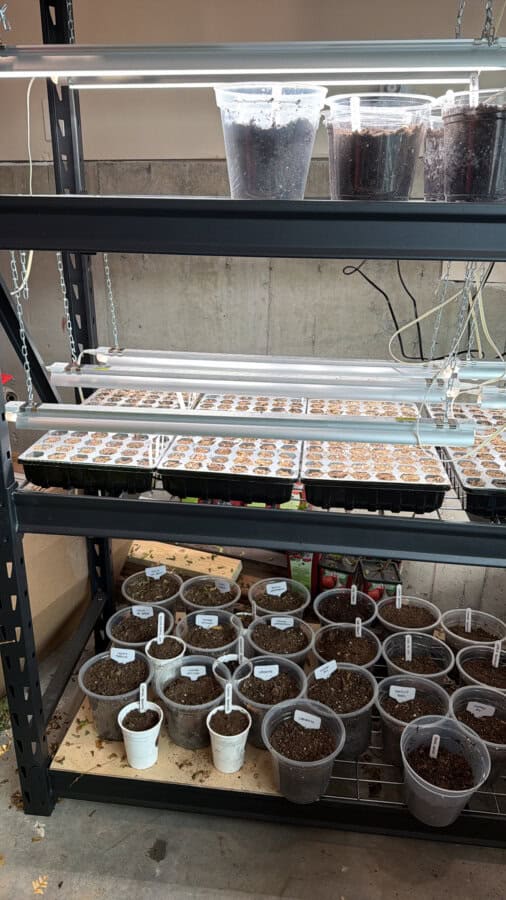
We transformed part of our garage into a mini greenhouse complete with shelving, grow lights and trays full of seedlings. I knew that direct sowing (putting a seed directly into the ground outside) would not work for our garden as we have a lot of squirrels and birds in the yard who would just eat the seeds.
This year I started dozens of varieties from seed, including:
- Pincushion Flower – Scabiosa Fata Morgana and Scabiosa Starflower
- Sweet Peas – many of these were gifted to friends!
- Strawflower – my second tray was more successful than my first.
- Bunny Tail Grass – I planted these later in the season and they went into the ground in July.
- Sunflowers – many people report direct sowing sunflowers as they do not transplant well but that was not my experience. I started sunflowers in the greenhouse and transplanted them with a 90% success rate.
- Statice – I was somewhat successful with statice seeds and even had a few volunteer statice growing in different trays.
- Pennycress – I planted these later in the season and they went into the ground in July.
- Snapdragons – I did not have success with these and ended up buying seedlings in the rocket variety that worked out great!
- Celosia – I did not have success starting celosia from seed so bought starter plants and direct sowed some seeds in June. I am still waiting to see if they produce in the fall.
- Cosmos – these were prolific and hard to give away because no one wanted them. They grow quite large!
- Zinnias – I planted over 350 zinnia seed starts and successfully transplanted all of the seedlings into the ground. Many gardeners will tell you to direct sow zinnias but planting seedlings worked very well for me.
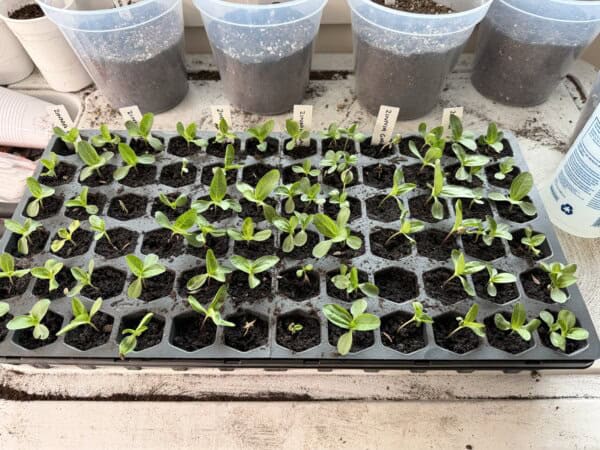
Not every seed germinated, but we had about a 75% success rate, which felt like a huge win for our first season. I had limited success with bells of ireland and feverfew and will try direct sowing them in the fall once again.
Watching those tiny seedlings grow into armloads of flowers has been incredibly rewarding. I gifted many of our seed starts to friends and other gardeners in the community and they send me photos of their blooms!
Seed Starting Tips
- Read the seed packet carefully – some seeds require cold stratification or a longer time to germinate.
- Know your last frost date and count backwards to when you should start each type of flower. It’s handy to write this down on the calendar or in a note book.
- Don’t be tempted to overwater! Water the soil deeply, plant your seed and keep the dome on your seed tray until 75% of the cells have sprouts. Then take the lid off and add water to the bottom of the tray so that roots begin to grow. At this point I added a seedling fertilizer to my watering jug.
- Keep your grow lights just above the seedlings so that they don’t get too leggy trying to reach for the light.
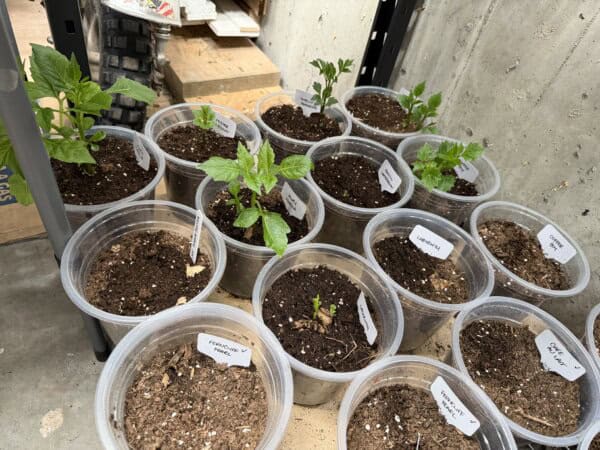
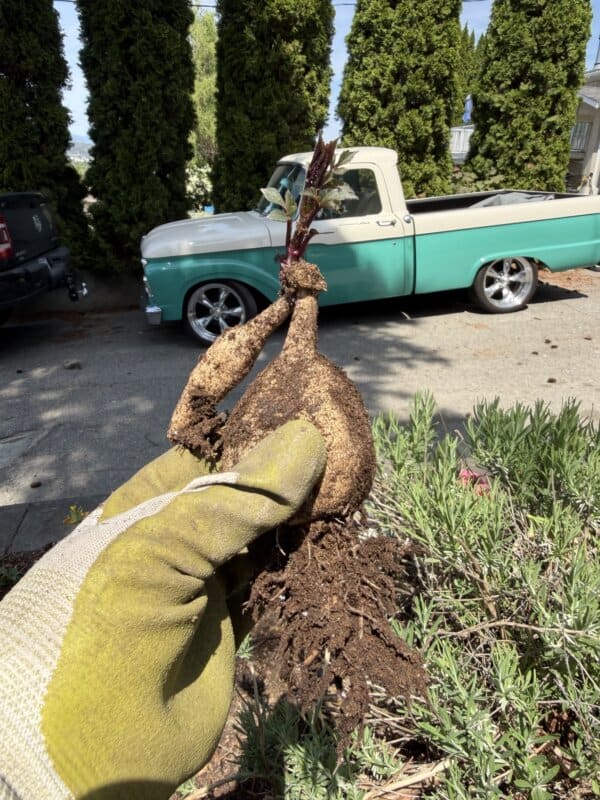
March meant waking up our Dahlia tubers. I pre-sprouted many of our dahlia varieties by placing them into plant pots full of potting soil and misting them lightly with water.
Left under our grow lights, most were showing sprouts above the soil before planting them out in the gardens. Every dahlia tuber that I planted had a sprout, not just an eye, so that I could be sure it was viable before I put it in the ground.
I had a 90% success rate of dahlias sprouting once planted. Only two rotted and were replaced with new varieties. One plant showed signs of a viral infection so I pulled it and replaced it with a mystery tuber as well.
Planting the Garden
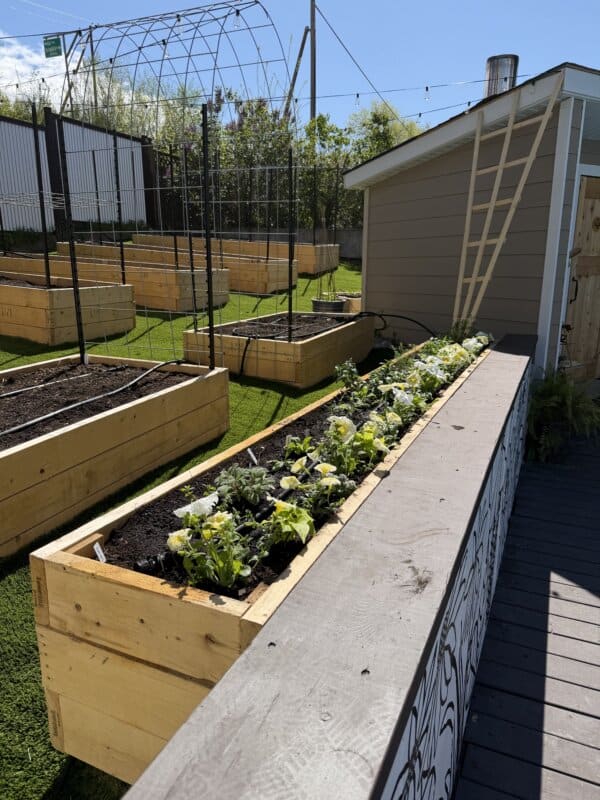
Because we grow in raised beds, we were able to plant earlier than many gardeners in our area. I planted out the raised beds two weeks before our last frost date while plants that went into the ground in the front garden were planted a week later.
We are in zone 6B with a last frost date around May 21st.
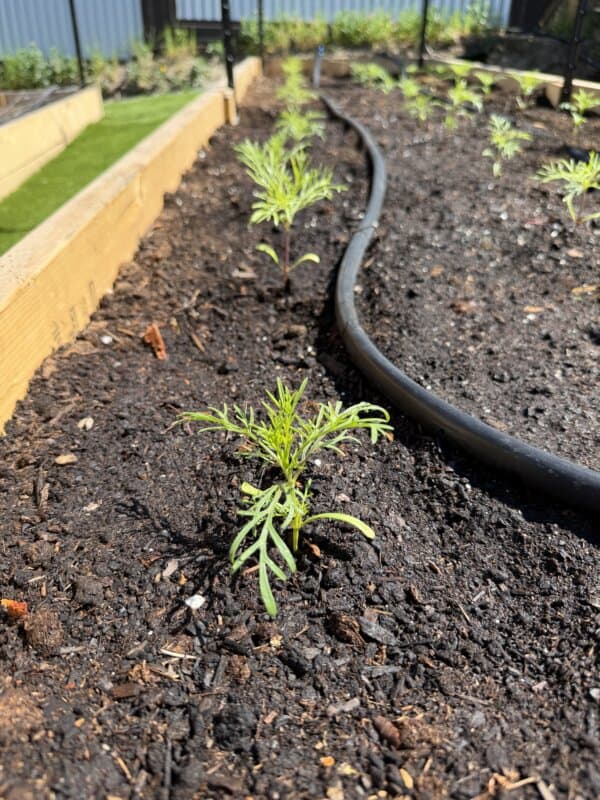
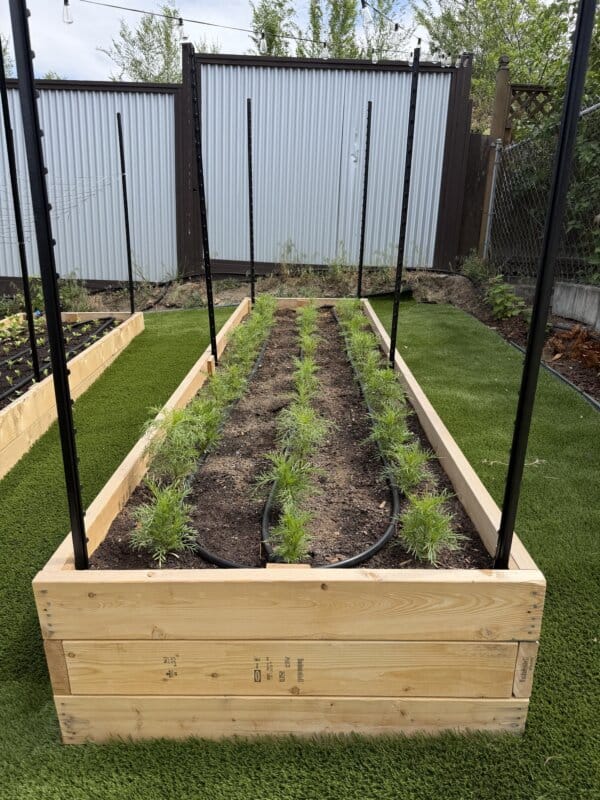
I watched the weather carefully and covered young plants with frost cloth whenever temperatures dipped. Since I work from home, I could keep a close eye on the garden every day, and that extra attention paid off.
As a result, our garden is running about two weeks ahead of many others in Kelowna, giving us earlier blooms and an extended harvesting season.
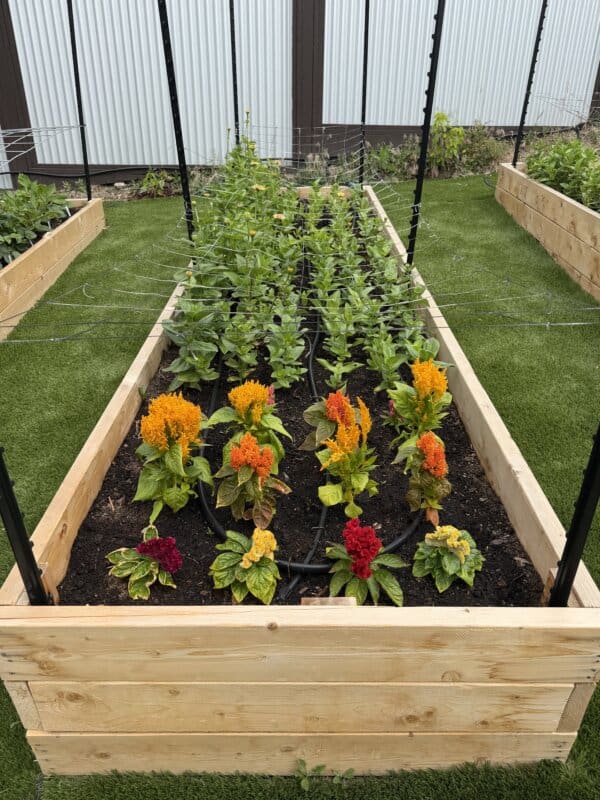
Spacing:
- Zinnias 6″
- Cosmos 12″
- Dahlias 12″
- Celosia and snaps 9″
- Sunflowers 4-6″
This spacing seems to have worked well for the majority of these blooms.
More Flower Thoughts
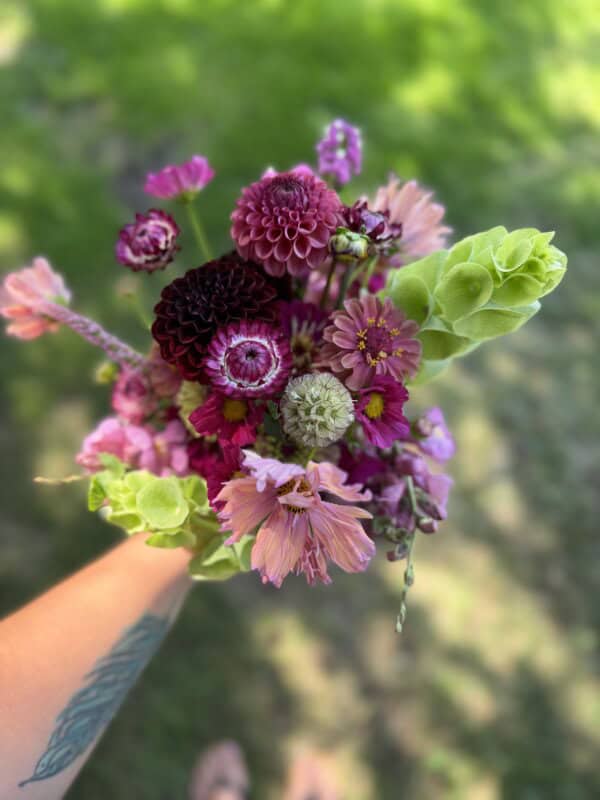
Right now, my favourite filler is Starflower Scabiosa. The real showstopper is it’s unique seed pod that looks like a round starburst. It adds incredible texture to bouquets and makes every arrangement feel a little more whimsical (pictured above).
Of course, we’re still eagerly waiting for the dahlias to reach their peak. I have a feeling they’ll steal the spotlight once August arrives.
Gardening has a funny way of making you dream about next year before the current season is even over. We’ve already started making a list of flowers we’d like to grow more of, especially bouquet fillers.
This year we’ve realized that our zinnias are absolutely thriving while our feverfew and yarrow are still trying to catch up. Next season we’ll be planting many more fillers to balance out our bouquets.
Every season teaches something new.
Outside Of The Cut Flower Beds
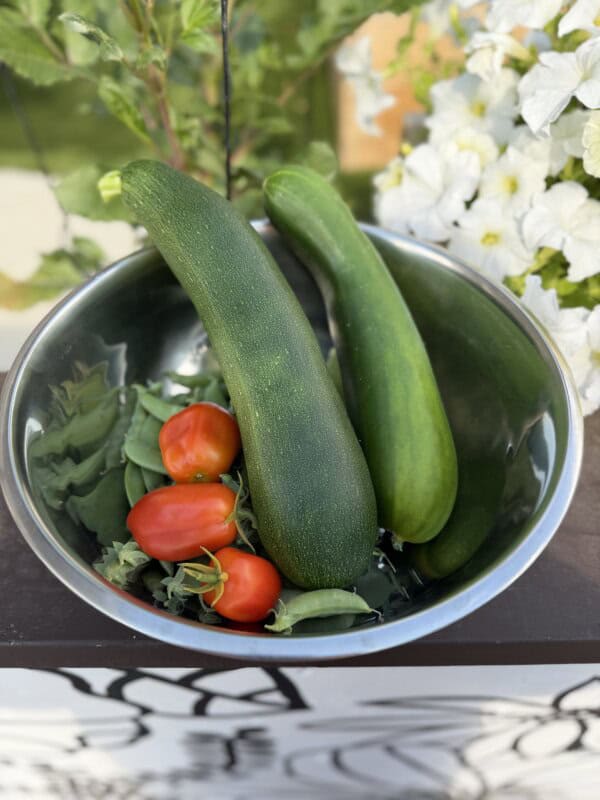
Although flowers are the stars of the show, our garden also produces plenty for the kitchen.
We’re growing Roma tomatoes for homemade pasta sauce and salsa, jalapeños, chili peppers, cucumbers, zucchini, sugar snap peas, strawberries, grapes, raspberries, pumpkins, butternut squash and fresh herbs including parsley, dill, cilantro and mint.
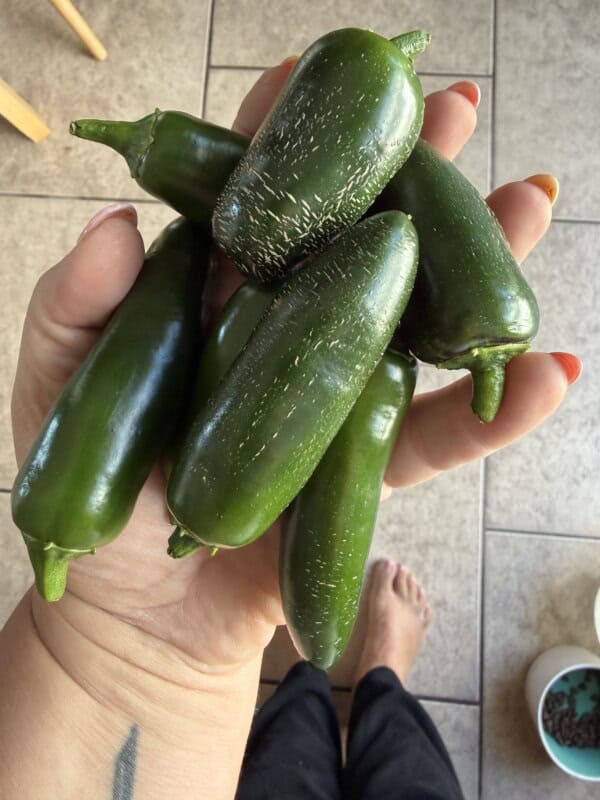
One of my favourite parts of harvest day is filling the flower stand with fresh vegetables alongside the bouquets. It’s such a simple way to share the abundance (especially the zucchini!).
Our First-Year Lessons
This season has reminded us that gardening isn’t about perfection. It’s about learning and pivoting and adapting.
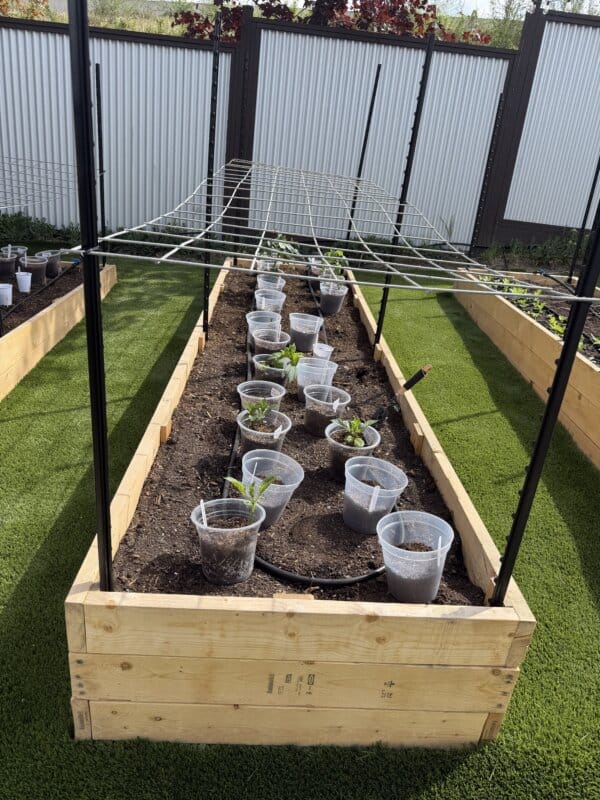
We’ve learned that timing matters, bouquet fillers are just as important as focal flowers, drip irrigation is worth every penny and every garden has its own personality.
Most of all, we’ve learned that flowers have a wonderful way of bringing people together.
Whether they’re growing in our backyard, brightening someone’s kitchen table or creating conversations between neighbours, these blooms are doing exactly what we hoped they would. And we’re just getting started.
Frequently Asked Questions
What flower has surprised you the most?
Scabiosa Starflower has been an unexpected favourite thanks to its unique seed pods that add texture to every bouquet. I am also loving crasepedia (billy button) and poker statice!
What flowers would you recommend for beginners?
Zinnias, cosmos and snapdragons have all been reliable, productive and easy to grow during our first season.
What are you planting more of next year?
Definitely bouquet fillers! Feverfew, yarrow and other supporting greenery will help create even fuller arrangements.
Be sure to check out my next post in this series – Our First Year Cut Flower Garden Tour. Remember to spread kindness like dandelion seeds, because the smallest act of generosity can bloom into something beautiful.