Cadbury Mini Egg Chocolate Bark
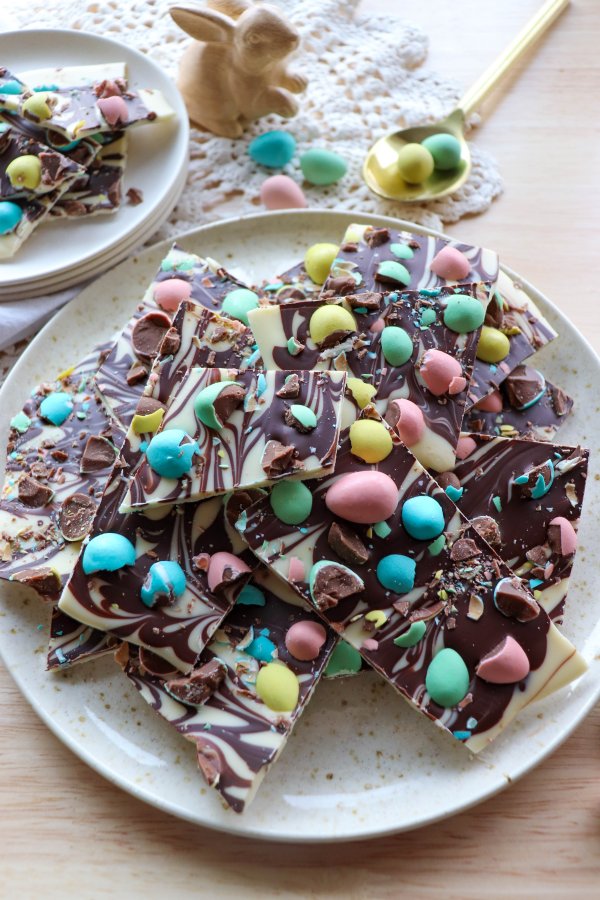
This Cadbury mini egg chocolate bark is absolutely delicious and the perfect Easter treat! Make this easy mini egg recipe with the kids this year.
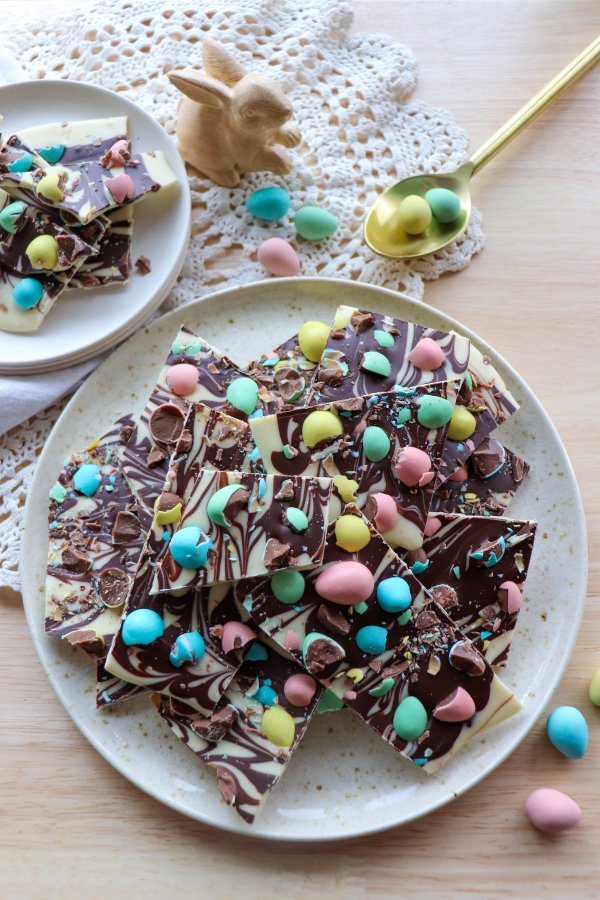
My boys love any kind of treats that have swirled chocolate, so this Easter bark was especially great for them to make! Homemade chocolate bark is a great way to get kids involved in the kitchen.
Too busy to make this right away? Pin it for later! Pin this post to your favorite board on Pinterest and it will be there when you’re ready!
What is Chocolate Bark?
Chocolate bark is primarily made of chocolate chips or chocolate wafers that are topped with a mixture of candy, nuts, or sprinkles. It’s most commonly made by melting the chocolate in the microwave and lasts up to three months in the panty.
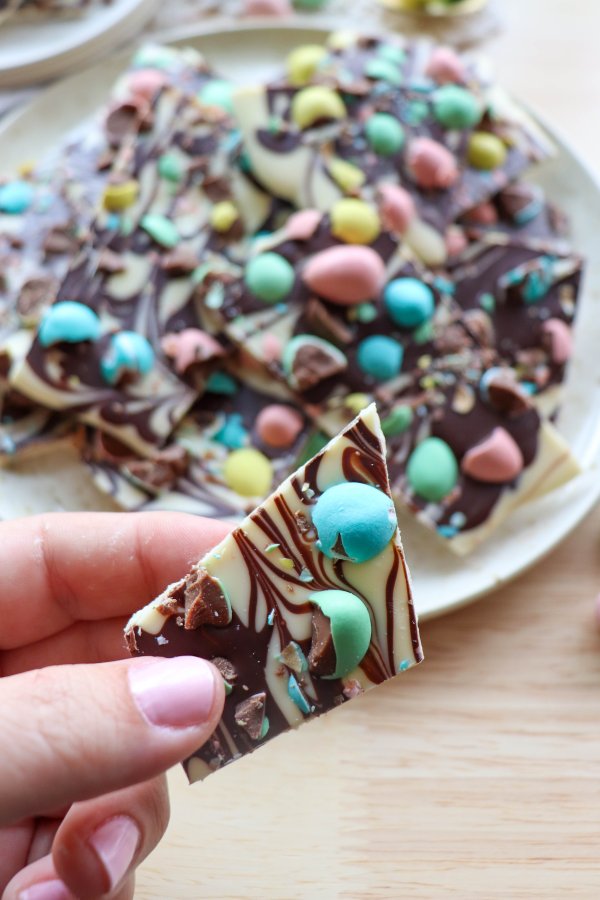
It is called “bark” because, once broken into pieces, it often has a craggy surface that resembles tree bark. Easter egg bark is seriously fun and makes an easy treat for Easter dessert.
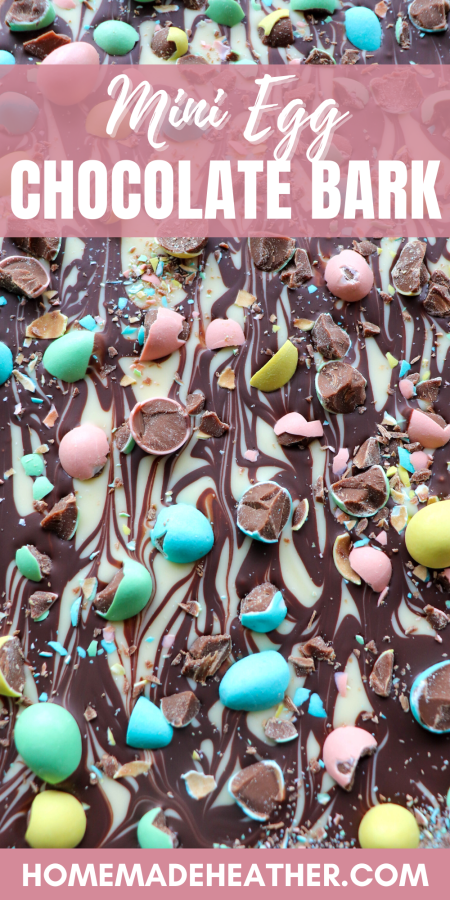
Mini Egg Chocolate Bark Recipe
Cadbury mini eggs are a great addition to Easter baskets. They are by far our favorite Easter candy and one that I love to use in all kinds of recipes!

This colorful Easter chocolate bark is another fun recipe to create for Easter holidays.
Be sure to check out these delicious treats too: mini egg cookies, Easter egg sugar cookies, and these Easter candy cups.
How to Make Mini Egg Chocolate Bark
This post contains affiliate links.
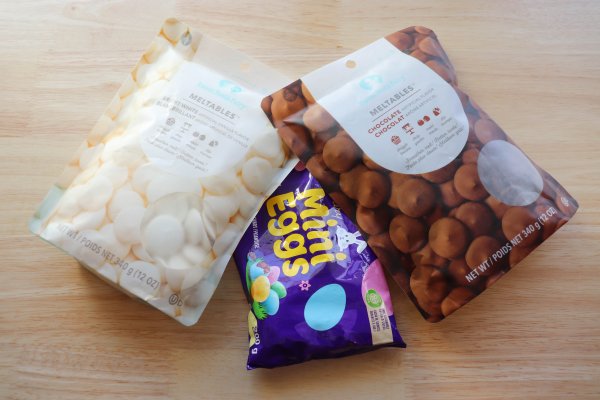
Ingredients
- 8 oz White chocolate melting wafers – These melt like a dream and create that creamy, sweet base that makes the swirls pop beautifully.
- 4 oz Milk chocolate melting wafers – Smooth, rich, and perfect for drizzling, it gives the bark that gorgeous marbled look.
- 1 cup Cadbury Mini Eggs – Crunchy candy shells with chocolatey centers that scream Easter and add the most satisfying bite.
Instructions
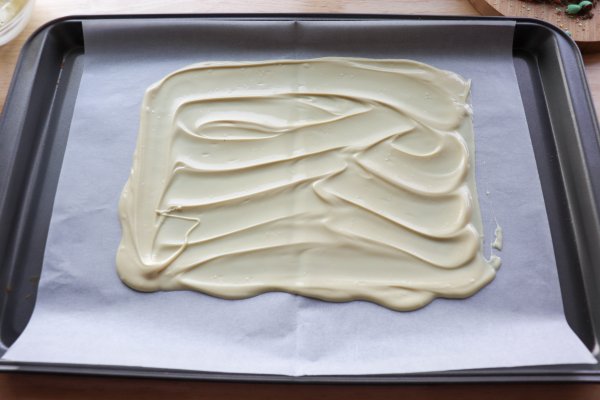
1. Melt the white chocolate chips in a microwave-safe container. Melt in intervals of 15-30 seconds, checking and stirring each time so that the chocolate doesn’t burn.
2. Spread the melted chocolate out onto a parchment-lined cookie sheet in a thin layer. The chocolate slab should be about 1/4″ thick.
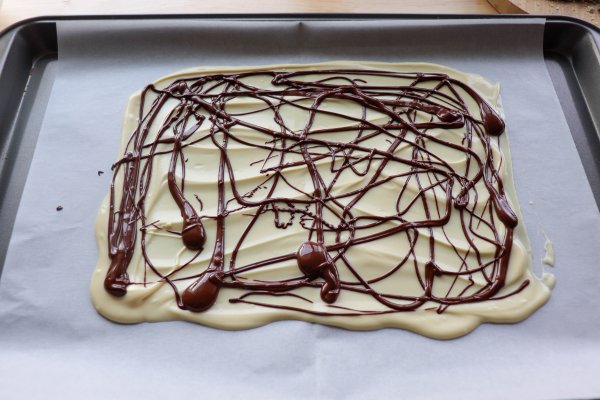
3. In a separate bowl, melt chocolate wafers in a microwave-safe bowl. Melt in intervals of 15-30 seconds, checking and stirring each time so that the chocolate doesn’t burn.
4. Drop and drizzle the milk chocolate over the white chocolate.

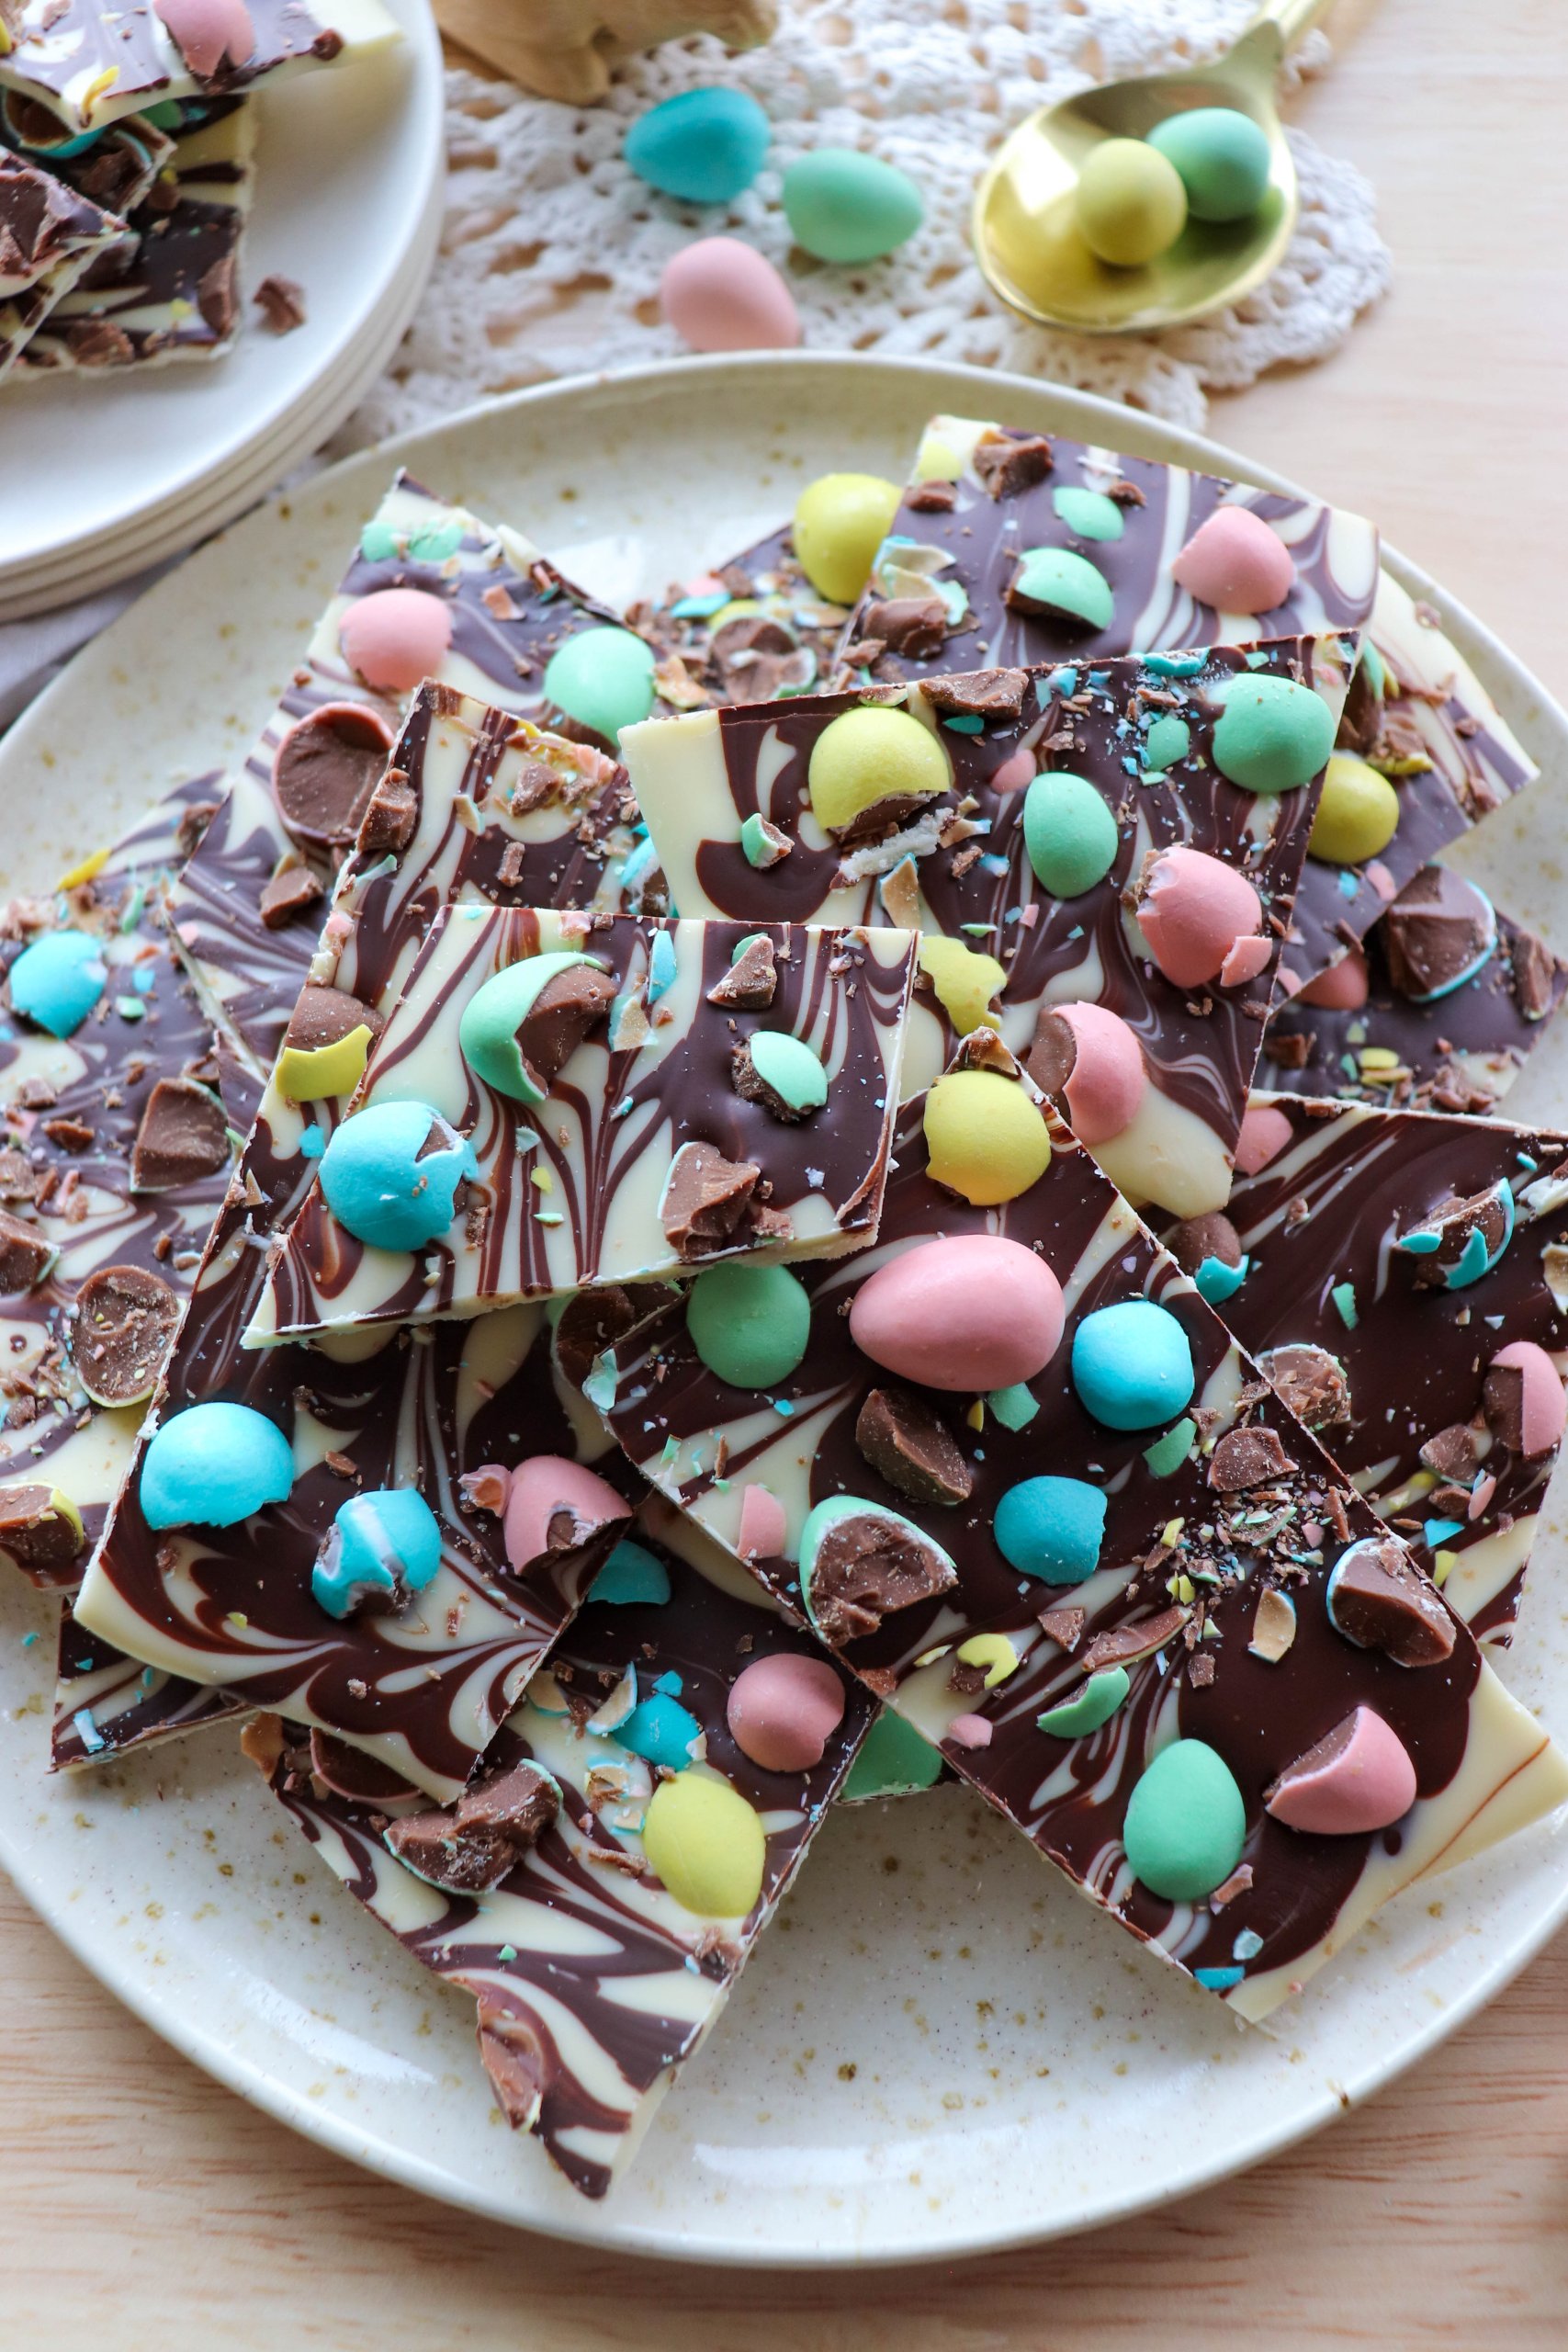
5. Use a toothpick to create swirls in the chocolate mixture, dragging it through the chocolate.
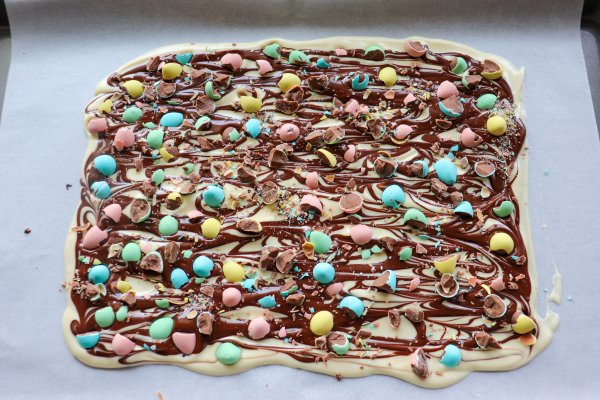
6. Roughly chop up the mini eggs and spread them overtop of the chocolate in an even layer. Press larger pieces into the chocolate so that they really stick.
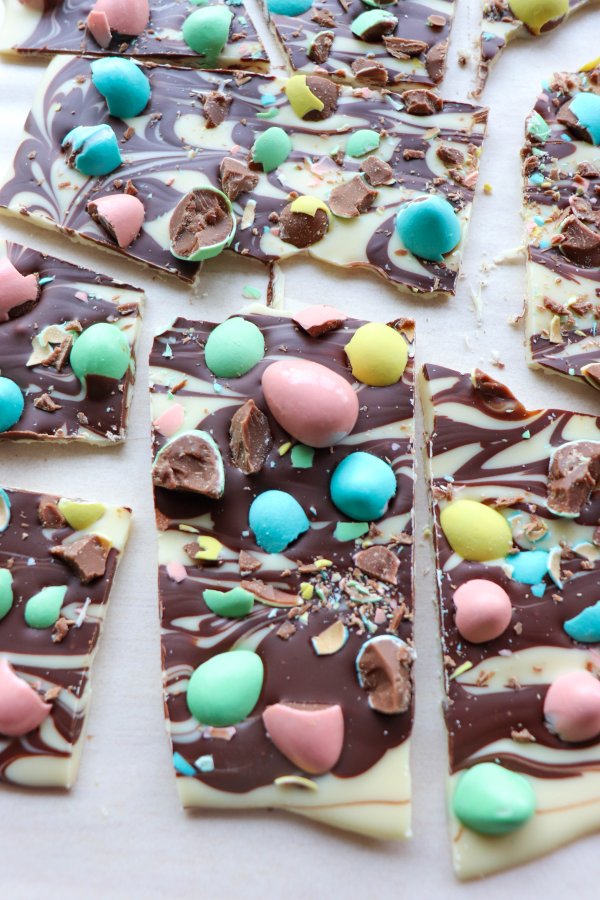
7. Place the chocolate in the fridge and allow it to harden completely before breaking into small pieces.
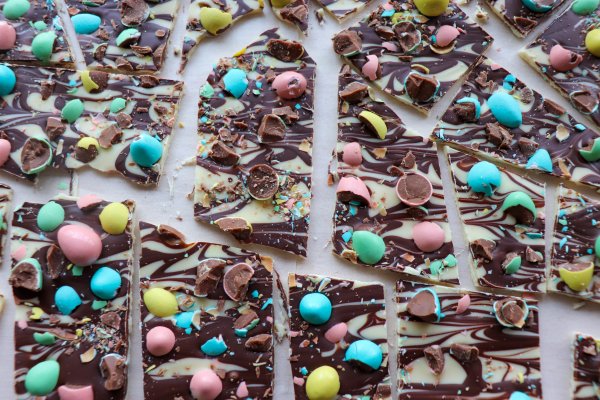
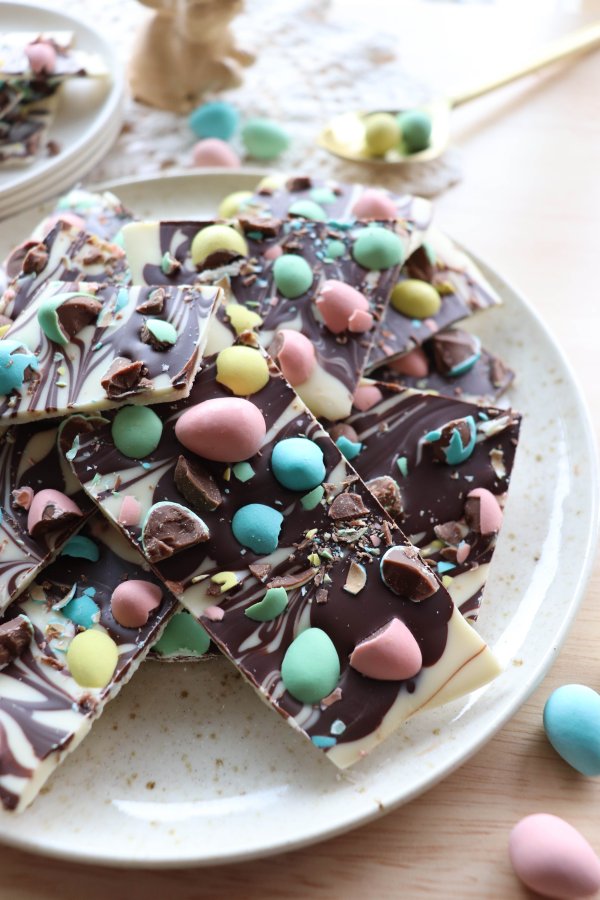
Doesn’t this bark look amazing?! I love the combination of mini chocolate eggs and melted semi-sweet chocolate.
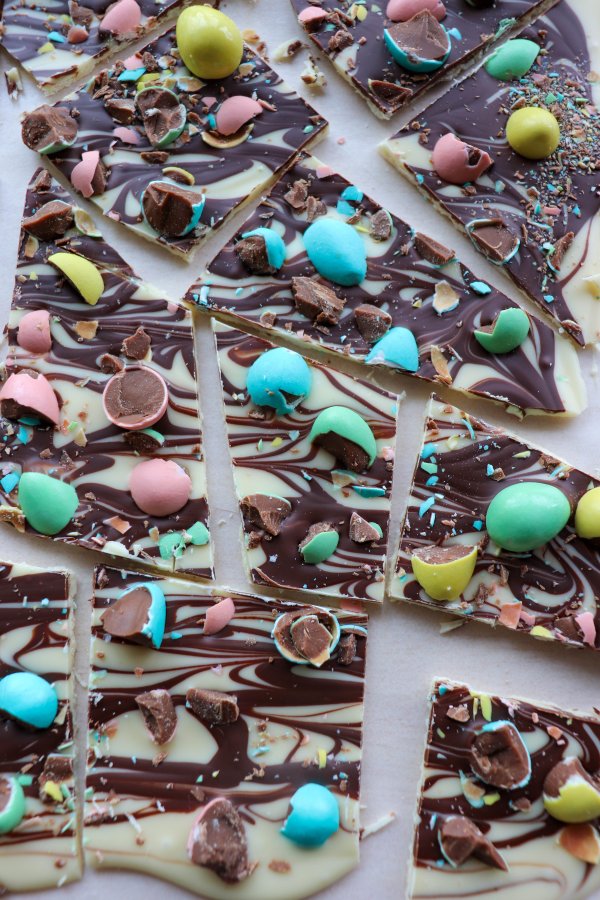
You can easily customize this Easter bark by simply changing the color of chocolate that you use. The possibilities are pretty endless!
Tips for Making Chocolate Bark
- Use candy melts for best results — the wafer chocolate melts the best. Add one teaspoon of coconut oil to other chocolate to help it melt and pour better.
- Pour chocolate onto a parchment-lined baking sheet for easy moving and transporting before the chocolate has hardened.
- Place the chocolate in the fridge or freezer to completely cool before breaking into pieces.
- Be sure to use a sharp knife or dry hands when breaking the bark, otherwise the color from the candy tends to rub off when there is any moisture present.
- Store the chocolate bark in an airtight container at room temperature for up to three months. It can also be stored in the fridge to prevent the bark from melting.
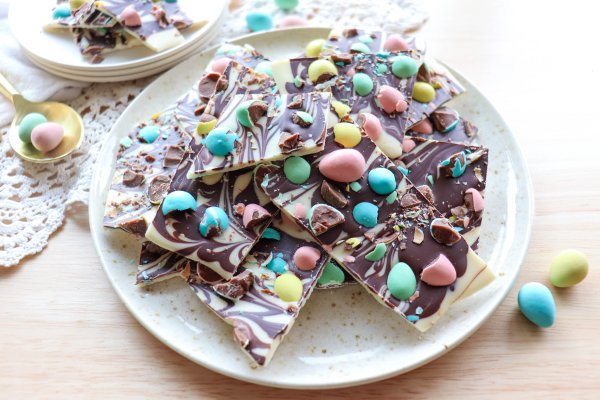
How fun is this?! It’s seriously one of our favorite Easter recipes and an easy recipe for the kids to make.
Some of My Kitchen Essentials
- I love using this non-stick bakeware for all of my baking.
- These silicone mitts are perfect for grasping hot pans and baking dishes.
- This Henckel knife is my favorite for slicing and dicing in the kitchen.
- These parchment paper bags are perfect for packaging and these large Rubbermaid food storage containers are great for storing baking in the freezer.
Frequently Asked Questions
What is chocolate bark?
Chocolate bark is a simple candy made by melting chocolate, spreading it into a thin layer, and topping it with goodies like candy, nuts, or sprinkles before breaking it into rustic pieces once hardened.
Why is it called chocolate bark?
It’s called “bark” because once broken apart, the jagged edges and textured surface resemble the look of tree bark.
How long does chocolate bark last?
When stored in an airtight container at room temperature, chocolate bark can last up to three months. You can also refrigerate it to prevent melting in warmer temperatures.
How do you keep chocolate bark from melting?
Store it in a cool, dry place away from direct sunlight. If your kitchen runs warm (hello, spring sunshine!), pop it in the fridge to keep it firm.
Can I customize chocolate bark?
Absolutely! Swap milk chocolate for dark chocolate, use pastel candy melts, or add sprinkles, crushed cookies, or nuts. The base method stays the same, and the flavor combos are practically endless.
If you love this mini egg chocolate bark recipe, please give it a five-star rating by clicking the stars below! Help me share it on Facebook or Pinterest so that others can enjoy it too.
Mini Egg Chocolate Bark
Ingredients
- 8 oz white chocolate melting wafers
- 4 oz milk chocolate melting wafers
- 1 cup Cadbury Mini Eggs
Instructions
- Melt the white chocolate chips in a microwave-safe container. Melt in intervals of 15-30 seconds, checking and stirring each time so that the chocolate doesn't burn.
- Spread the melted chocolate out onto a parchment-lined cookie sheet in a thin layer. The chocolate slab should be about 1/4″ thick.
- In a separate bowl, melt chocolate wafers in a microwave-safe bowl. Melt in intervals of 15-30 seconds, checking and stirring each time so that the chocolate doesn't burn.
- Drop and drizzle the milk chocolate over the white chocolate.
- Use a toothpick to create swirls in the chocolate mixture, dragging it through the chocolate.
- Roughly chop up the mini eggs and spread them overtop of the chocolate in an even layer. Press larger pieces into the chocolate so that they really stick.
- Place the chocolate in the fridge and allow it to harden completely before breaking into small pieces.
Video
Notes
- Use candy melts for best results — the wafer chocolate melts the best. Add one teaspoon of coconut oil to other chocolate to help it melt and pour better.
- Pour chocolate onto a parchment-lined baking sheet for easy moving and transporting before the chocolate has hardened.
- Place the chocolate in the fridge or freezer to completely cool before breaking into pieces.
- Be sure to use a sharp knife or dry hands when breaking the bark, otherwise the color from the candy tends to rub off when there is any moisture present.
- Store the chocolate bark in an airtight container at room temperature for up to three months. It can also be stored in the fridge to prevent the bark from melting.
Nutrition

I made these for my grands and had to make a second batch. So easy and soooo good. They ship well also. Thanks for all of the great recipes and crafts.
I’m so glad!! Thank you <3