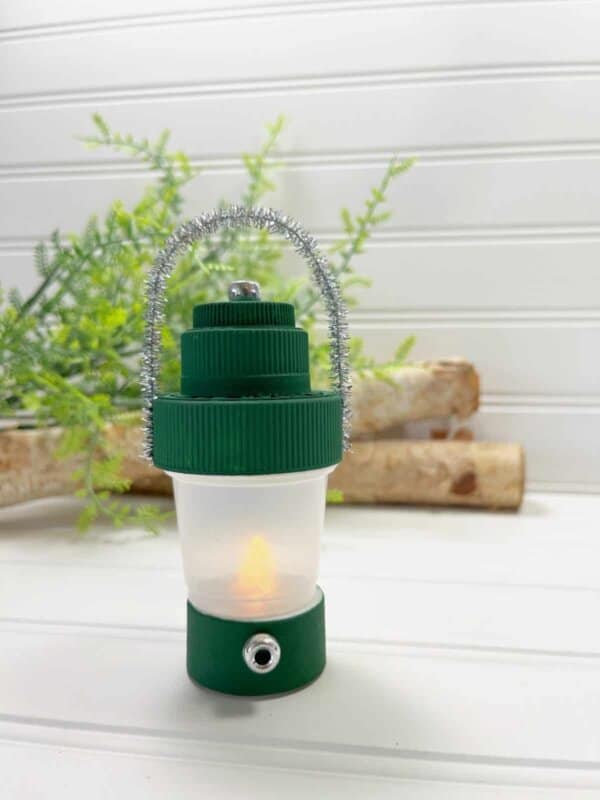
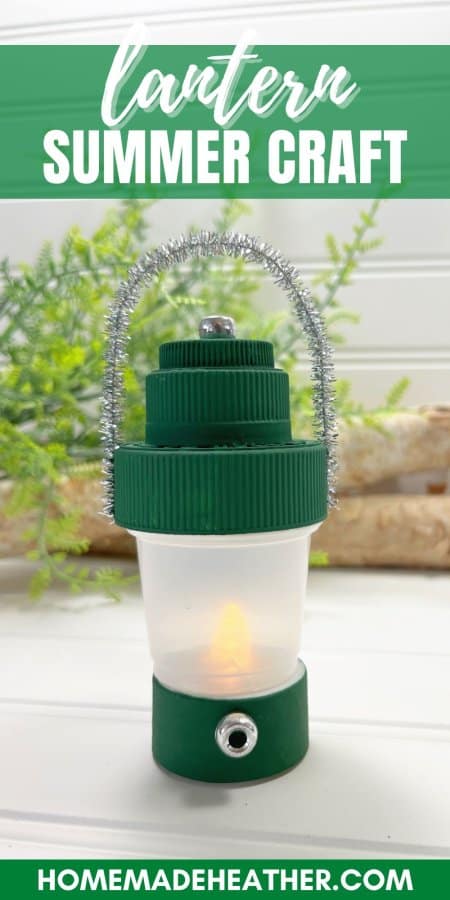
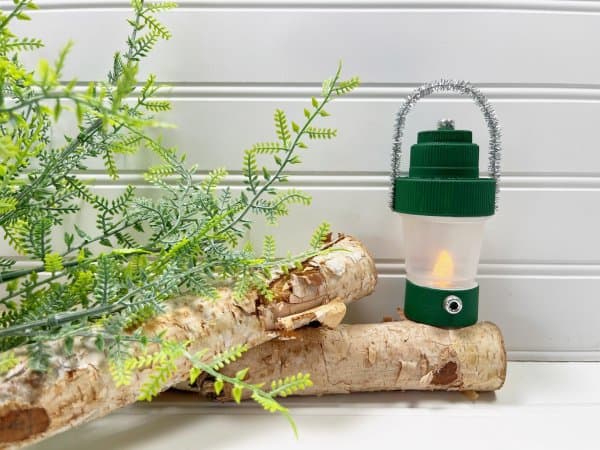
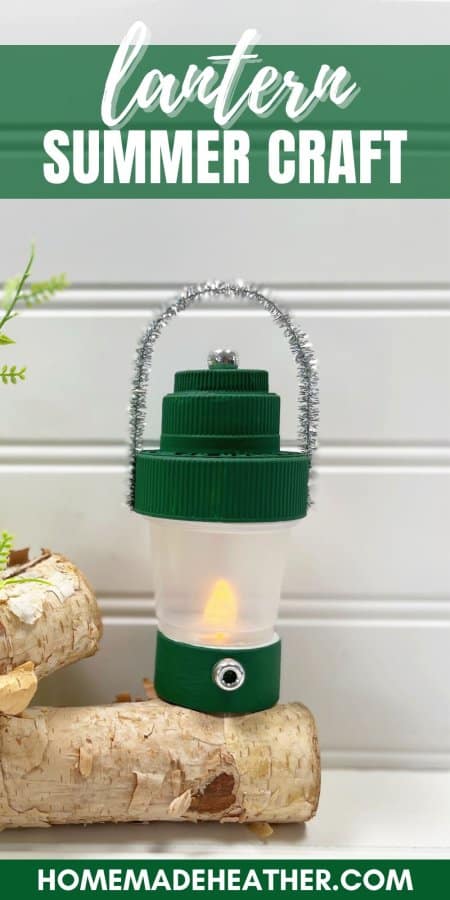
Camping Lantern Craft
Create your own camping lantern with this fun craft! Customize it with colorful paper, LED lights, and a handle for easy carrying. Illuminate your camping adventures!
For anyone planning on heading into the great outdoors this summer, today’s craft project is the perfect activity to prepare younger kids, especially those who have never been on a camping trip before.
Too busy to make this right away? Pin it for later! Pin this post to your favorite board on Pinterest and it will be there when you’re ready!
I have always had good luck at dollar stores with finding inexpensive and easy craft ideas. It is so much fun to go up and down the aisles, looking at all the great decorations and seasonal items. To me, it is the perfect way to find inspiration for my own design ideas.

Using simple craft supplies from the dollar store and the recycling bin, create this quick and easy Camping Lantern craft with kids of all ages in just 30 minutes.

This post contains affiliate links.
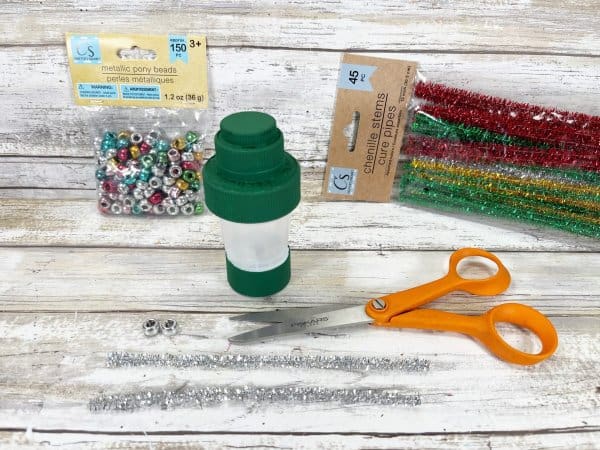
Supplies:
- Votive, Battery Operated
- Tinsel Chenille Stem, Silver
- Pony Beads, Silver
- Acrylic Craft Paint – green
- Paintbrush
- Glue Gun and Glue Sticks
- Scissors
- Craft Knife
- Recycled – Mini Medicine Cup, Large Plastic Lid, Medium Plastic Lid, Small Plastic Lid
Instructions:
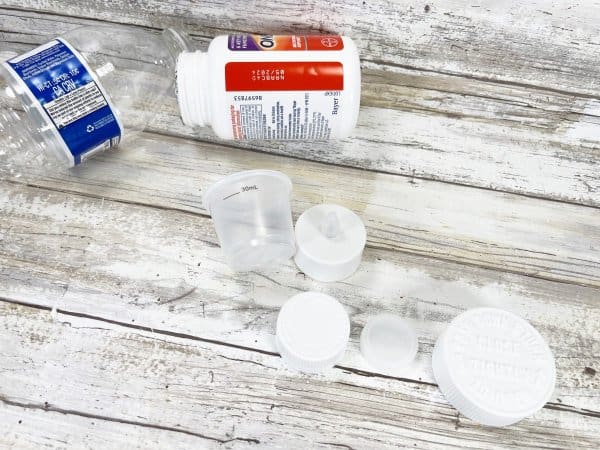
1.Gather all supplies. Using the plastic medicine cup from liquid cold medicine, match a large recycled lid to the top of the cup. Mine is from a vitamin bottle. The medium lid is from a bottle of liquid cold medicine, and the small recycled lid is from a water bottle.
2. Center the bottom of the plastic medicine cup on the battery-operated votive flame and push gently to create an indent. Flip the plastic medicine cup upside down and carefully cut an “X” in the center with a craft knife.
3. Cut the triangular flaps of the “X” away with a craft knife to create an open square.
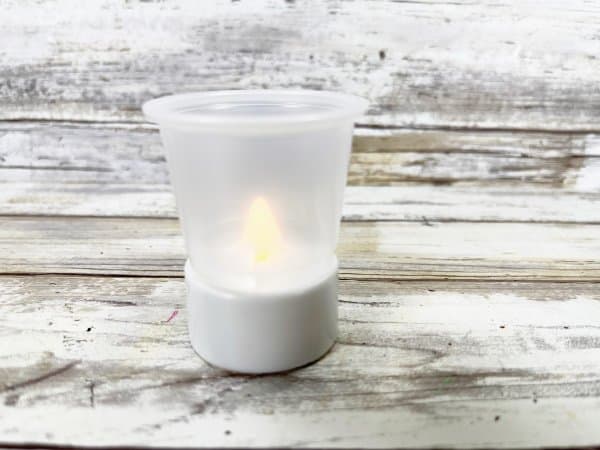
4. Carefully insert the plastic flame of the votive through the hole. This will become the base of the lantern.
5. Stack the three recycled lids on top of each other from largest on the bottom to smallest on the top. Secure the lids together with a glue gun and glue sticks. This will become the top of the lantern.
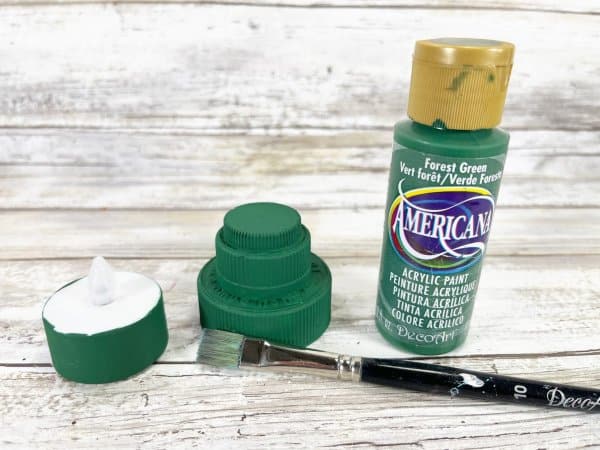
6. Basecoat the outside edge of the votive and the recycled lids with dark green or red acrylic craft paint. Let dry, and apply a second coat, if necessary. In my case, three coats were necessary to create a solid color on the exterior of the lantern.
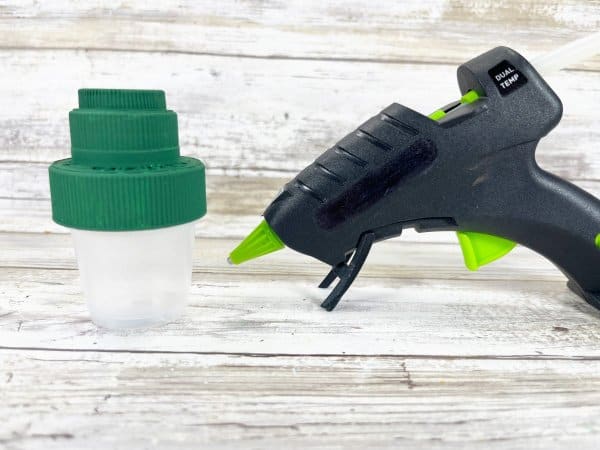
7. Attach the lantern top to the lantern base with a glue gun and hot glue.
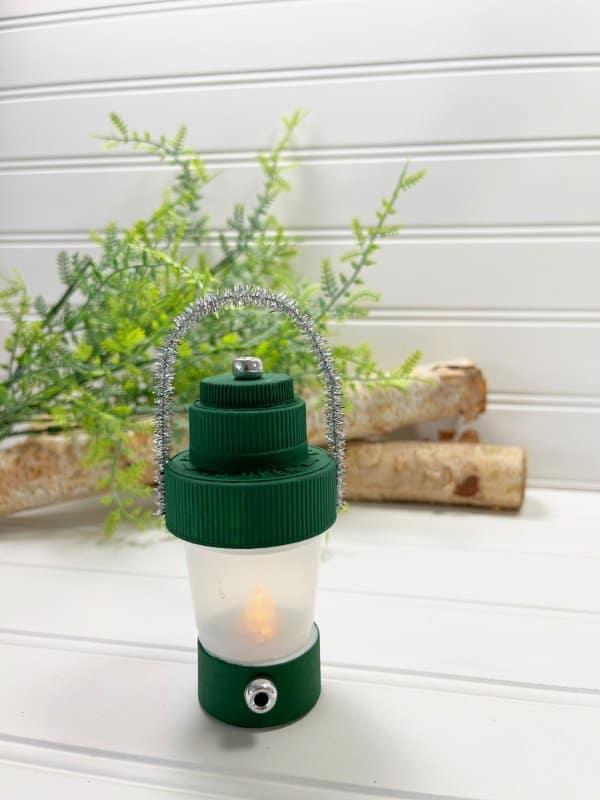
8. Cut a silver tinsel chenille stem, or pipe cleaner, in half with scissors. Remove two silver pony beads from their package.
9. Slightly bend the half chenille stem in a curve. Use a glue gun to attach it to the top right and left sides of the lantern.

10. To finish, glue one silver pony bead to the top of the lantern, and the other to the front center of the base of the lantern.
Tips and Tricks:
- While big kids may be able to handle a glue gun and craft knife on their own, younger ones may need more support.
- Giving young kids a chance to practice their scissor skills is also a great way to help develop fine motor skills.
- While dark green is the “traditional” color for a camping lantern, you can make a whole rainbow of colorful lanterns.
- Make a 2D version of this fun craft. Cut strips of cardstock paper or construction paper in various lengths and colors. Stack the strips into a lantern shape and glue them to a flat surface, like another sheet of paper or a paper plate. You could also use craft sticks, cut to length, for this.
- If you don’t have a votive to create a flame on the inside of the lantern, make a flame out of some gold ribbon or yellow tissue paper.
- Battery-operated led tealight candles are readily available and help add glowing light to your crafts in a safe and fun way.
Create this quick and easy Dollar Store Camping Lantern craft with the kiddos to not only promote learning skills, but also to spark conversations about camping, recycling, and fire safety. Find even more easy camping craft ideas and free printables on the blog. Happy crafting!
If you love this camping lantern craft, please give it a five star review and share it on Facebook and Pinterest.
Camping Lantern Craft
Materials
- Votive Battery Operated
- Tinsel Chenille Stem Silver
- Pony Beads Silver
- Acrylic Craft Paint – green
- Paintbrush
- Glue Gun and Glue Sticks
- Scissors
- Craft Knife
- Recycled – Mini Medicine Cup Large Plastic Lid, Medium Plastic Lid, Small Plastic Lid
Instructions
- 1.Gather all supplies. Using the plastic medicine cup from liquid cold medicine, match a large recycled lid to the top of the cup. Mine is from a vitamin bottle. The medium lid is from a bottle of liquid cold medicine, and the small recycled lid is from a water bottle.
- 2. Center the bottom of the plastic medicine cup on the battery-operated votive flame and push gently to create an indent. Flip the plastic medicine cup upside down and carefully cut an “X” in the center with a craft knife.
- 3. Cut the triangular flaps of the “X” away with a craft knife to create an open square.
- 4. Carefully insert the plastic flame of the votive through the hole. This will become the base of the lantern.
- 5. Stack the three recycled lids on top of each other from largest on the bottom to smallest on the top. Secure the lids together with a glue gun and glue sticks. This will become the top of the lantern.
- 6. Basecoat the outside edge of the votive and the recycled lids with dark green or red acrylic craft paint. Let dry, and apply a second coat, if necessary. In my case, three coats were necessary to create a solid color on the exterior of the lantern.
- 7. Attach the lantern top to the lantern base with a glue gun and hot glue.
- 8. Cut a silver tinsel chenille stem, or pipe cleaner, in half with scissors. Remove two silver pony beads from their package.
9. Slightly bend the half chenille stem in a curve. Use a glue gun to attach it to the top right and left sides of the lantern. - 10. To finish, glue one silver pony bead to the top of the lantern, and the other to the front center of the base of the lantern.
