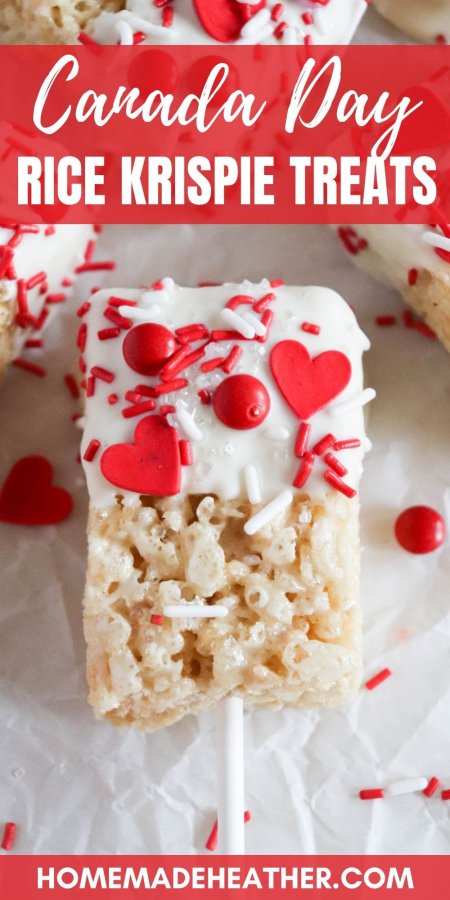
Canada Day Rice Krispie Treats
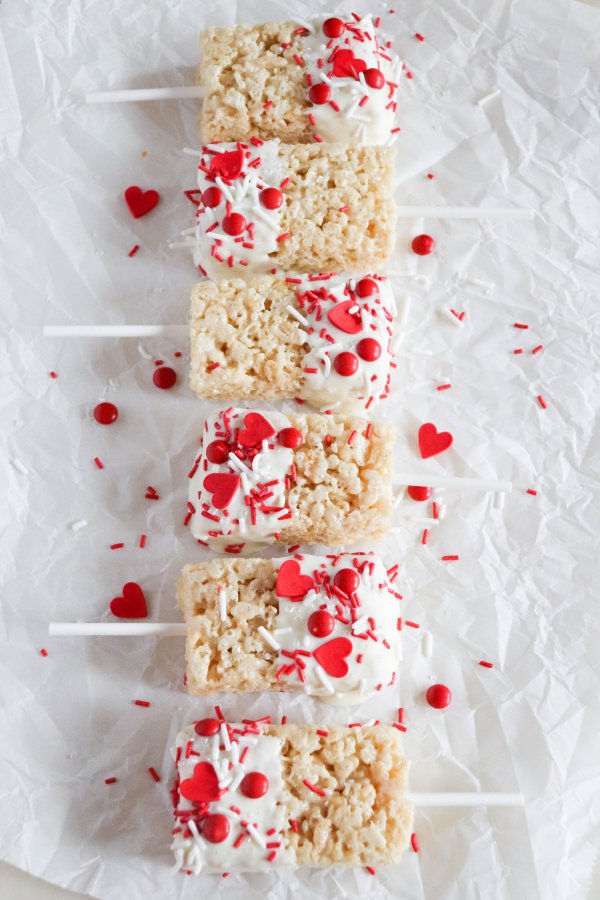
These no-bake Canada Day Rice Krispie treats are cute, festive, and perfect for holiday parties, picnics, and cookouts!

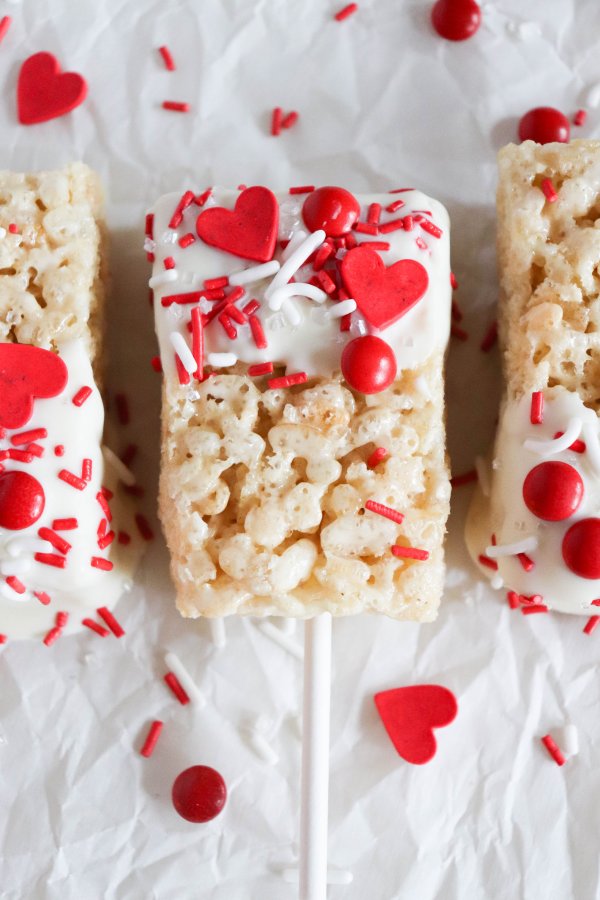
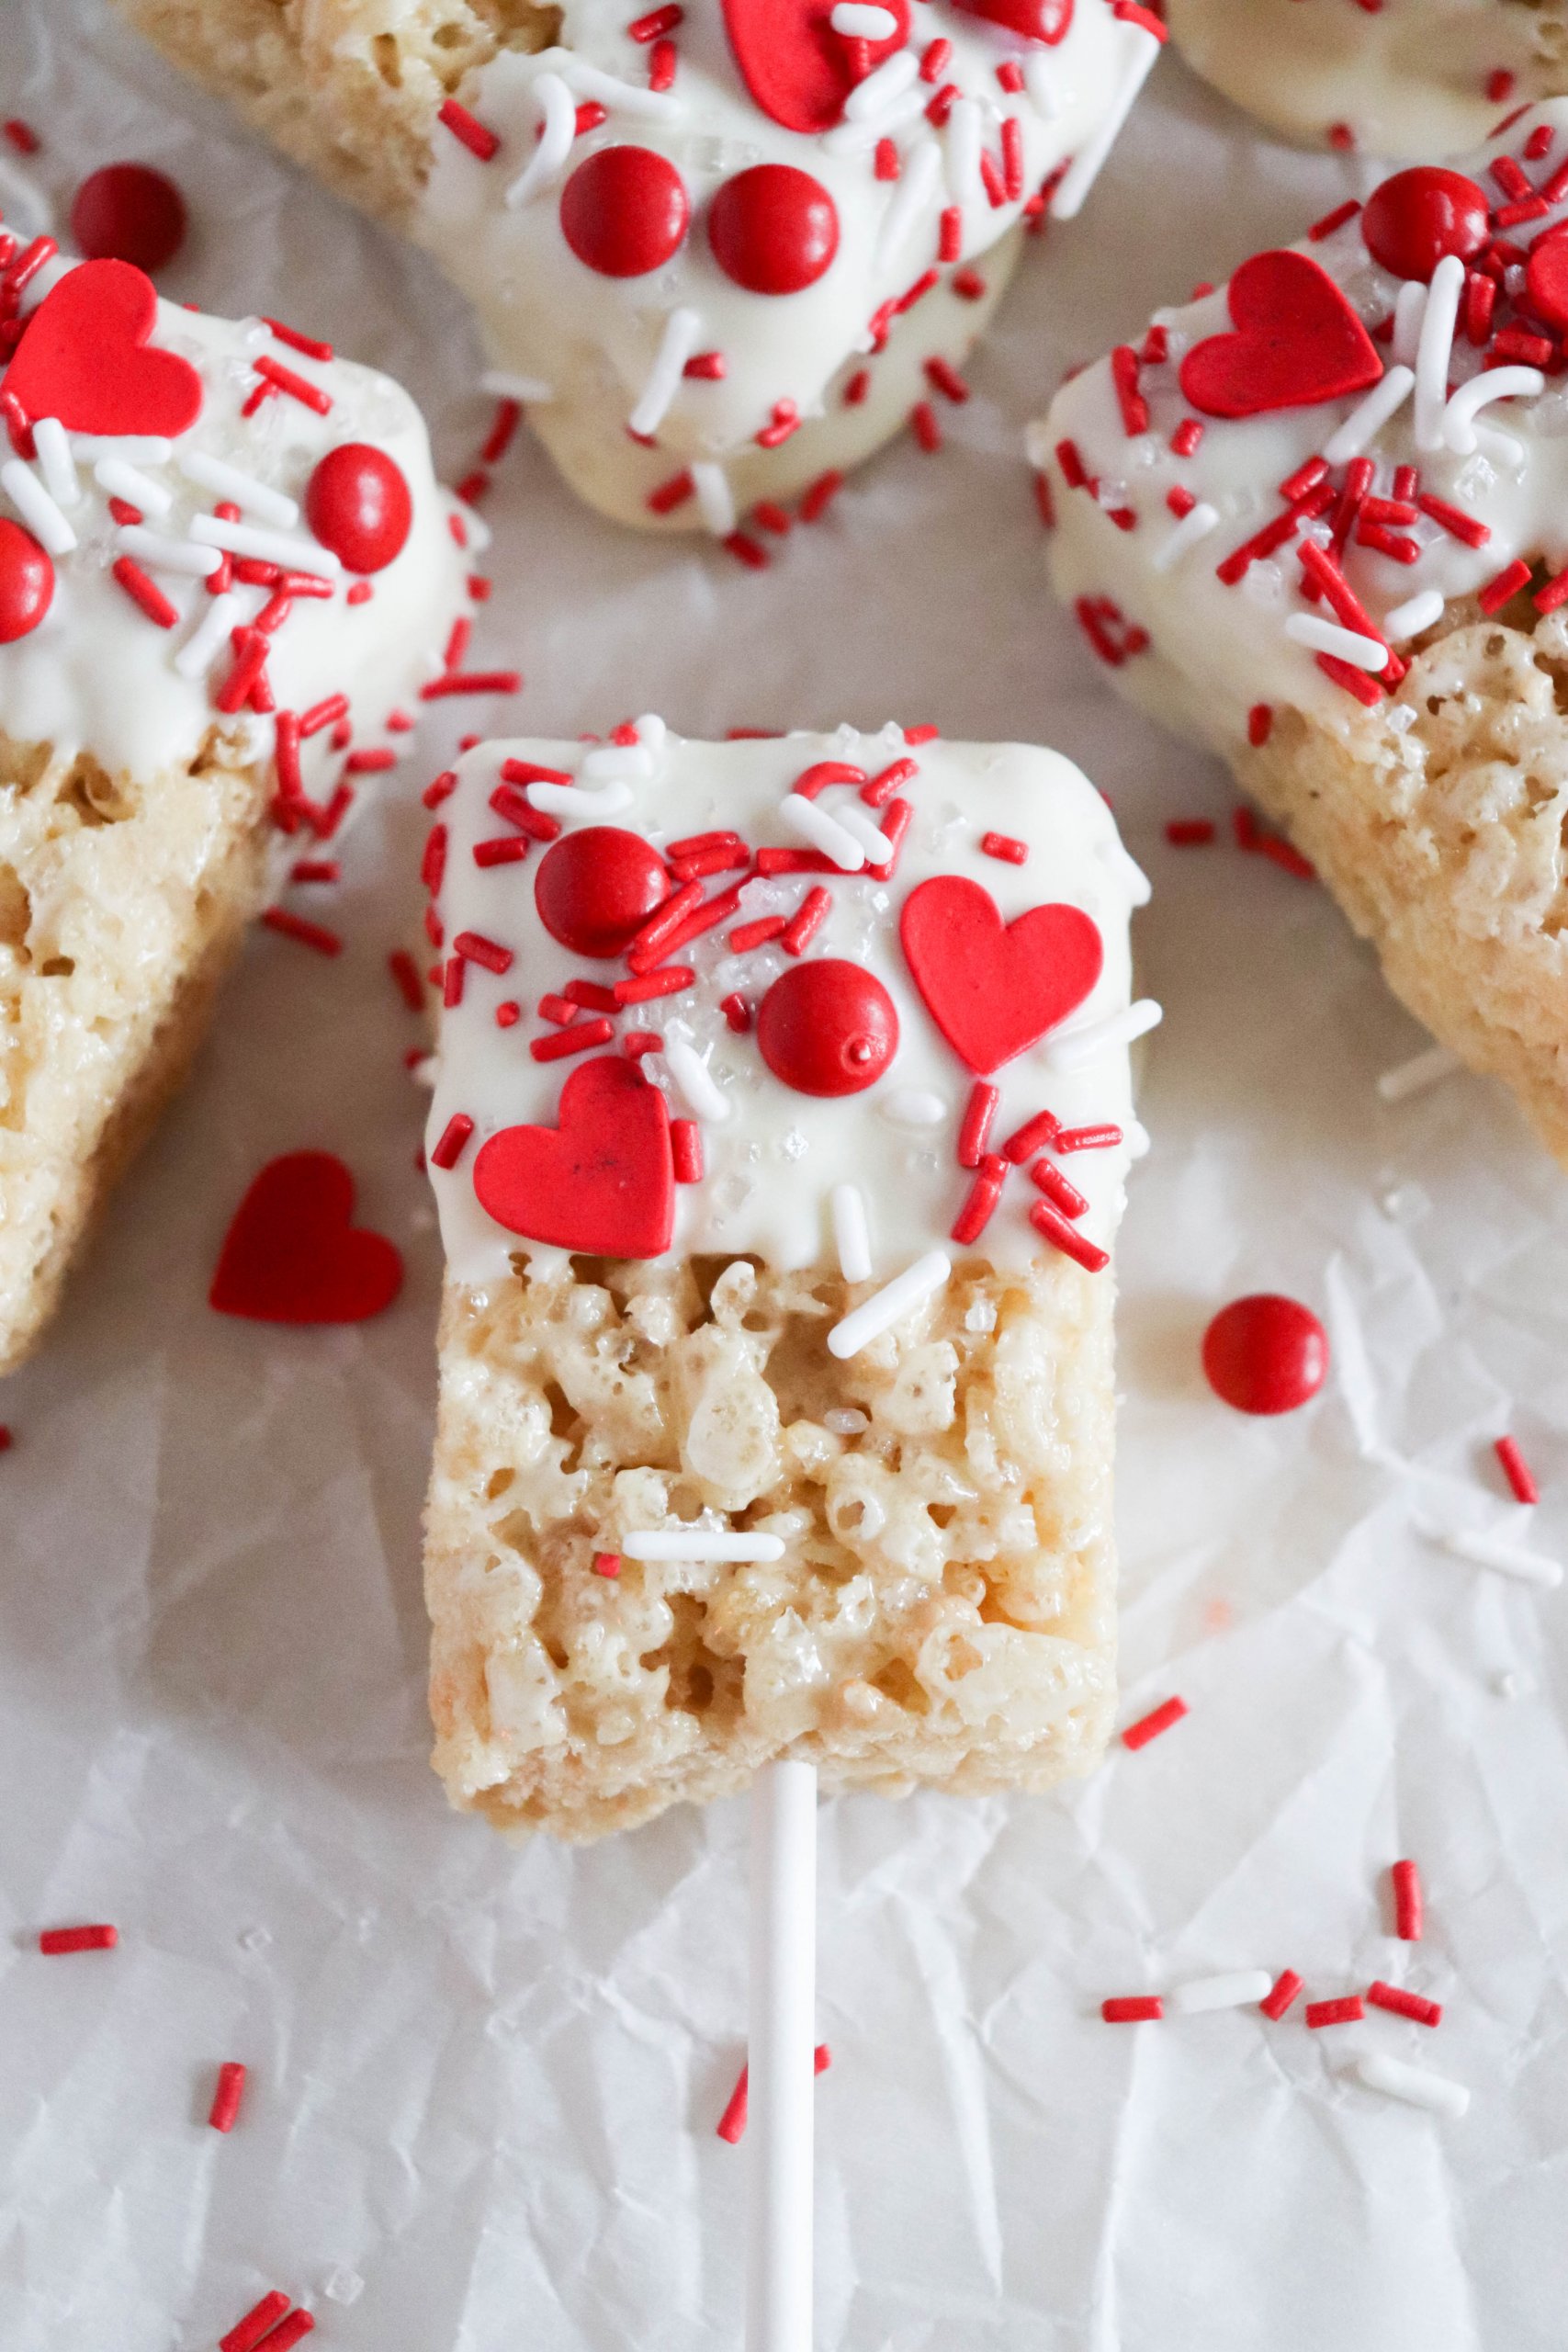
Celebrate July 1st with festive Canada Day Rice Krispie treats dipped in white chocolate and loaded with candy for a sweet treat kids love to help make!
Rice Krispie squares are such a simple, yet versatile, treat. Switch out the colors and toppings for all kinds of themes, like these Easter Rice Krispie treats, Halloween Rice Krispie pops, Chewbacca Rice Krispie treats, or Frozen-themed treats.
Too busy to make this right away? Pin it for later! Pin this post to your favorite board on Pinterest and it will be there when you’re ready!
This Canada Day Rice Krispie recipe is a super easy treat to make and is perfectly festive for this holiday! They are fun to include in our Canada Day t-shirt crafting.
You may also enjoy this awesome bundle of Canada Day Printable Activities in the shop!
What are Rice Krispie Treats?
Rice Krispie treats are primarily made of Rice Krispies cereal, melted butter, and mini marshmallows. These pops are made even easier by simply using premade cereal treats, dipping them in chocolate, and then covering them in candy and sprinkles.
These holiday treats are so much fun for kids of all ages to make and take to a summer picnic.
This easy celebratory treat can be personalized with a wide variety of festive ingredients! Try adding: a pretzel stick for a handle, blue food coloring to the chocolate, marshmallow fluff, white chocolate chips, a candy cane, red candy melts instead of white, or other kinds of festive sprinkles!
Try these chocolate-covered Rice Krispie treats and peanut butter Rice Krispie bars too!
How to Make Canada Day Rice Krispie Treats
This post contains affiliate links.
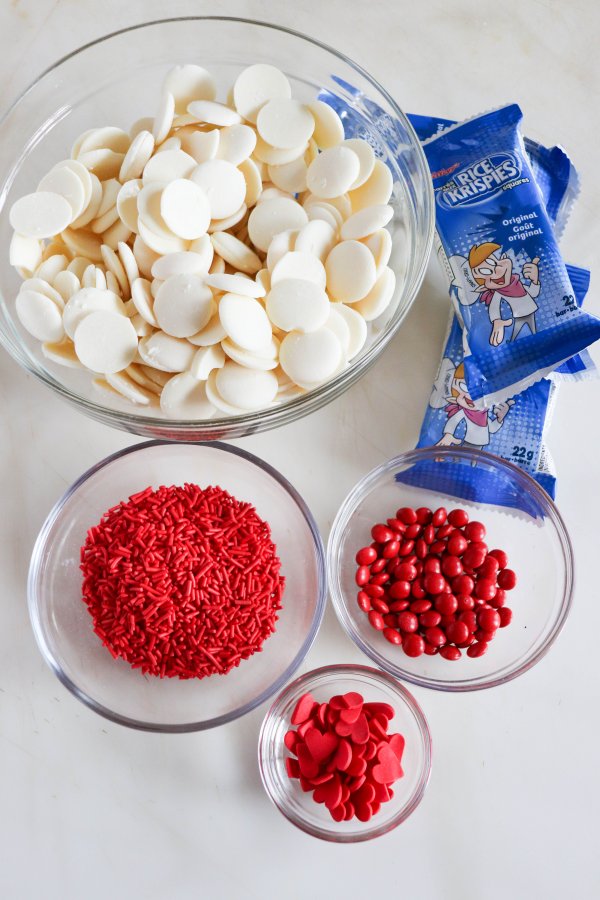
Ingredients
- Six Original Rice Krispie Squares (or homemade) – Soft, chewy cereal treats that make this festive recipe quick and easy to assemble.
- 6 oz White candy melts – Creamy melted chocolate coating that perfectly holds all the fun toppings in place.
- Red mini M&Ms – Bright pops of chocolatey crunch that add patriotic Canadian color.
- Red sprinkles – A festive finishing touch that adds sparkle, sweetness, and holiday fun.
- Candy hearts – Cute little candies that make these treats extra playful and party-ready.
- 4″ lollipop sticks (optional) – Optional sticks that turn these Rice Krispie treats into fun grab-and-go dessert pops.
Tip: Homemade Rice Krispie treats work just as well as store-bought ones, but using premade squares cuts out some of the work. Find the homemade recipe at the bottom of this post!
Instructions
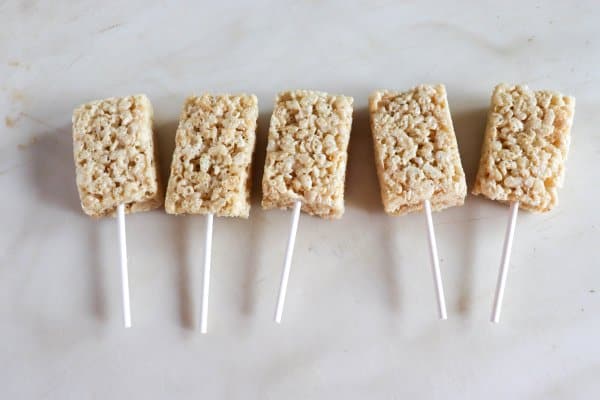
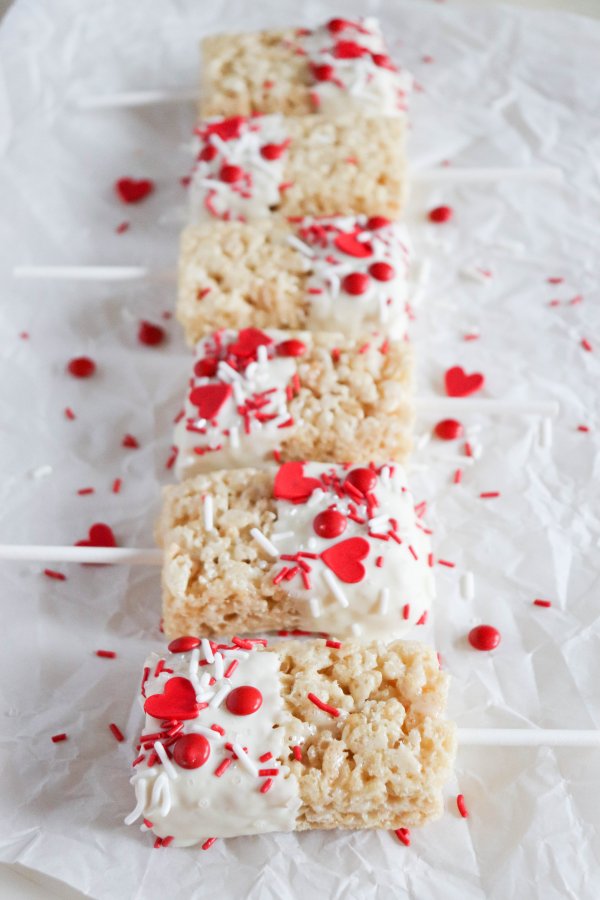
1. Unwrap the Rice Krispie treats and place a lollipop stick into each one.
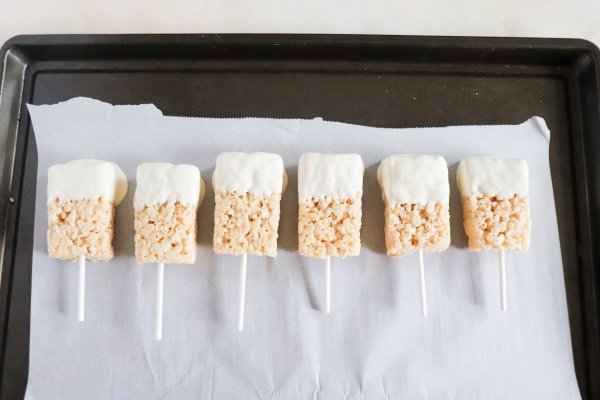
2. In a medium bowl, melt the chocolate wafers in the microwave at 15-second intervals, stirring in between, until the chocolate is completely smooth. Dip half of each Rice Krispie square into the chocolate.
3. Place the treats on a parchment paper-lined baking sheet.
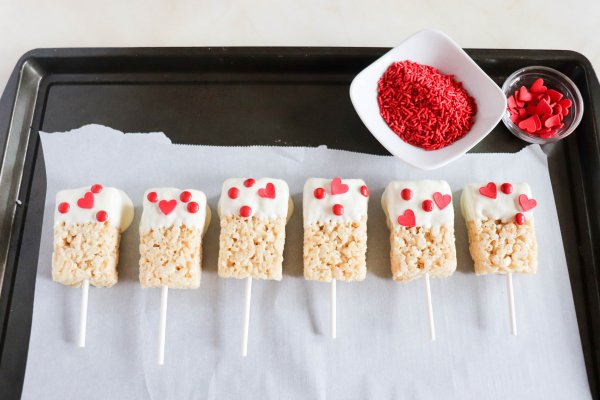
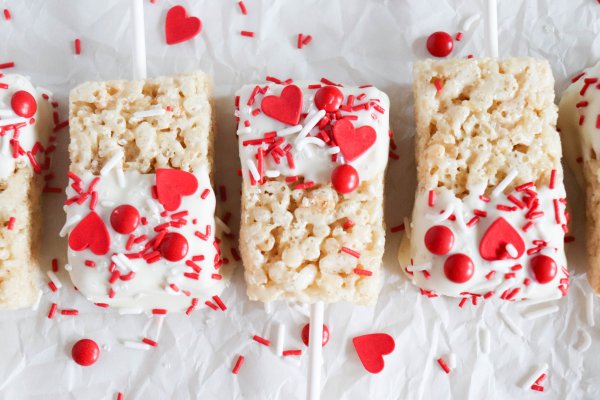
4. Add candy to the melted chocolate before it cools — I like to have it ready in small bowls. Press the M&Ms into the chocolate so that they really “stick”. Spread the red sprinkles and hearts overtop.
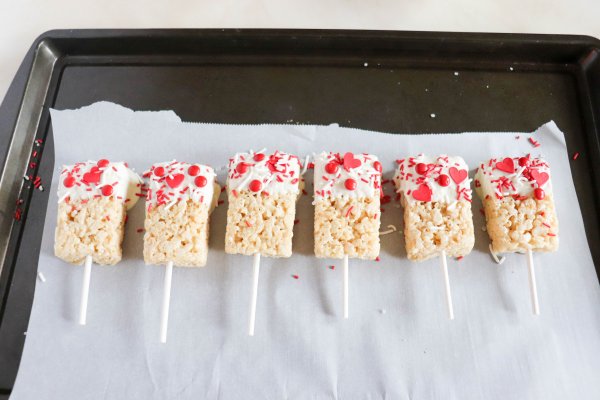
5. Place the crispy treats in the fridge and allow the chocolate to harden completely before serving.
Tips for Making These Canadian Treats
- Use candy melts for best results — the wafer chocolate melts the best. Add one teaspoon of coconut oil to other chocolate to help it melt and pour better.
- Lay the chocolate-covered treat on a parchment-lined baking sheet for easy moving and transporting before the chocolate has hardened.
- Place the chocolate in the fridge or freezer to completely cool before serving.
- Store these yummy treats in a large freezer bag or airtight container for up to three months at room temperature. They can also be stored in the fridge to prevent the chocolate from melting.

This post contains affiliate links.
Some of My Kitchen Essentials
- I love using this non-stick bakeware for all of my baking.
- These silicone mitts are perfect for grasping hot pans and baking dishes.
- This Henckel knife is my favorite for slicing and dicing in the kitchen.
- These parchment paper bags are perfect for packaging and these large Rubbermaid food storage containers are great for storing baking in the freezer.
These delicious treats would make a lovely hostess gift at your next holiday party. Simply wrap in wax paper, tuck into a gift bag, and tie with baker’s twine!
Homemade Rice Krispie Recipe
Ingredients
- 3 Tbsp Butter – Adds rich flavor and helps create that classic gooey texture everyone loves.
- 4 cups Miniature marshmallows – They melt into the butter for a sticky sweet mixture that binds the cereal together perfectly.
- 6 cups Rice Krispies cereal – Crispy puffed rice cereal gives these treats their signature crunch.
Instructions
1. In a large saucepan, melt butter over medium-low heat. Add marshmallows and stir until completely melted. Remove from heat.
2. Add Rice Krispie cereal. Stir until the cereal mixture is well combined.
3. Using a buttered spatula or wax paper, evenly press mixture into 13 x 9-inch baking dish coated with cooking spray. Allow to cool before cutting into squares.
Frequently Asked Questions
Why are my Rice Krispie treats hard instead of soft?
Rice Krispie treats can become hard if the marshmallows are overheated or the mixture is pressed too firmly into the pan. Gently pressing them keeps the treats soft and chewy.
Can I use homemade Rice Krispie treats instead of store-bought?
Absolutely! Homemade treats work wonderfully in this recipe and give you an even gooier texture. Store-bought squares simply save time on busy summer days.
How do you keep chocolate from cracking on Rice Krispie treats?
Allow the treats to come close to room temperature before dipping and avoid placing them immediately into an extremely cold freezer. Candy melts also help create a smoother coating.
How long do Rice Krispie treats stay fresh?
These treats can stay fresh for up to three days in an airtight container at room temperature, or longer when refrigerated. They also freeze surprisingly well for up to three months.
Can kids help make these Canada Day treats?
Yes! This is such a fun recipe for little helpers. Kids love decorating the dipped treats with sprinkles and candy — although fair warning, half the toppings may disappear before they make it onto the treats.
If you love this Canada Day Rice Krispie treat recipe, please give it a five-star rating by clicking the stars below! Help me share it on Facebook and Pinterest so that others can enjoy it too.
Canada Day Rice Krispie Treats
Ingredients
- Six Original Rice Krispie Squares or homemade
- 6 oz White candy melts
- Red mini M&Ms
- Red sprinkles
- Candy hearts
- Six 4" lollipop sticks optional
Instructions
- Unwrap the Rice Krispie treats and place a lollipop stick into each one.
- In a medium bowl, melt the chocolate wafers in the microwave at 15-second intervals, stirring in between, until the chocolate is completely smooth. Dip half of each Rice Krispie square into the chocolate.
- Place the treats on a parchment paper-lined baking sheet.
- Add candy to the melted chocolate before it cools — I like to have it ready in small bowls. Press the M&Ms into the chocolate so that they really "stick". Spread the red sprinkles and hearts overtop.
- Place the crispy treats in the fridge and allow the chocolate to harden completely before serving.
Video
Notes
- Homemade Rice Krispie treats work just as well as store-bought ones, but using premade squares cuts out some of the work. Find the homemade recipe in this post!
- Use candy melts for best results — the wafer chocolate melts the best. Add one teaspoon of coconut oil to other chocolate to help it melt and pour better.
- Lay the chocolate-covered treat on a parchment-lined baking sheet for easy moving and transporting before the chocolate has hardened.
- Place the chocolate in the fridge or freezer to completely cool before serving.
- Store these yummy treats in a large freezer bag or airtight container for up to three months at room temperature. They can also be stored in the fridge to prevent the chocolate from melting.
Nutrition
