Complete Guide to Canning at Home
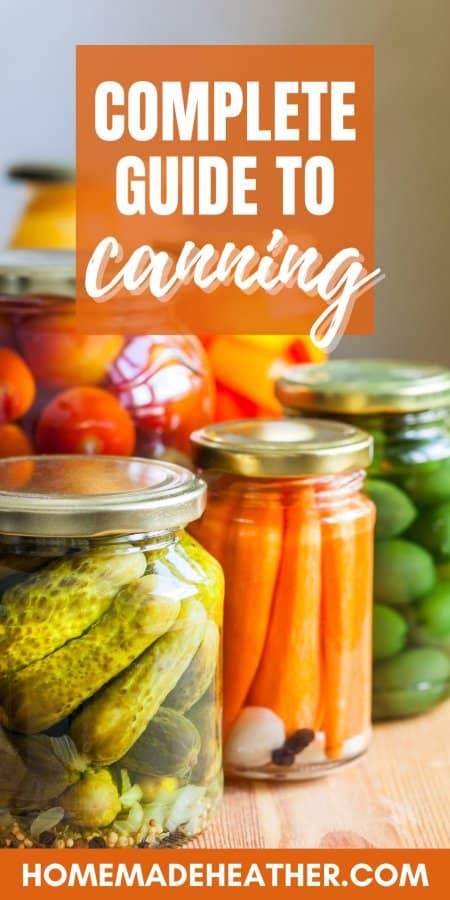
This is the ultimate, complete guide to canning at home! Learn how to easily can fruits, vegetables and preserves with this informative post.
Too busy to read the information now? Pin this post for later! Save this canning post to your favorite board on Pinterest and it will be there when you’re ready.
As the world leans more toward the preservation of foods, home canning has become widely popular. Mainly re-instituted by the homegrown and homesteading movements, the act of home canning provides an easy way to preserve food for the long haul.
Complete Guide to Canning
What is home canning?
Home canning is a revolutionary idea that is actually relatively new in our human history, only being invented around three hundred years ago, give or take. It involves the preparation of fruit or vegetables that are then stored in mason jars for years.
Through the centuries to our current time, canning in all its aspects has changed greatly. It is certainly convenient enough to buy already prepared items from the supermarket.
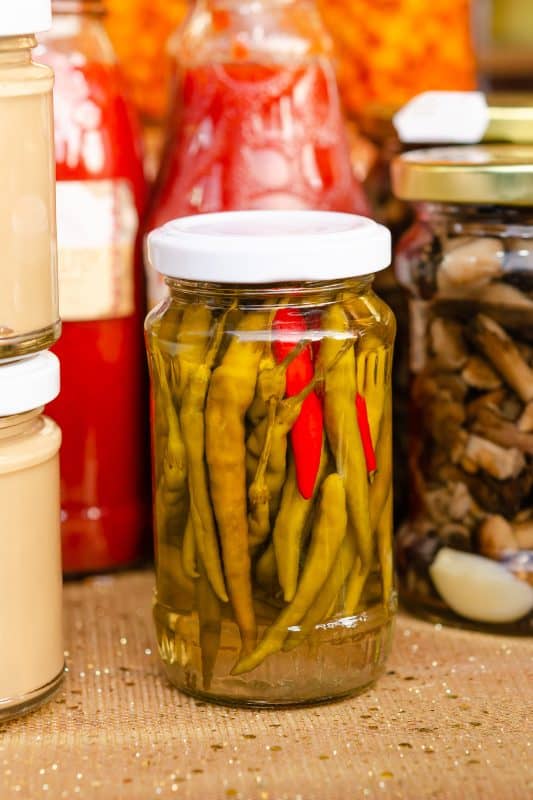
But imagine the pride you will feel by preparing your own home-cooked jams, jellies, relishes, fruit, salsa and pickles. Canning food when it is in season helps to save a lot of money.
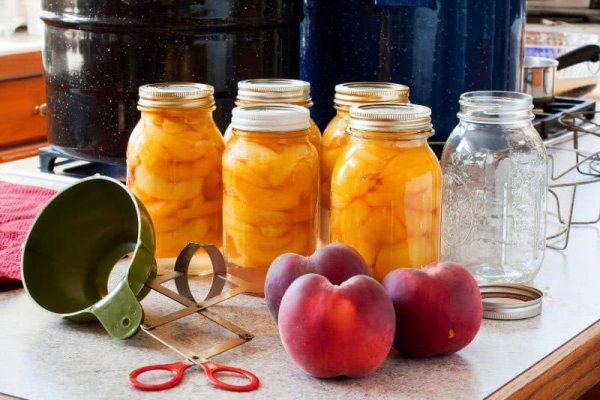
My canning supplies have mostly been passed down through the generations from my mother and grandmother. These are the staples that I have stored in my pantry for canning.
Canning Supplies
- 12 Quart Water Bath Canner with Lid – Best for foods with high acidity like salsa, tomatoes, and fruit.
- 23 Quart Pressure Canner – Great for processing foods like meat, soup, and vegetables.
- Ball Mason Jars – The size of mouth and jar will depend on your recipe. For example, wide mouth quart jars work well for pickles and regular mouth pint jars are great for salsa.
- Snap Lids and Rings – New, unused snap lids are needed to get a good seal on your jars.
- Canning Jar Lifter – This is used to lift the hot jars safely out of the boiling water bath.
- Magnet Snap Lid Lifter – This makes pulling the snap lids from the water after being sterilizer much easier.
- Jar Canning Funnel – Perfect for pouring sauce and jam into mason jars.
- Ladle – For pouring liquid into the jars.
- Over-the-Sink Strainer – This is my go-to strainer for processing a lot of fruit and vegetables.
- Rubber Tongs – For grasping hot jars and lids when sterilizing.
- Tea Towels – Used for cleaning and handling hot jars.
Canning Methods
There are many methods still currently in use by home canning practitioners. The most common are bath sealing and pressure sealing.
Other traditional methods use tin cans, steel cans, mason jars, lightning jars, or jars that have locking lids. These methods require the food to be eaten within a week or stored in the freezer.
Nearly all of them employ some form of double seal that helps to prevent bacteria or ecoli from growing in the food.
Pressure Sealing
Pressurizing in a glass jar is by far the safest method. In order to pressure seal your canned goods, a pressure canner is used to cook the preserved foods to an extremely high heat and expose them to such pressure that they are forced to seal tightly shut.
This method is not without its practice though, as any recipe can be cooked too high or too low, defeating the overall purpose of using the pressure cooker. I only use our pressure canner for fish and stew.
This method is most often applied for the canning of any foods that are not mostly acidic. A large majority of vegetables, meats and soups must be pressurized in order to ensure they will be safe to eat when you open them again.
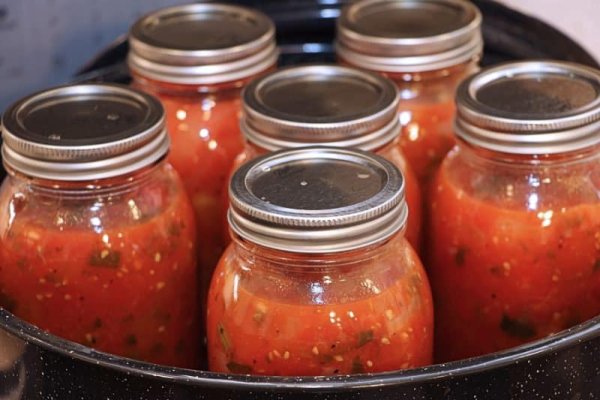
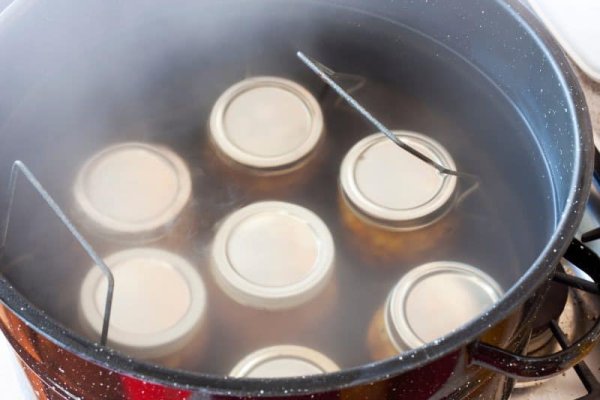
Water Bath Sealing
The bath canning method is easily done with the use of a large pot and a glass jar with sealing lid. This is the canning method that I use most often.
It is an older method than pressurized canning and is often only used for foods that have a high acid content. Foods such as tomatoes, garlic, onions, oranges, berries, sauces, jams, and jellies are often preserved using this method.
This is the method that I use most often in my canning recipes!
How to Sterilize Jars
Being organized is extremely helpful when getting started. To begin there are a few simple tips to follow to ensure absolute success.
1. Prepare the jars and lids. Clean the jars thoroughly in hot, soapy water, and rinse them. Often jars get buildup at the base, or the lids and seals get dirty during their shelf life as empty jars.
Take off the seals, and inspect them to ensure that they are still effective. If broken, these can be replaced with new ones when canning, and a note should be taken for the appropriate sizes to purchase.
After being washed, rinse the jars thoroughly in hot water.
2. Preparation of sterilizing pan. Prepare a pot of water large enough to hold several jars at a time, with sufficient water to cover the whole jar.
Heat the water and let it come to a rolling boil. Turn down to simmer and have rubber tongs at the ready.
3. Sterilize the jars and lids.
Place the jars, seals and lids into the water, ensuring that they are completely submerged.
Although not crucial to the process, the average time for sterilization is five minutes. Time it and prepare the next batch of jars to sterilize. Lay out tea towels to place the clean jars on.
Take the pot off of the heat and carefully remove the jars, seals and rings. The seals won’t get that hot, since the material they are made of tends to cool rapidly. The rings, however, will be so be careful when removing these.
4. Allow the jars to dry. Often wiping the jar out with a clean tea towel is the quickest way to dry them. But you could also place the jars into a warm oven. This should just be on a low setting, and if you have a fan-assisted oven, this helps because the airflow helps the jars to dry on their own.
The seals should be wiped with a clean paper towel and never exposed to a warm oven. These are simply dried and placed ready for use. Metal rings can be dried in a similar fashion.
Now that the jars are clean and ready, a new session of canning can begin. Even new jars from the stores should be sterilized as a precautionary measure. This helps to prevent bacteria and ecoli from growing in your newly canned goods.
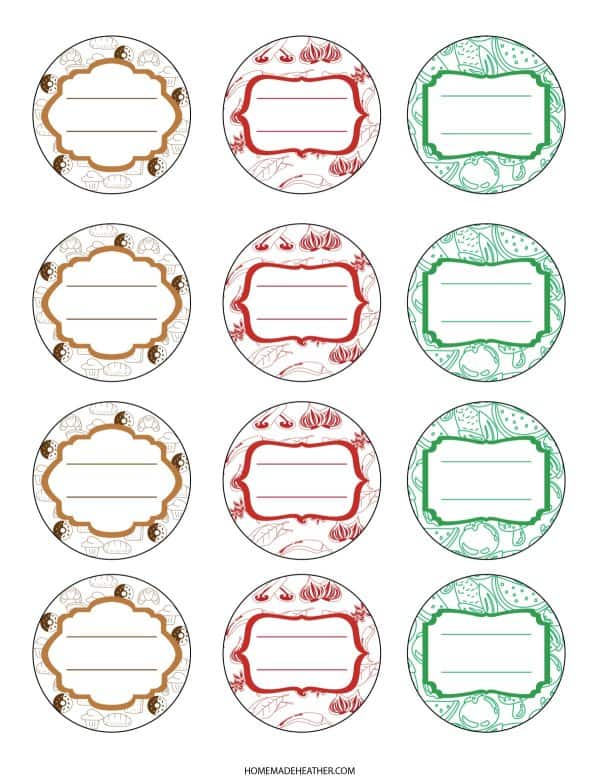
Canning Labels
Be sure to download our printable canning labels and have them at the ready. A sharpie marker could also be used on the lids, so that each jar can be labelled accordingly once prepared.
Canning Process
1. Prepare the recipe. Make sure that you have read the recipe completely and have all the required ingredients.
Some recipes are prepared a day ahead of time to allow the ingredients to soak in their own natural flavors and juices.
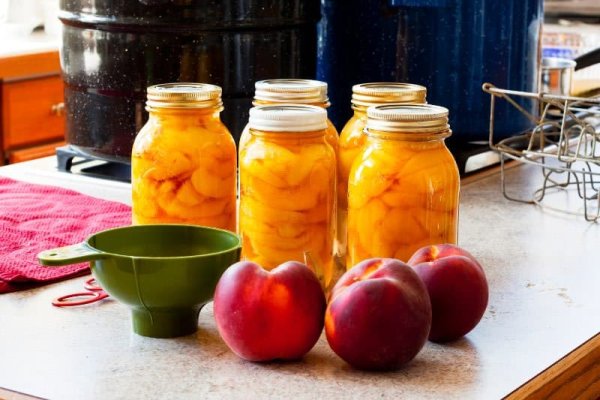
2. Pour into jars. Once the recipe is prepared pour it into jars with a ladle and funnel if required. Make sure to leave enough head space, usually 1 inch from the top of the jar.
3. Put the snap lid and rings onto the jars. Be sure to wipe the rim of the jar with a clean damp cloth to remove any excess liquid or spill over.
Place the snap lid on top of the jar, then screw on the ring to just finger tight.
4. Process the jars.
Place the jars into the processor as directed in the recipe.
5. Prepare the counter top. Set tea towels out to receive the jars upon removal from the canning pot with the canning tongs.
Do not set them directly on the counter surface, as this may cause breakage because of the sudden temperature change. Tighten the lids on the rings if needed.
6. Cool the jars. Allow the jars to cool on the counter until you hear the snap lids pop.
Once the lid has popped on the canning jar, it is a sign that your food has been sealed properly and can be stored for safe keeping.
7. Label the jars. Use printed labels or a sharpie marker to write the date and contents on each jar.
When you follow these simple steps and techniques you will be rewarded with a winters worth of delicious fruits and vegetables!
Be sure to check out some of these easy canning recipes that we use every season! The salsa and tomato sauce are family favorites.
Easy Canning Recipes
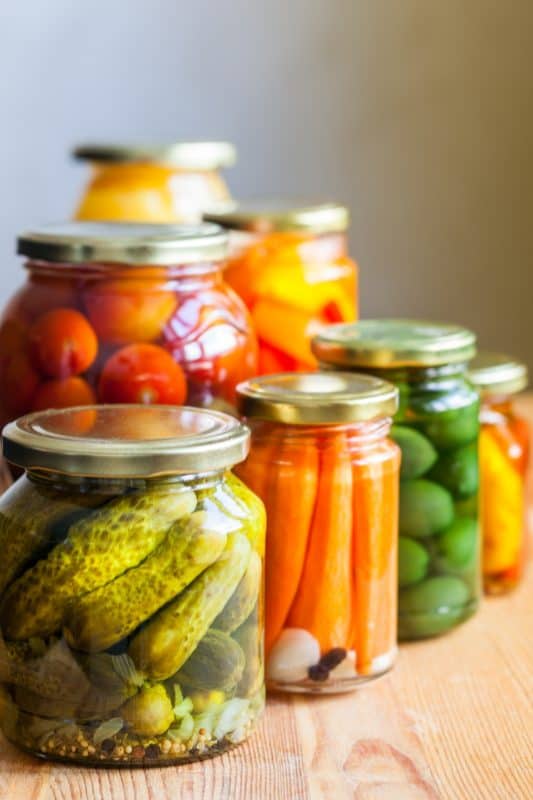
- Crunchy Dill Pickles
- The Best Salsa for Canning
- Canning Tomato Sauce
- Easy Pickled Onions
- Peach Salsa
- Apple Pie Filling
- Hot Pepper Jelly
If you found this complete guide to canning helpful, please give it a five star review and help me share it on Facebook or Pinterest so that others can enjoy it too.
Canning Process
Materials
- 12 Quart Water Bath Canner with Lid – best for foods with high acidity like salsa tomatoes and fruit.
- 23 Quart Pressure Canner – good for foods with low acidity like meat and soup.
- Ball Mason Jars – size of jar and size of the mouth will vary depending on what recipe you are canning. For example wide mouth quart jars are best for pickling and regular mouth pints are what we use for salsa.
- Snap Lids and Rings – new unused snap lids are needed to get a good seal on your jars. Rings may be saved and reused.
- Canning Jar Lifter – this is used to lift the hot jars safely out of the boiling water bath.
- Magnet Snap Lid Lifter – this makes pulling the snap lids from the water after being sterilizer much easier.
- Jar Canning Funnel – perfect for pouring salsa and jam into mason jars.
- Ladle – for pouring liquid into the jars.
- Over the Sink Strainer – this is my go-to strainer for processing a lot of fruit or vegetables.
- Rubber Tongs – for grasping hot jars and lids when sterilizing.
- Tea Towels – used for cleaning and handling hot jars.
Instructions
- Prepare the recipe. Make sure that you have read the recipe completely and have all the required ingredients.
- Some recipes are prepared a day ahead of time to allow the ingredients to soak in their own natural flavors and juices.
- Pour into jars. Once the recipe is prepared pour it into jars with a ladle and funnel if required. Make sure to leave enough head space, usually 1 inch from the top of the jar.
- Put the snap lid and rings onto the jars. Be sure to wipe the rim of the jar with a clean damp cloth to remove any excess liquid or spill over. Place the snap lid on top of the jar, then screw on the ring to just finger tight.
- Process the jars. Place the jars into the processor as directed in the recipe.
- Prepare the counter top. Set tea towels out to receive the jars upon removal from the canning pot with the canning tongs.
- Do not set them directly on the counter surface, as this may cause breakage because of the sudden temperature change. Tighten the rings on the lid if needed.
- Cool the jars. Allow the jars to cool on the counter until you hear the snap lids pop. Once the lid has popped on the canning jar, it is a sign that your food has been sealed properly and can be stored for safe keeping.
- Label the jars. Use printed labels or a sharpie marker to write the date and contents on each jar.
- Store in a cool, dark place for up to 12 months.
