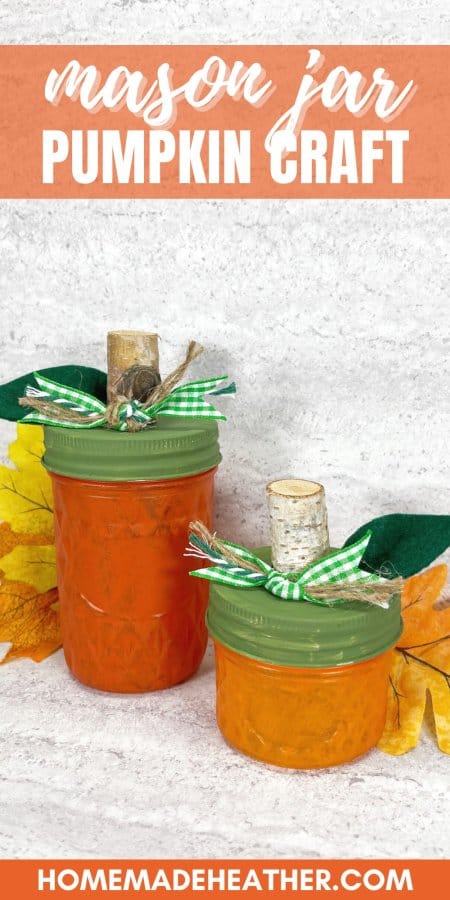
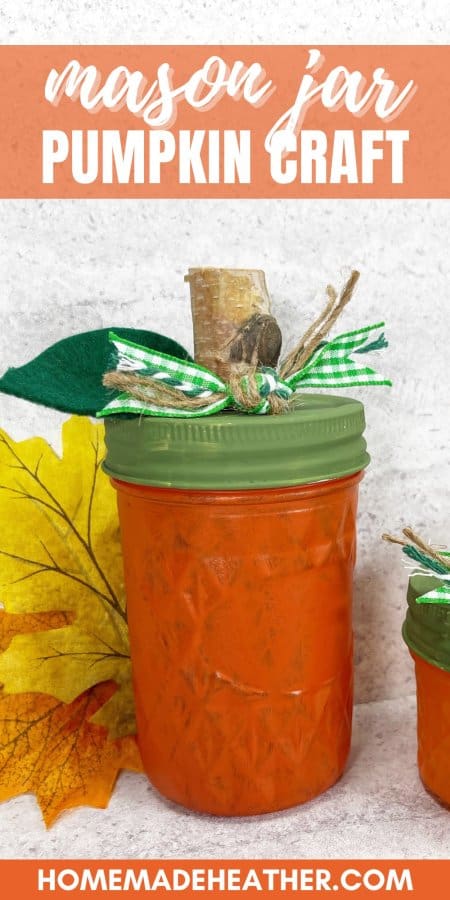
Easy Painted Mason Jar Pumpkin Craft
Create charming fall decor with this Easy Painted Mason Jar Pumpkin Craft. Transform plain jars into festive pumpkins for a seasonal touch.
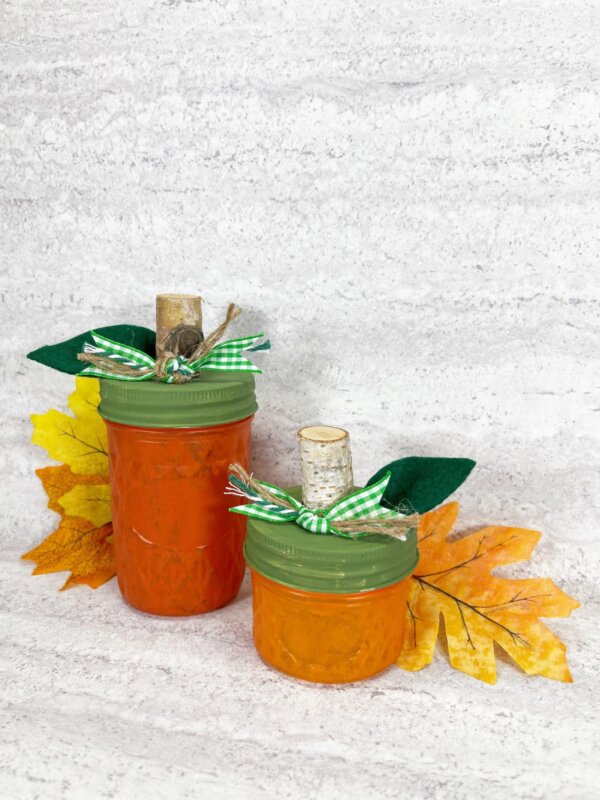
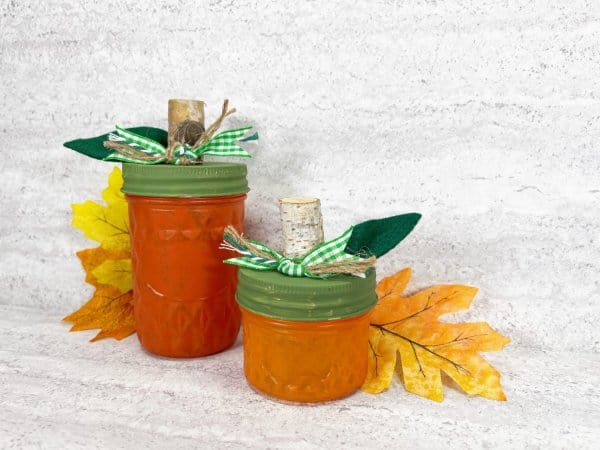
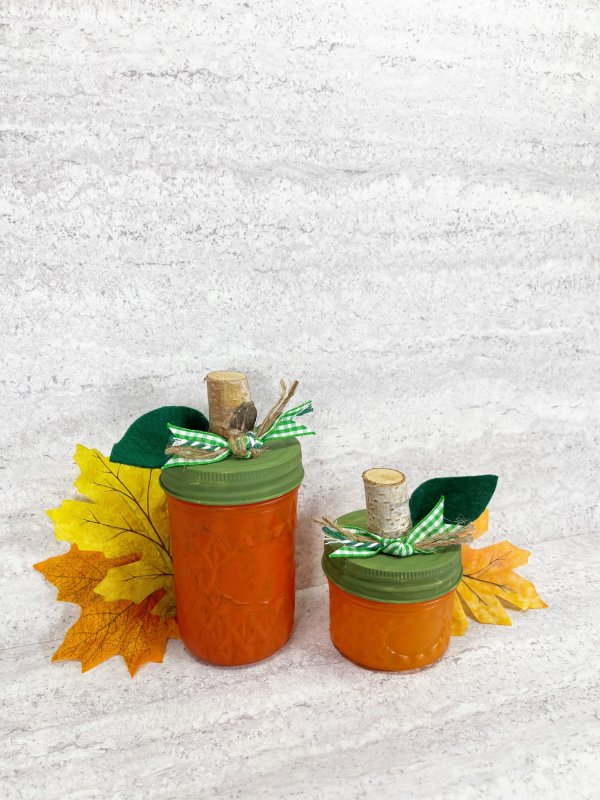
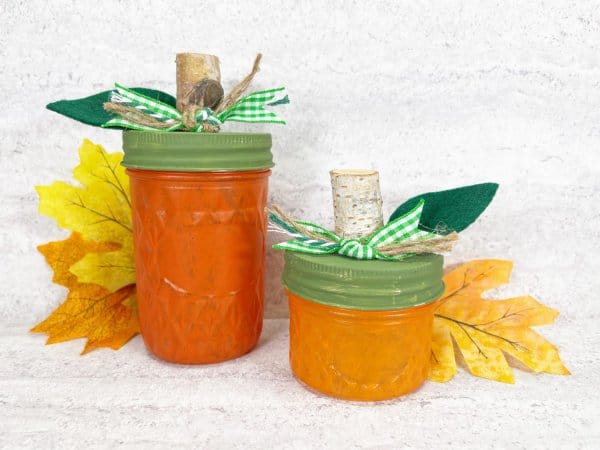
Transform simple dollar store jelly jars into the cutest pair of pumpkins, with just some paint and felt, this Fall!
Too busy to make this right away? Pin it for later! Pin this post to your favorite board on Pinterest and it will be there when you’re ready!
These mason jar pumpkins make a great addition to your decor this Fall season. Add a battery-operated tea light or a string of fairy lights for a pretty glow. Check out the step-by-step tutorial for today’s pumpkin mason jar craft below.
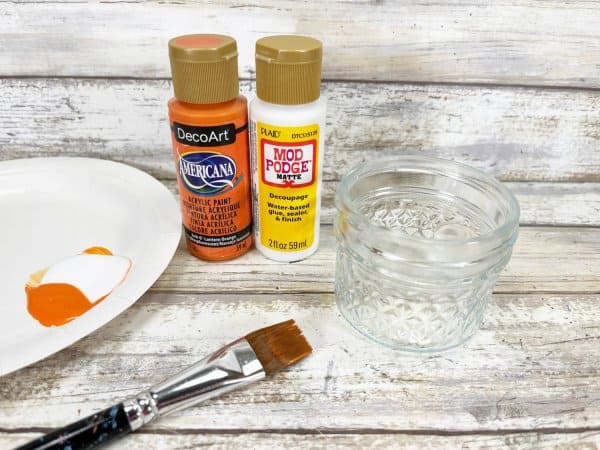
Materials:
- Jelly Jar, Small – Dollar Store
- Jelly Jar, Medium – Dollar Store
- Wooden Stems – Dollar Store
- Natural Jute Twine – Dollar Store
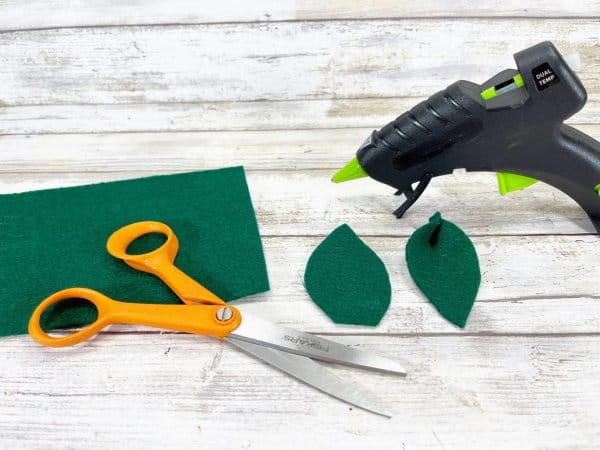
- Hot Glue Gun and Glue Sticks – Dollar Store
- Decoupage Medium (such as Mod Podge) – Dollar Store
- Craft Paint – Light Orange, Dark Orange,
- Multi Surface Craft Paint – Green
- Craft Felt, Green
- Paint brush
- Scissors
- Ruler
Instructions:
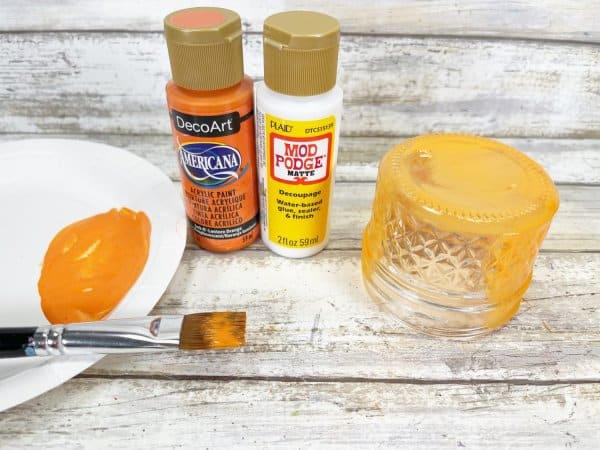
1. Gather all supplies. Remove the sticker tag from the jelly jars. Clean mason jars and lids and dry everything thoroughly. Place a dime size dollop of light orange acrylic paint and decoupage medium on a paper plate. Mix together and paint a light coat on the outside of the small jelly jar. The decoupage medium will make the paint translucent.
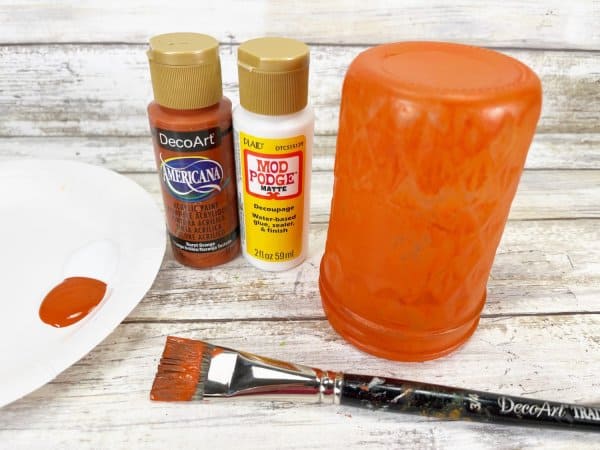
2. Place a quarter size dollop of dark orange acrylic paint and decoupage medium on a paper plate. Mix together and paint a light coat on the outside of the medium jelly jar. The decoupage medium will make the paint translucent.
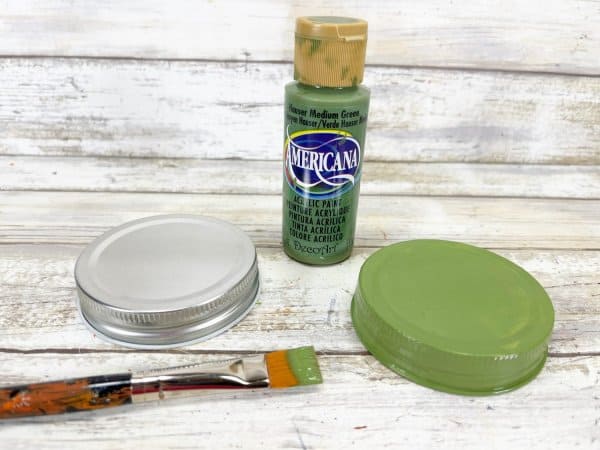
3. Paint the jelly jar lids with green multi surface acrylic craft paint. Set aside to dry and apply a second coat of paint, if necessary. The lids can be top coated with decoupage medium for extra durability.
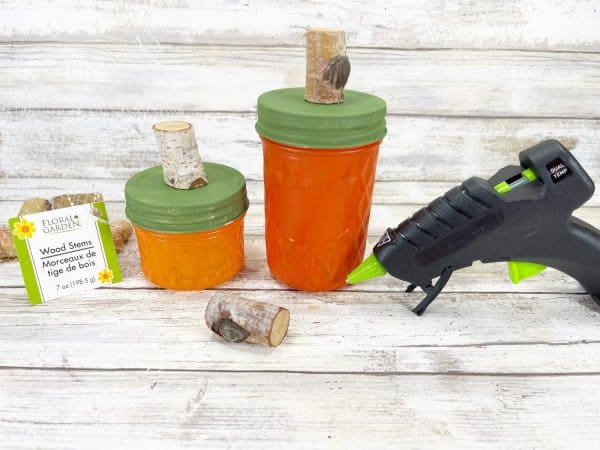
4. Attach wooden stems to the top center of the jelly jar lids with a glue gun and glue sticks. This bundle of wooden stems was found at the dollar store, but you could use a tree branch from the yard.
Note: You can use liquid craft glue for this project, but it has a much longer drying time, so you will have to wait.
5. Cut teardrop shaped leaves from green craft felt with scissors. Apply a dot of glue to the tip of the leaf shape and fold in half for added dimension.
6. Attach the craft felt leaves to the wood stems of the pumpkins with a glue gun and glue sticks.
7. Measure and cut two 8” lengths of natural jute twine. Tie each piece of twine into a bow and trim any long ends with scissors.
8. The final step to finish this pair of jelly jar pumpkins is to attach the twine bows to the front center of the wood stem with a glue gun and glue sticks.
Tips and Tricks:
- There are many ways to color your pumpkins orange, besides using craft paints. Decoupage orange tissue paper onto the jar. Try chalk paint. You can also try spray painting too. Just remember that to achieve a nice even color, you will want to spray a few thin coats of orange paint, rather than one thick coat.
- Instead of making the pumpkin stem out of wood, use cinnamon sticks.
- Add vines to your pumpkin with pipe cleaner, floral wire, or wired ribbon.
- For the Halloween season, make jack-o-lantern faces with black construction paper to add to your pumpkins.
- Your local thrift stores are great places to find inexpensive items to repurpose for all kinds of fun crafts.
- Shopping at your favorite dollar store is a great way to save money on seasonal decorations, serving platters, and fun activity and craft supplies. Even better, shop clearance sales at the end of the season and stock up for next year.
This easy mason jar project is a fun activity to create in just about 30 minutes. While this DIY makes a traditional orange pumpkin, change things up by using a variety of colors for your pumpkins.
Add a special treat or gift card inside for a fun hostess or teacher gift. Your family and friends will never know how quick and easy this trendy Autumn decor was to create!

For more pumpkin-themed crafts, check out this cute mason jar ring pumpkin, this easy paper pumpkin craft that uses orange paper strips, or create a beautiful watercolor with this free pumpkin template.
If you love this Mason Jar Pumpkin Craft, please give it a five-star review and share it on facebook and pinterest so others can enjoy it too.
