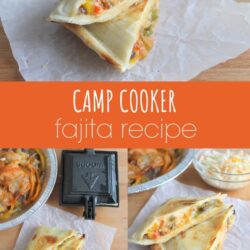
Camp Cooker Fajita Recipe
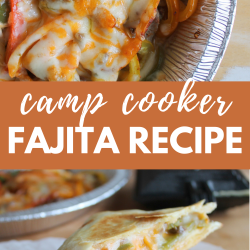

Add a new favorite to your camping menu with this cheesy, flavor-packed camp cooker fajita recipe—easy to make, fun to eat, and perfect for your next outdoor adventure!

I have a tasty camp cooker fajita recipe for you today! Pretty much anything cooked in a camp cooker is delicious in my opinion.
Because I love this handy tool so much, I have tons of pie iron recipes for meals, snacks, and desserts that we use all summer long. My camping menu is always stacked with these simple recipes that the boys can make on their own.
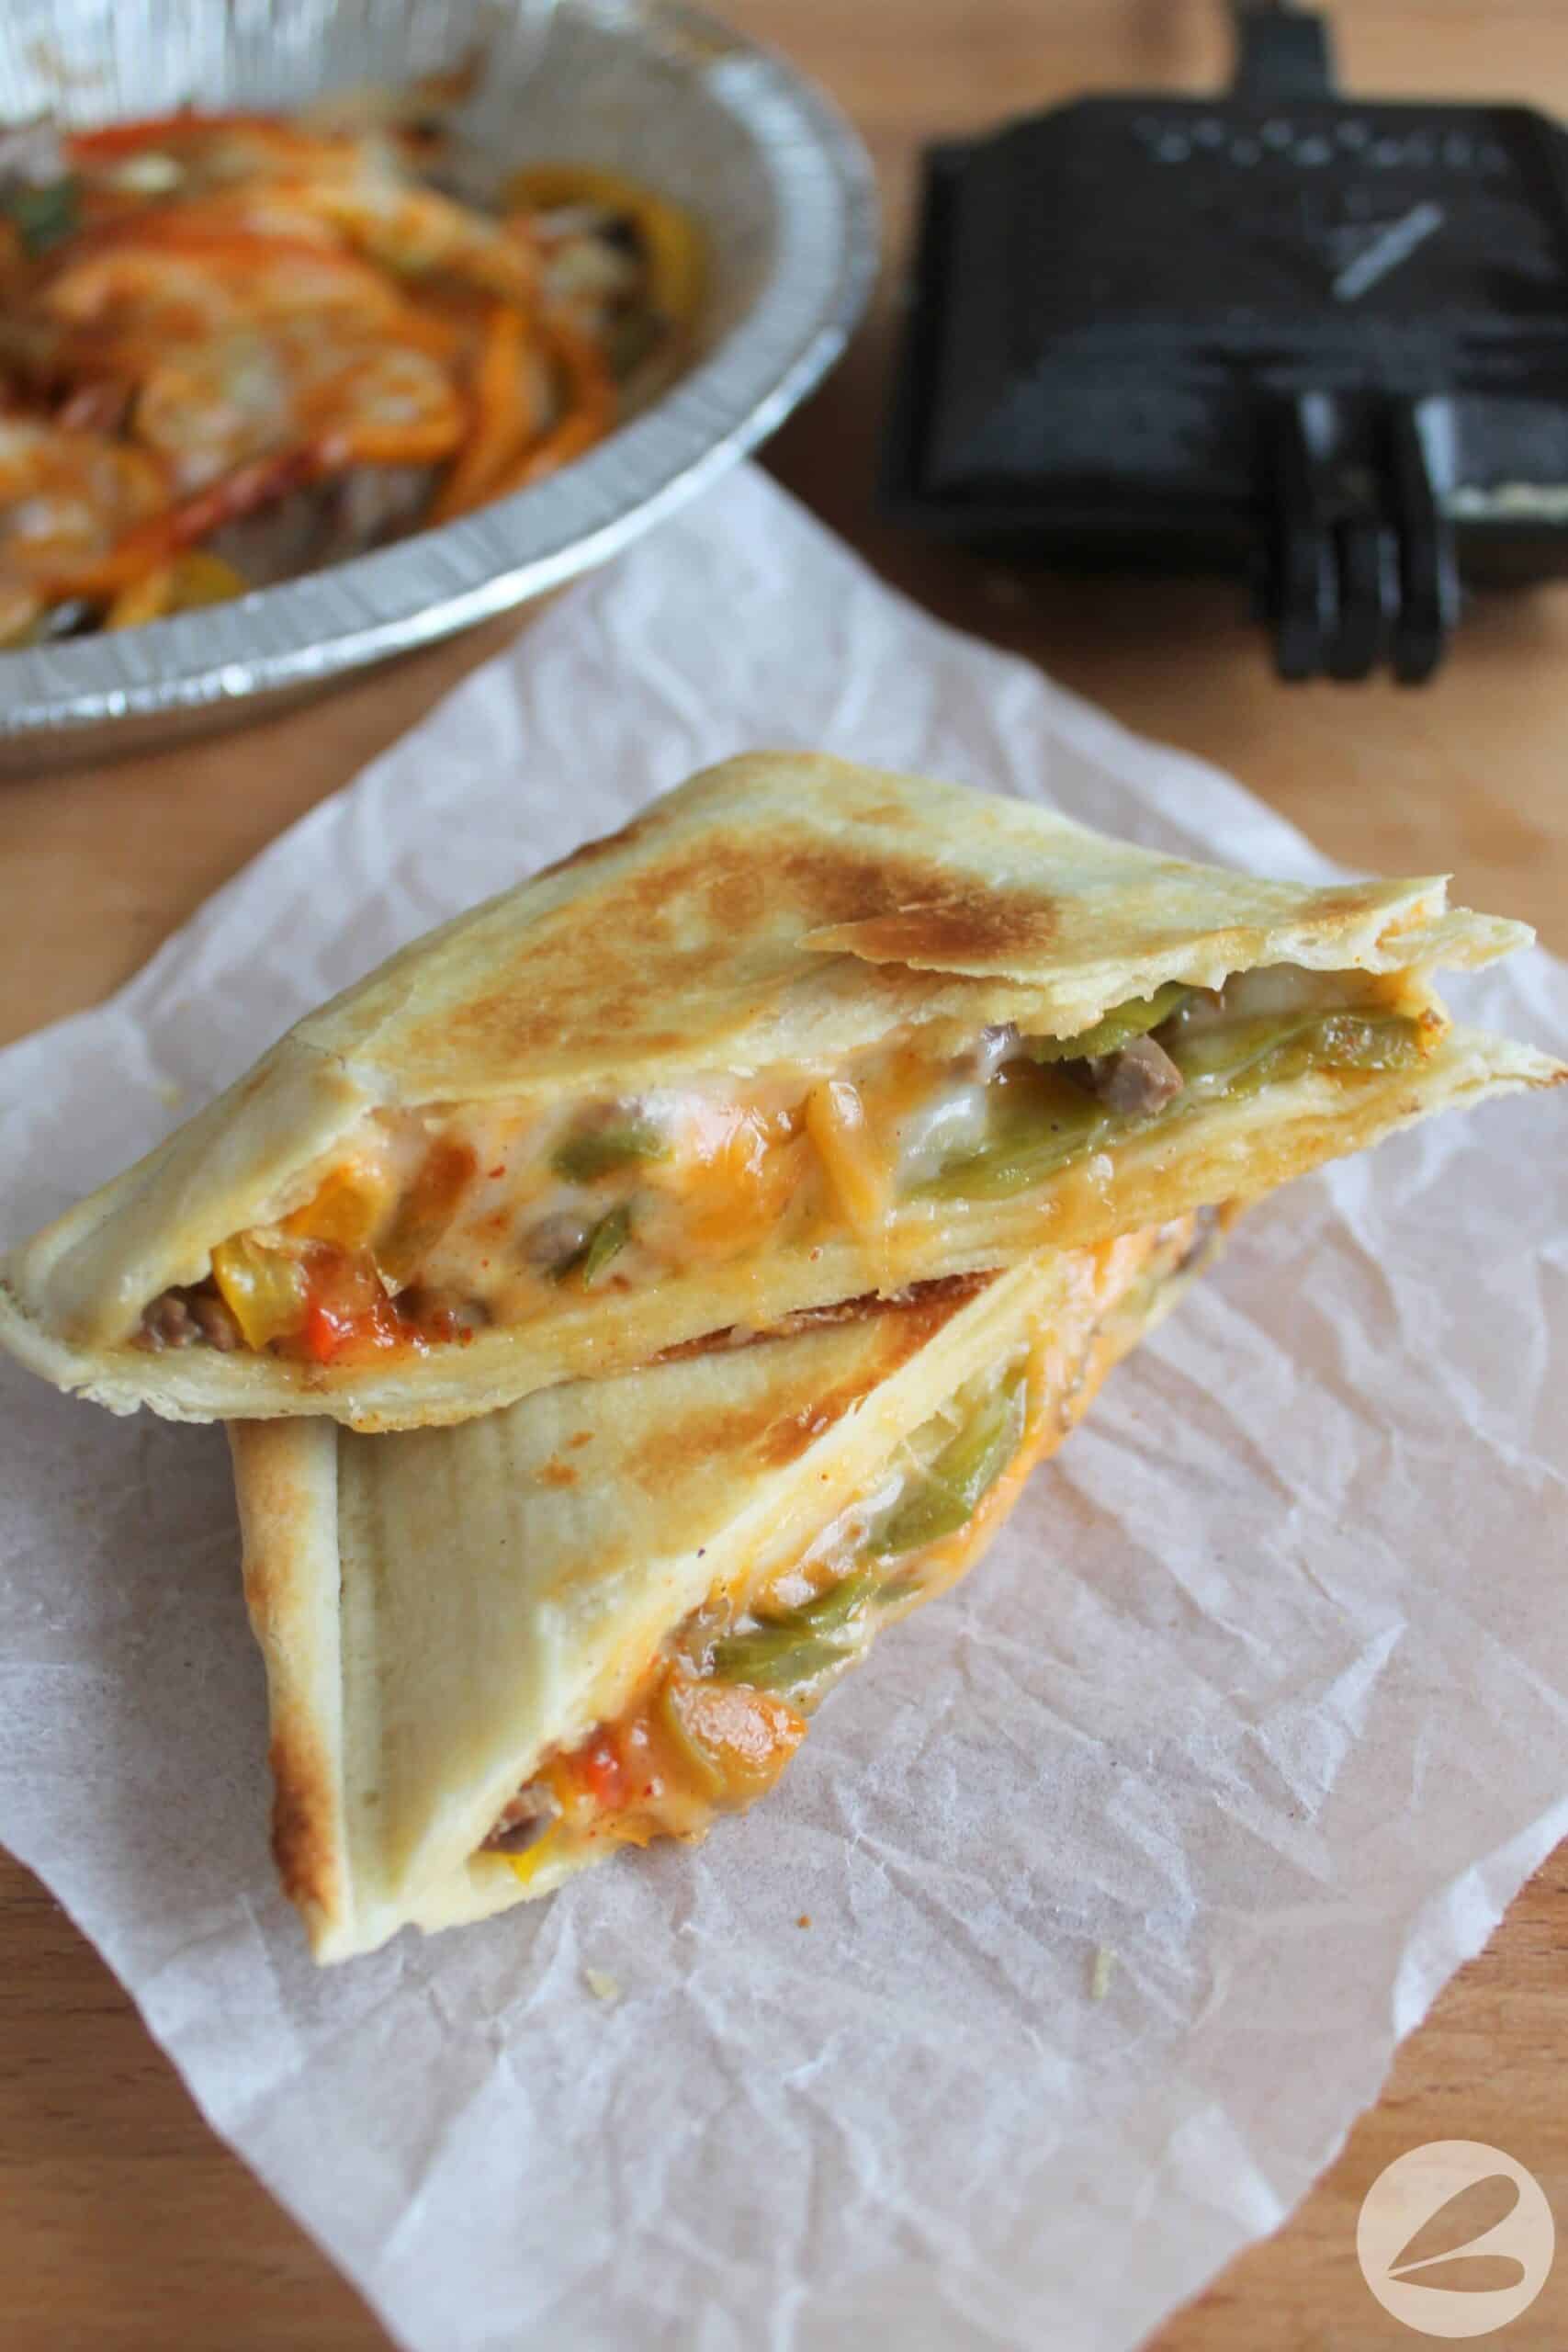
This camp cooker fajita recipe is no different. It combines the simplicity of making a tortilla pocket with the tasty flavors of steak, bell peppers, and melty cheese.
Too busy to make this right away? Pin it for later! Pin this post to your favorite board on Pinterest and it will be there when you’re ready!
Why You’ll Love This Recipe
Sizzle, crunch, gooey cheese—what’s not to love?! These camp cooker fajitas are an easy win whether you’re wrangling a crew of hungry kids, hosting a lakeside dinner, or just trying to sneak a few more veggies into your teenager’s diet.
They’re incredibly simple to prep (especially if you use leftovers!), super flavorful thanks to the steak and bell peppers, and come with that unbeatable melty-cheese campfire magic.
The best part? You can hold it in your hand, which means fewer dishes and more time doing the fun stuff.

I like to use leftovers from this amazing tinfoil packet fajita recipe to fill these pockets, but today I have given you the directions to make this camping meal from start to finish. With a little bit of meal planning, you can make this recipe even quicker with leftovers from the previous day.
Looking for more easy & delicious camping recipes? Be sure to check out….

Camp Cooker Fajita Recipe
Over the years I have experimented and tried out pretty much every camping tool known to woman. I love to cook and make mouth watering food while we are camping in the wilderness. Here are some of my favorite products to use while camping.
This post contains affiliate links.
Our Camp Cooking Essentials
- A pie iron camp cooker makes cooking over the open fire super easy. Check out these 20+ Pie Iron Recipe Ideas for tons of camp cooker inspiration! Or visit my how to use a pie iron post for tips.
- Foil pie plates make tinfoil packet meals even easier with the sturdy base that they provide.
- These grilling bags that I recently found are amazing! Simply add all of your ingredients to the bag at home, then throw it on the campfire or grill when camping in the great outdoors. Avoid the grill bags with plastic windows, though, as they melt.
- We love these BBQ cooking gloves because they make handling campfire food a whole lot safer!

Ingredients
- Sirloin steak, cut into strips – Tasty strips of beef that cook up juicy and flavorful.
- Orange bell pepper, sliced – Sweet, vibrant, and brings a pop of color.
- Yellow bell pepper, sliced – Milder in flavor and brightens up the mix.
- Green bell pepper, sliced – A little more zing and a classic fajita fave.
- Yellow onion, sliced – Adds just the right touch of sweetness and sizzle.
- Olive oil – Helps everything cook up nicely and not stick.
- Taco seasoning – We love our homemade version, but store-bought works great too.
- 10″ tortillas – Soft wraps to hold all the cheesy goodness.
- Tex Mex cheese – Melts like a dream and stretches just right.
- Salsa (optional) – Adds a little extra kick of heat.
- Sour cream (optional) – Cool and creamy, it’s perfect for dipping your fajita pocket.

Instructions
1. Prepare the first seven ingredients and combine in a tinfoil packet. Cook over the fire or on the BBQ for 30 minutes.

2. Spray the inside of the camp cooker with non-stick spray or wipe down with butter. Lay a tortilla to one side of the iron.

3. Fill with fajita mixture and top with cheese.

4. Fold the other half of the tortilla over the toppings to create a pocket before closing the iron.

5. Cook over the fire for 5-10 minutes, flipping the camp cooker when necessary. Serve with sour cream and salsa (optional).
Tips and Tricks
- Rotate the camp cooker often over the fire for even browning and perfectly toasted tortillas.
- Pre-slice everything at home and toss it all into a freezer bag to save time and cleanup at the campsite.
- Add a little extra olive oil to the foil packet to keep your veggies and meat tender and juicy.
- Use sour cream as a dipper instead of spreading it inside, so your tortilla doesn’t get soggy.
- Let the cooked fajitas rest for 1-2 minutes before slicing—this helps the melted cheese set and keeps the filling inside where it belongs.
- Don’t overload the pie iron or you’ll have the fillings dripping out the sides.

Tips for Cooking With a Camp Cooker
- When cooking with a camp cooker, begin by applying non-stick cooking spray or oil to the inside of both cooking plates. This step is important so that your delicious meal doesn’t stick to the plates and burn.
- Place your recipe ingredients into the cooker before closing and latching it.
- Cook the recipe over an open fire. We recommend placing the cooker over the fire for two minutes before unlatching, checking for doneness, and flipping the cooker over to cook the other side.
- Use caution when handling both the metal latch and handles as they can become hot while cooking.

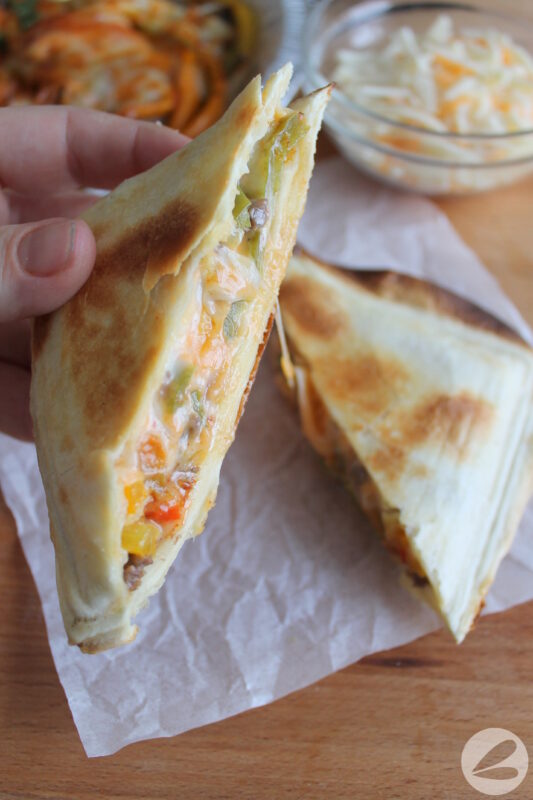
Look at the cheese just oozing out of this tortilla pocket! So yummy! I love using tortillas in this recipe instead of bread because they let the flavors of the filling really stand out.
Frequently Asked Questions
What kind of steak is best for fajitas?
Sirloin is a great pick because it’s flavorful and cooks quickly, but flank or skirt steak works wonderfully, too, if that’s what you have on hand.
Can I make these fajitas vegetarian?
Absolutely! Just load up on extra bell peppers, onions, mushrooms, and maybe some black beans or zucchini for a tasty meatless version.
How do I keep my tortillas from burning in the pie iron?
Make sure to spray or butter both sides of the iron, and cook over medium heat, not directly in the hottest part of the fire. Rotating frequently helps too!
Can I make these ahead of time?
Totally. Cook and assemble the filling at home, pack it in freezer bags, and all you have to do at camp is heat and toast. Boom—dinner is served.
What sides go well with fajitas while camping?
Chips and salsa, Mexican street corn, or even a scoop of rice cooked in a foil packet. Keep it simple and snacky!
Let’s be honest—any meal that gets teenagers to eat peppers and do their own dishes (okay, maybe wishful thinking) is a keeper. Happy camping and happy munching!

I would love for you to check out my new blog, Campfire Foodie, where I’m sharing ALL of the camping recipes!!
If you love this camp cooker fajita recipe, please give it a five-star review and help me share it on Facebook and Pinterest so that others may enjoy it too!
Camp Cooker Fajita Recipe
Ingredients
- 1 lb sirloin steak cut into strips
- Orange bell pepper sliced
- Yellow bell pepper sliced
- Green bell pepper sliced
- 1 medium yellow onion sliced
- 1 Tbsp olive oil
- 2 Tbsp taco seasoning
- 4 10 ” tortillas
- 1 cup tex mex cheese
- ½ cup salsa optional
- ½ cup sour cream optional
Instructions
- Prepare the first seven ingredients and combine in a tinfoil packet.
- Cook over the fire or on the BBQ for 30 minutes.
- Spray the inside of the pie iron with non-stick spray or wipe down with butter.
- Lay a tortilla to one side of the iron and fill with fajita mixture. Top with cheese.
- Fold the other half of the tortilla over the toppings to create a pocket before closing the iron.
- Cook over the fire for 5-10 minutes, flipping the pie iron when necessary.
- Serve with sour cream and salsa (optional).
Notes
- Rotate the camp cooker often over the fire for even browning and perfectly toasted tortillas.
- Pre-slice everything at home and toss it all into a freezer bag to save time and cleanup at the campsite.
- Add a little extra olive oil to the foil packet to keep your veggies and meat tender and juicy.
- Use sour cream as a dipper instead of spreading it inside, so your tortilla doesn’t get soggy.
- Let the cooked fajitas rest for 1-2 minutes before slicing—this helps the melted cheese set and keeps the filling inside where it belongs.
- Don’t overload the pie iron or you’ll have the fillings dripping out the sides.
Nutrition
