Carriage House Build (Stage Three)
Unlocking dreams, one door at a time!
Welcome back to the grand finale of our Carriage House journey! What began as a garage for extra storage has evolved into a build full of character and collaboration.
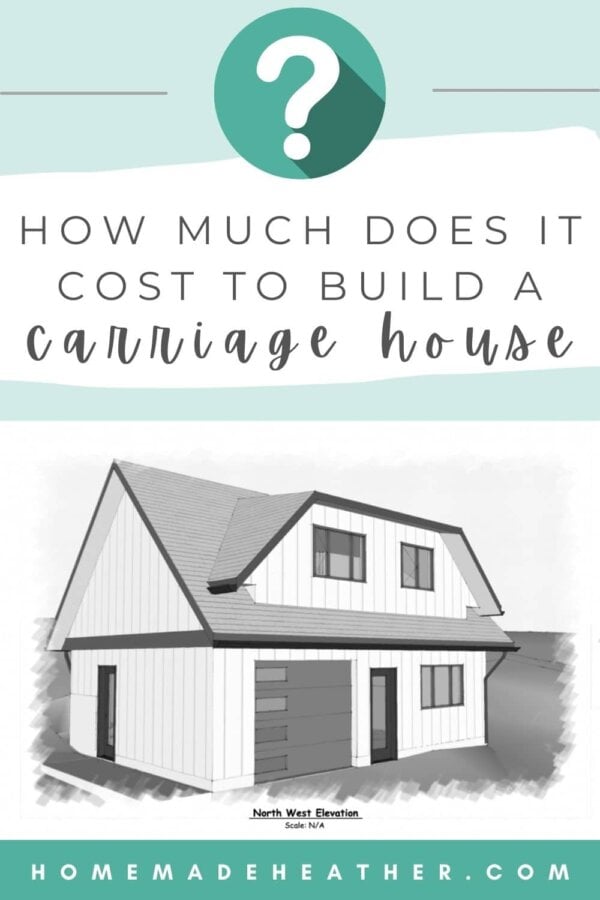
With friends, family, and our relentless will to finish propelling us forward, our humble garage project is now on the brink of becoming a cozy haven we’ll soon call home. Enjoy our carriage house build stage three!
Too busy to make this right away? Pin it for later! Pin this post to your favorite board on Pinterest and it will be there when you’re ready!
More Carriage House Posts
- Carriage House Stage One (permits to concrete)
- Carriage House Stage Two (from framing to lock up)
- Carriage House Stage Three (you are here)
- 3 Easy DIY Projects for a Mudroom
- How to Create a Trim Mountain Accent Wall
- How to Create an Easy Trim Accent Wall
- Boho Studio Design & Decor
- How to Airbnb Your Space (Printable Checklist)
Stage Two Recap: Framing the Future
In our last post, we witnessed the structural dance of framing and trusses. And the emergence of a home with doors, roofing, and functional touches. The investment climbed to $118,698, proving that turning dreams into reality requires my fair share of financial acrobatics.
Read all about the Carriage House Build – Stage Two here.
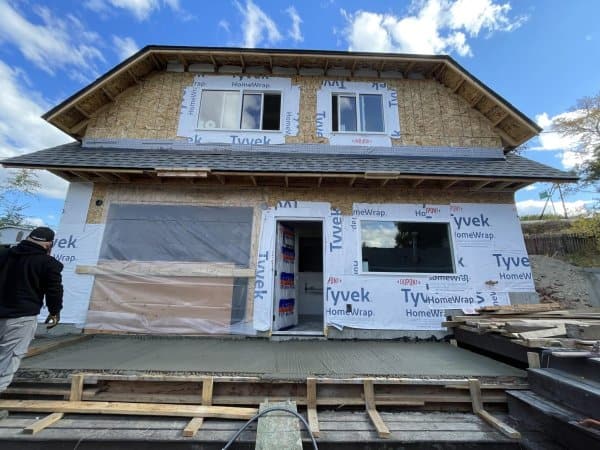
Lock Up to Occupancy: September 2023 to February 2024
As we stepped into the next stage, from lock up to occupancy, our carriage house truly started to breathe life. This is where I could really start to see the design take shape and make a few final decisions that would add personality to the space.
If you have ever been on a build of this magnitude then you know that this stage can be the most lengthy AND the most costly. But also the most rewarding!
I’ve split this last part into separate months as SO MUCH seemed to take place as we completed the carriage house. This was certainly my favorite part as I could now start actually seeing what we had envisioned rather than trying to visualize things in my head.
September 2023
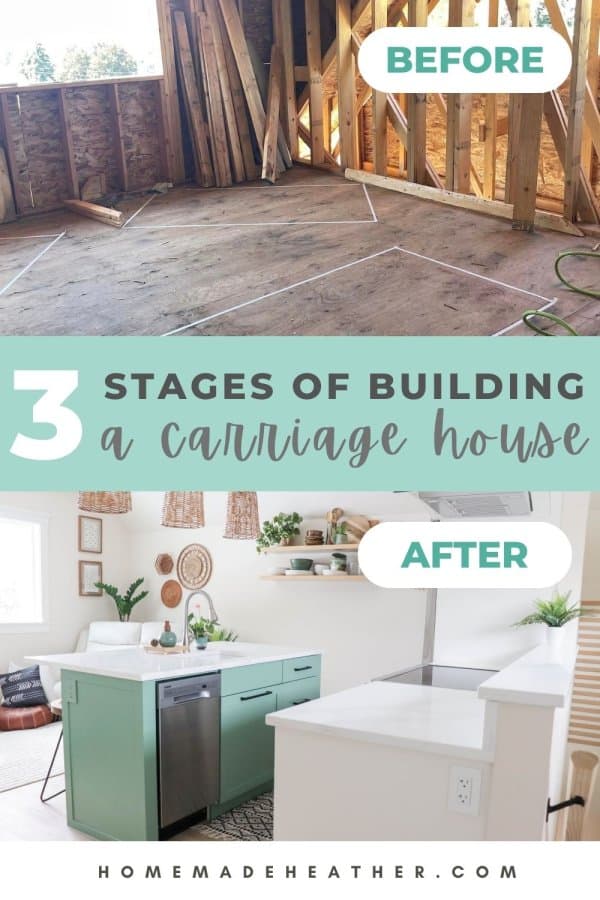
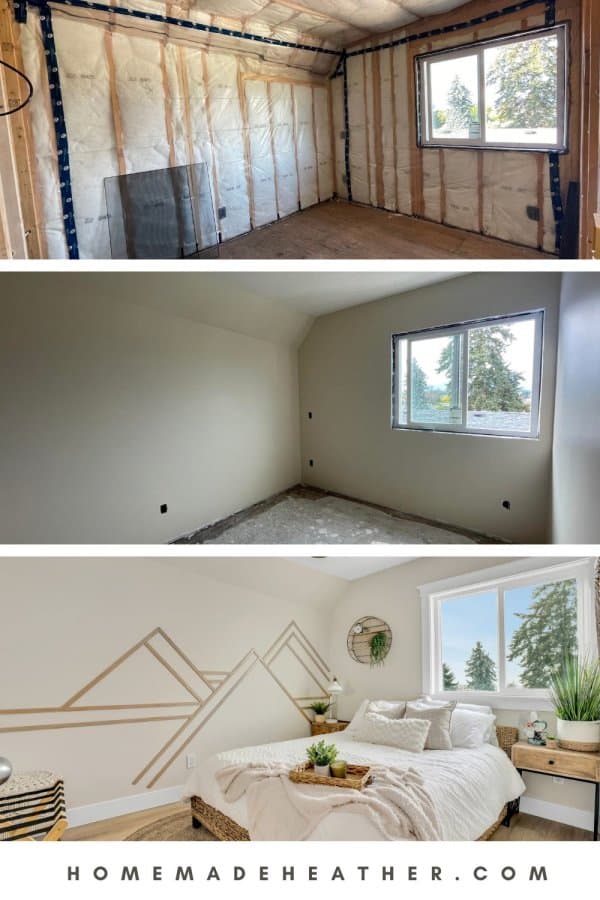
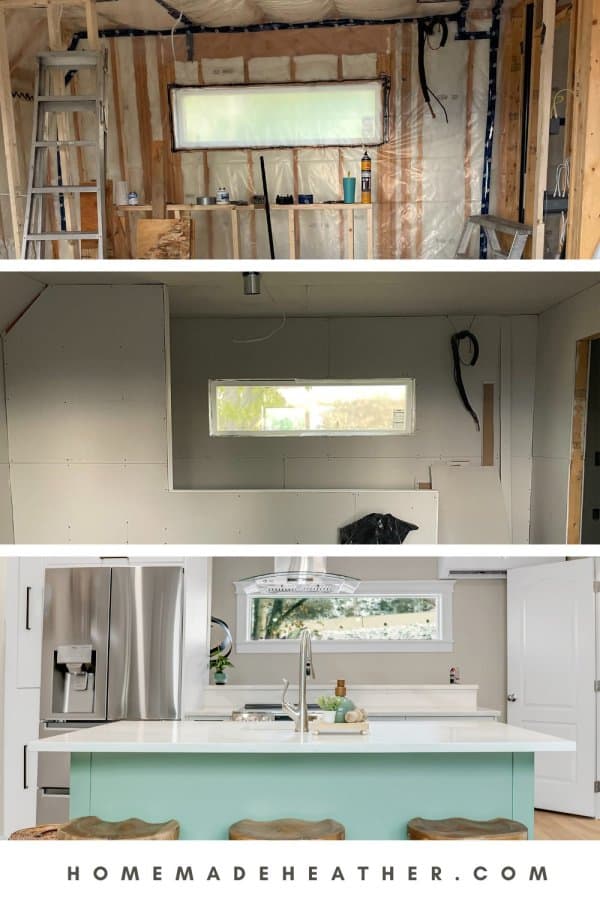
- Insulation Magic: As the autumn chill approached, insulation became our focus. From walls to the ceiling, we made sure our future studio would be cozy in every season. We used a fiber glass insulation that was easy but damn itchy to instal. R 22 went into the walls with R 44 for ceiling and floors. Then we wrapped it all in vapor barrier like a giant plastic igloo.

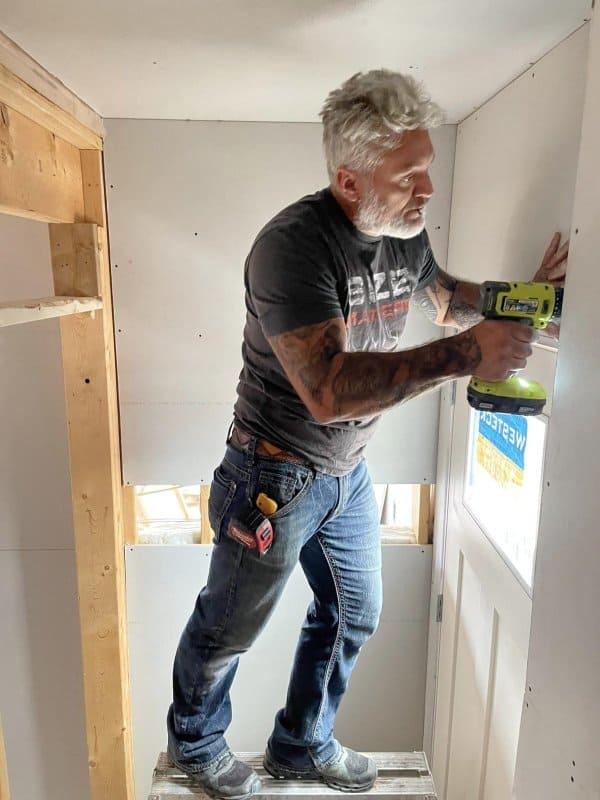
- Drywall Details: Martin hung all of the drywall in a few short days. It was at this stage where the scope of our build really took shape as you could see the walls close up and rooms appear.
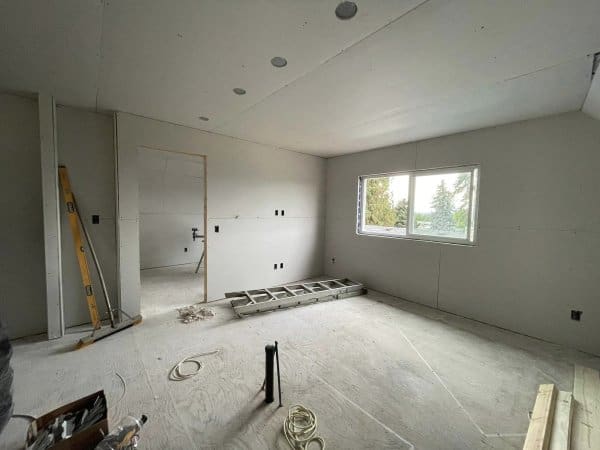
- Mud & Tape: This is a well known, agreed upon part of the project that no one wants to do. So we hired out this part of the drywall finishing as well as the texture on the ceilings. We had a few stops and starts waiting for the mud & tape team but eventually it was time to clean up the mess and move on.
October 2023
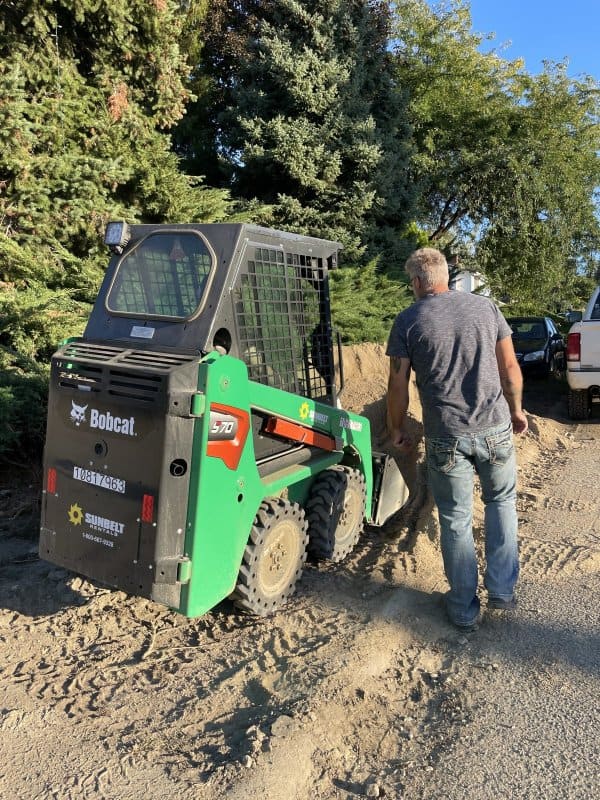
- Final Pour: Our fourth and final concrete pour happened in October to create a walkway and sidewalks around the building.

- A Clean Slate: After a lengthy wait and clean up from mud & tape we were able to begin priming the entire space and painting the walls our finished color.
- Closing the Door: Interior doors and handles were installed, helping to define each room and the spaces.
November 2023
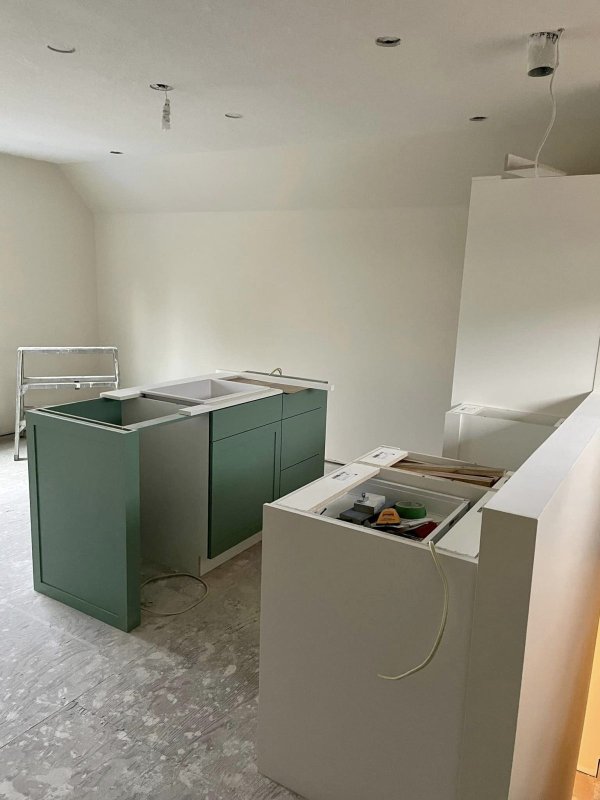
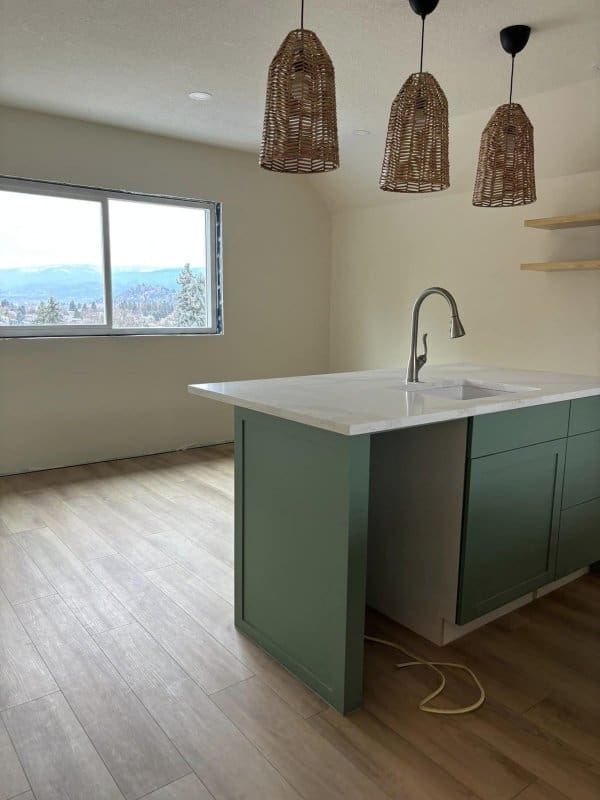
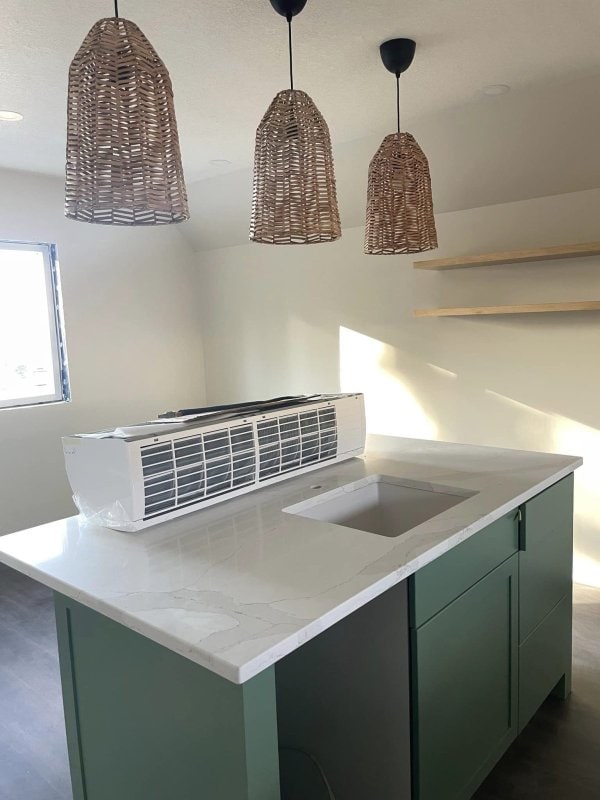
- Cabinets and Countertops: Cabinets were delivered and Martin got straight to the instal. We had a number of issues that had to be navigated as the bathroom vanity was built too big and the pantry was built incorrectly.
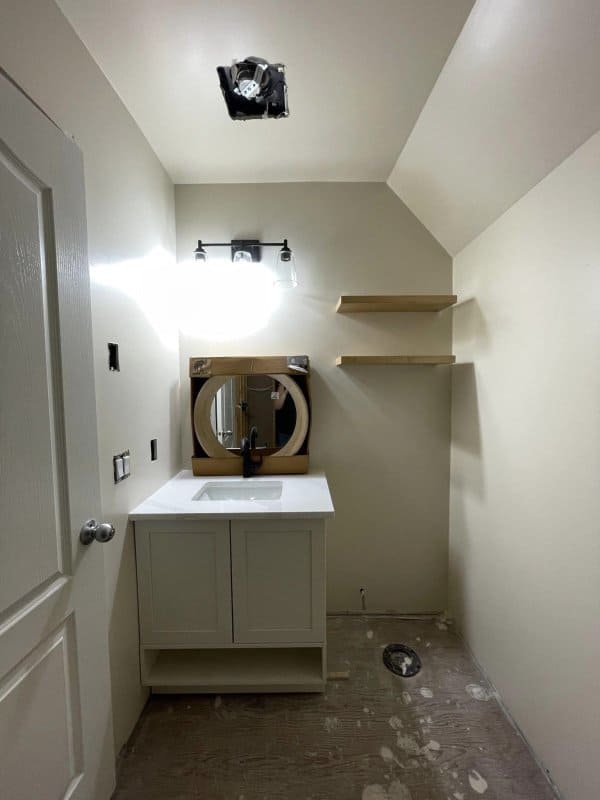
- This led to delays and having to wait for new parts to be manufactured. After some problem solving we were able to have the countertops installed by Stonequest – a company that has always exceeded our expectations.
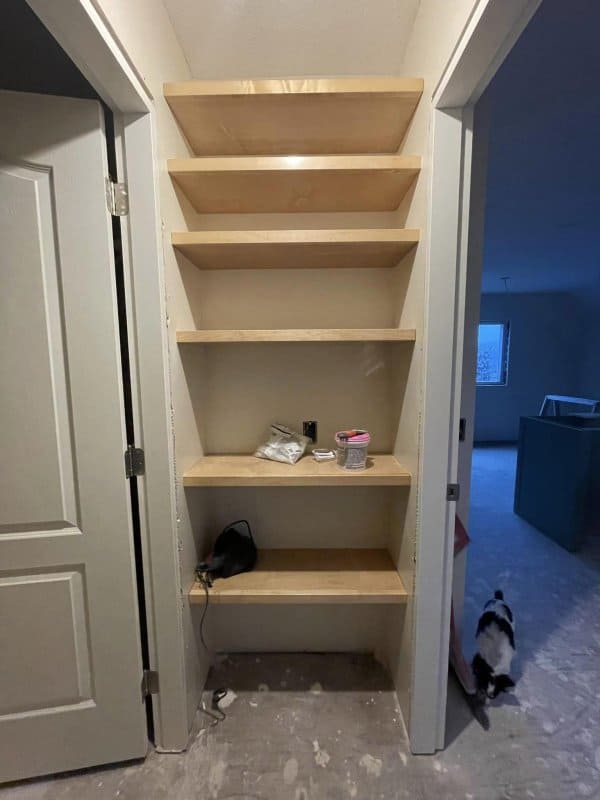
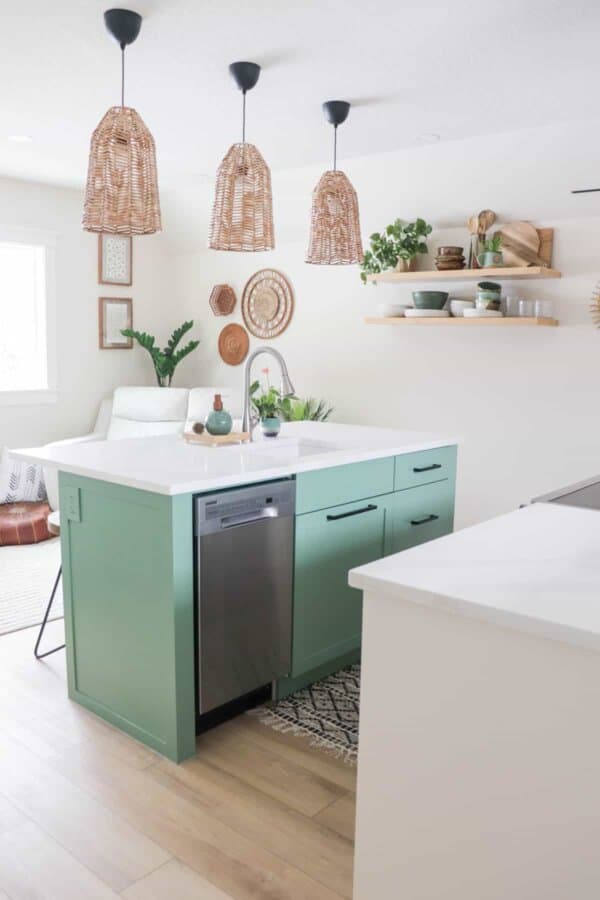
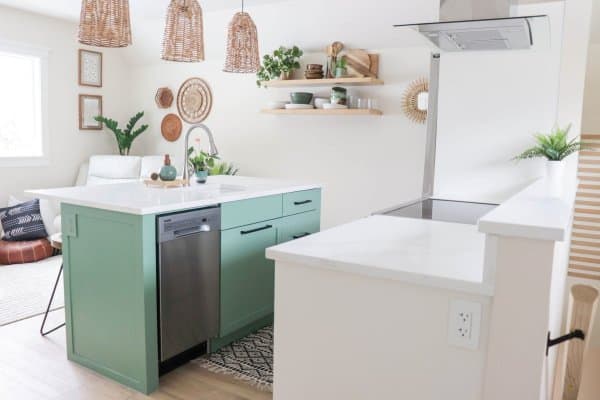
- Custom Floating Shelves: Our friend and master cabinet builder, Jason, installed the custom floating shelves that he created for every space. From a built in pantry to gorgeous kitchen floating shelves, they really set the tone for the final look.
Oh the flooring!
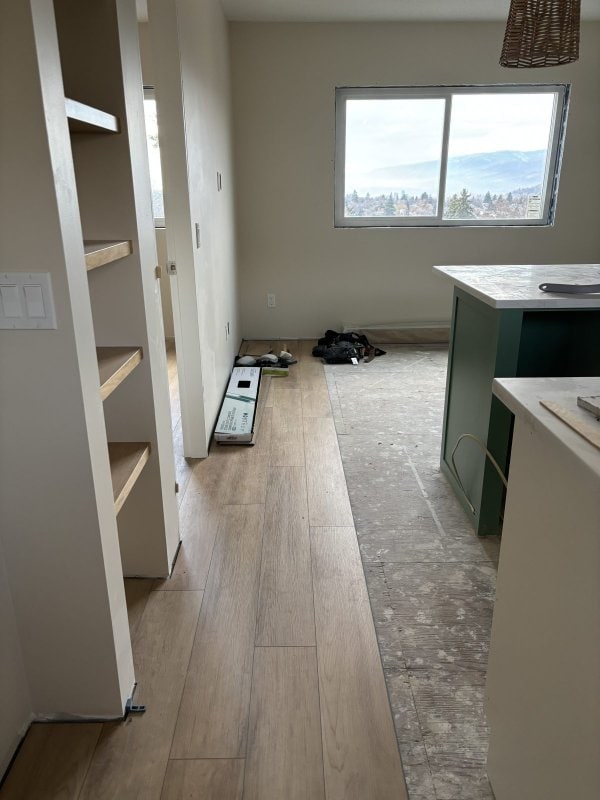
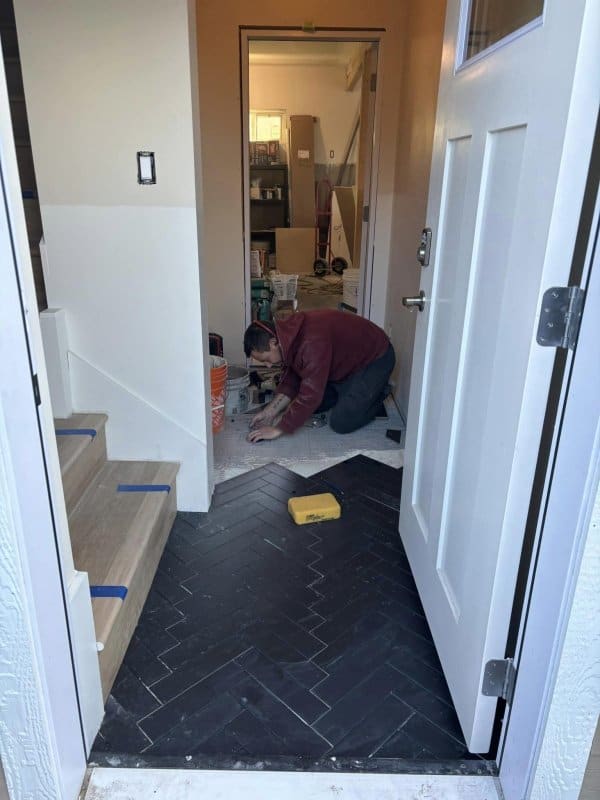
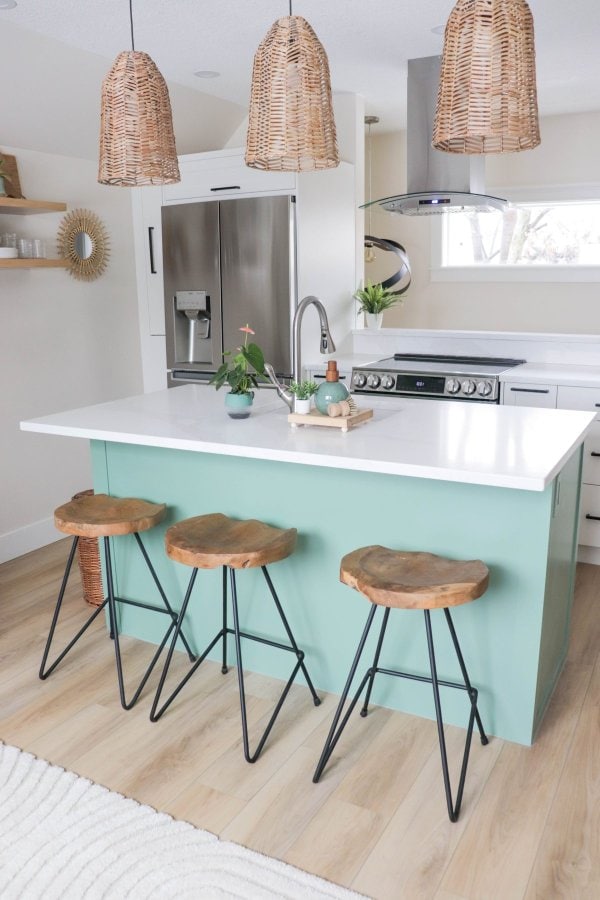
- Flooring Saga: Flooring installation became the crutch in our build. After an initial, last minute color change to the luxury vinyl, the installation process was disappointing at every turn. The installer would not listen to our requests and in doing so, damaged every side of our custom colored island cabinet, installed the stair nosing incorrectly so that every one needed to be replaced, and in the process damaged the stair flooring planks and used an excessive amount of chaulking overtop of dirty trim and flooring.
We’ve tried to navigate the situation as best we could but are ultimately not happy and wish that we had done the flooring ourselves.
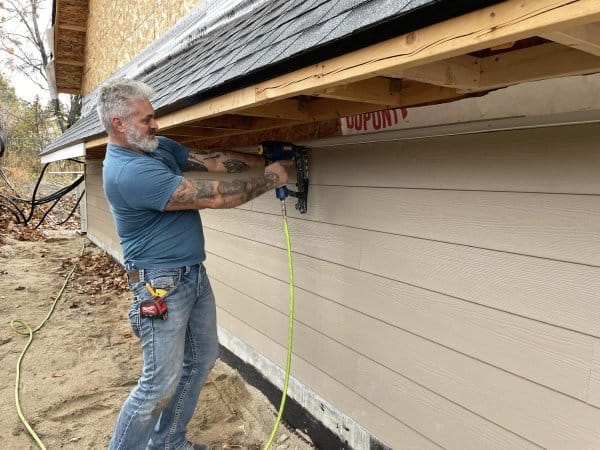
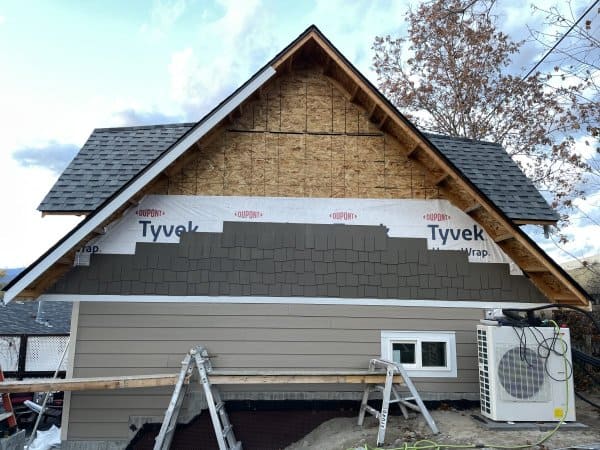
- Siding Begins: After getting a number of siding quotes for triple and quadruple what it would cost to do it ourselves, we ordered material from Roof Center and got started on DIYing the siding.
- Heating Up: With the winter chill setting in, our focus shifted to the comfort of our future home. HVAC installation ensured that the space would be warm and inviting – we had some apprehension about finding an HVAC installer and had to wait for this step to be completed before the bathroom could be tiled or finished.
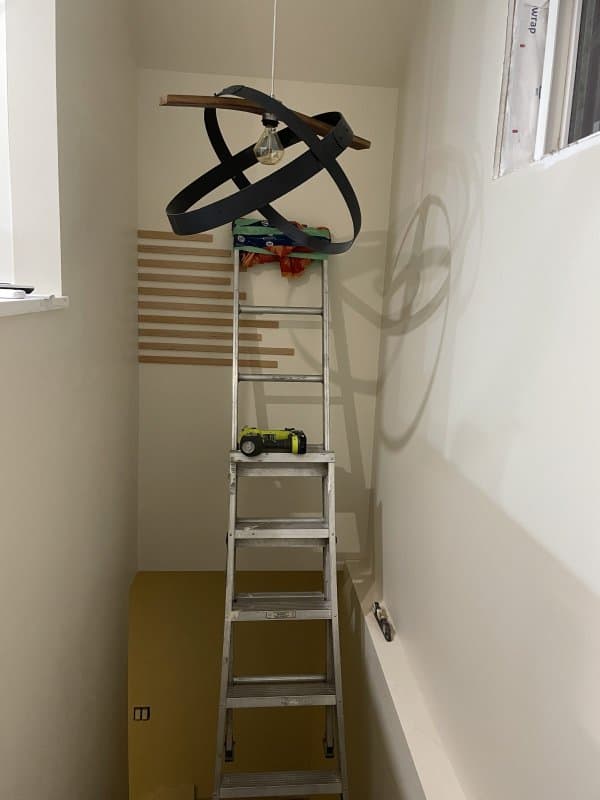
- Lights On: Electrical fixtures adorned our space, bringing warmth and illumination. Every light fixture added a touch of character, turning our structure into a home. Our electrician friend Mike was close to wrapping up his part in the build.
Custom Details!
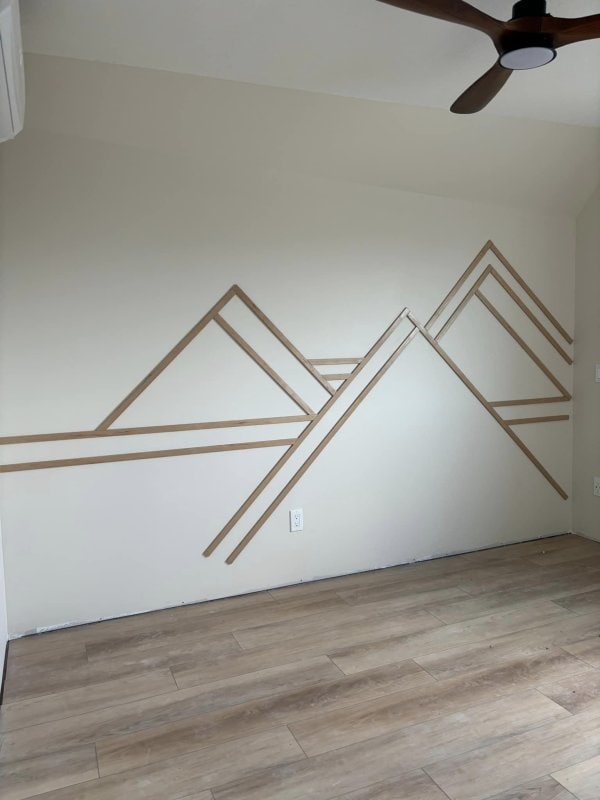
- Mountains of Personality: I added a pop of texture to the bedroom with wood trim details. Wood trim was also added to the stairway for a touch of personality.
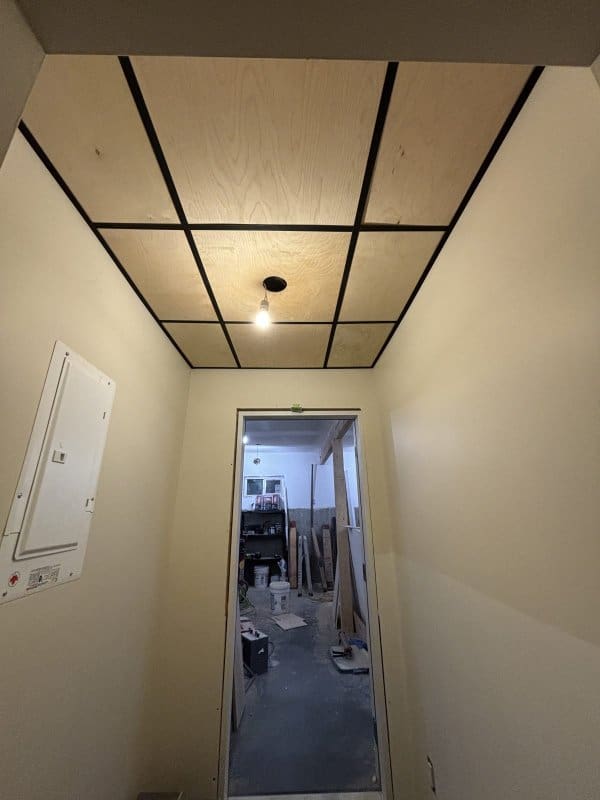
- Epic Drop Ceiling: We created a wood drop ceiling with black trim in the mudroom for the same as it would cost to build a traditional drop ceiling.
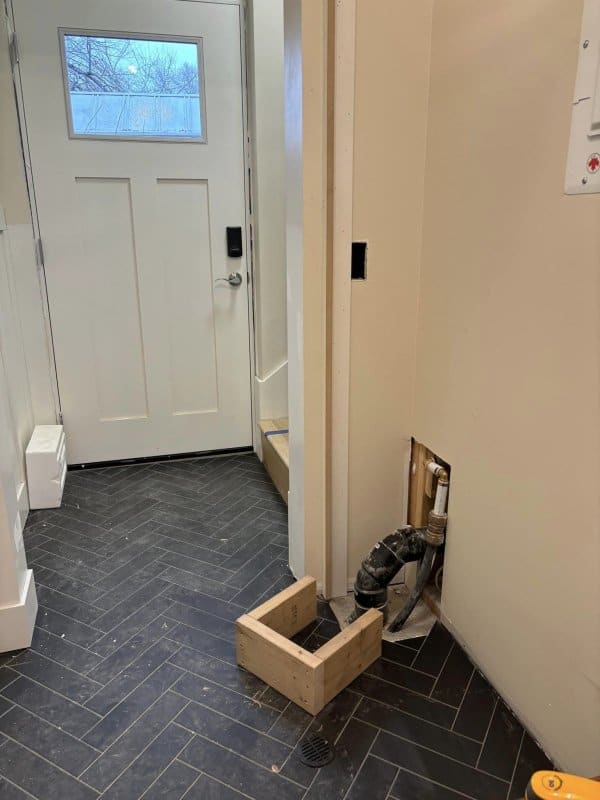

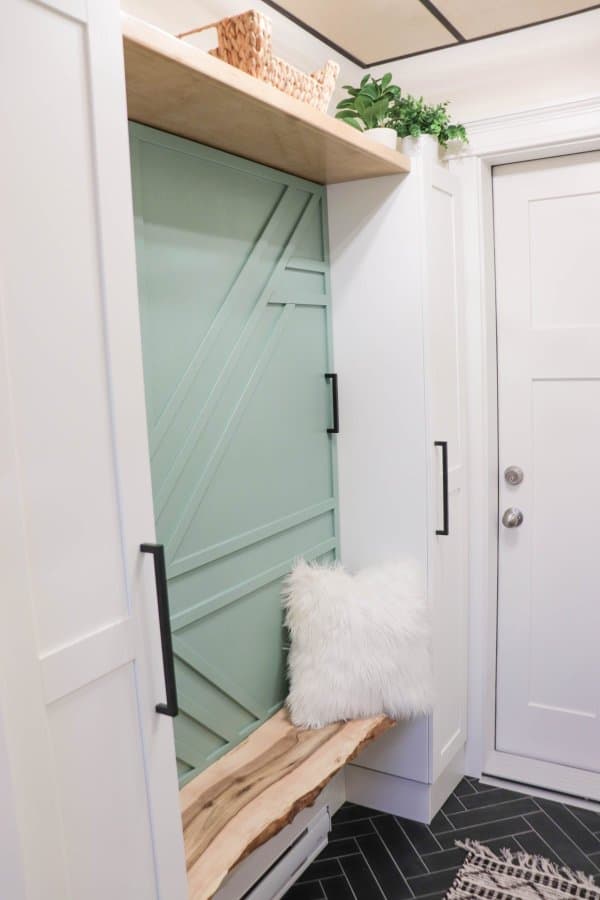
- The mud room (having once been the mechanical room) also got Ikea cupboards customized to fit over some plumbing.
- A Little Trim Goes a Long Way: Trim began at the end on November as we just couldn’t wait to see the space come together.
December 2023
- Tiled to Perfection: Our tile setter and friend, Vince from Dryden Tile Setting, is a master at his craft. He laid tile in the mudroom and bathroom, creating a beautifully custom full-sized tile shower that we can’t wait to use.
- Plumbing Finalized: From faucets to sinks, the plumbing details were finalized, making our carriage house not just beautiful but fully functional. Martin finished installing bathroom fixtures and a hot water tank.
- Trim Continues: We continued with the trim, adding wainscoating to the mudroom and bathroom.
- Details: Light plates and plug covers were installed.
January 2024
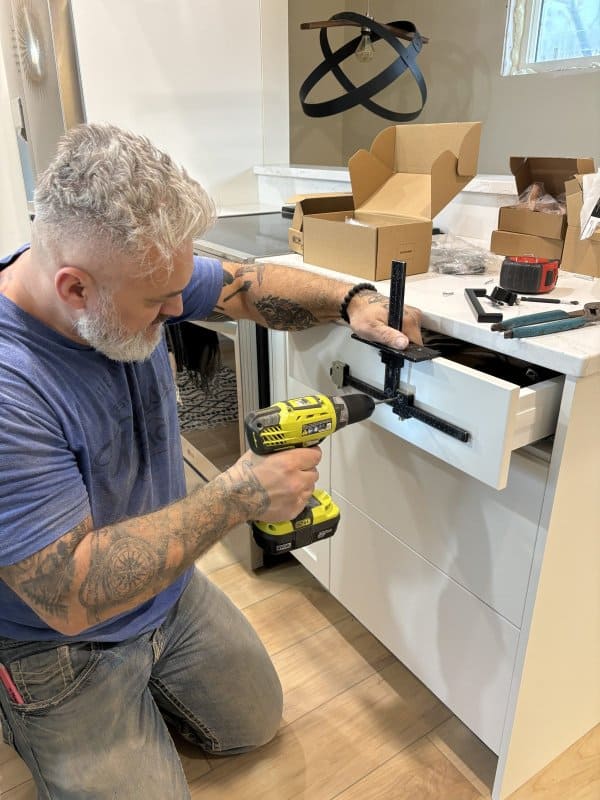
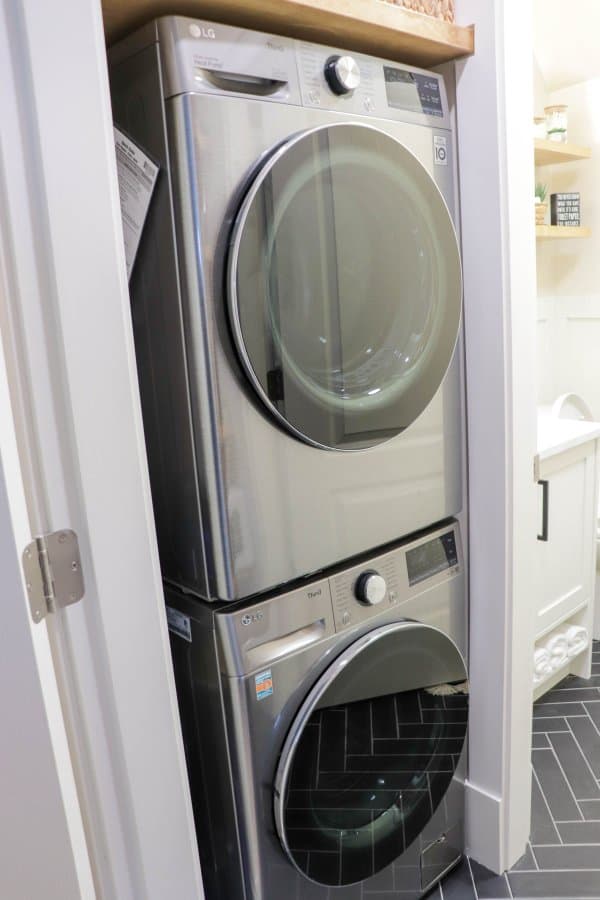
- Final Finishings: Trim around the window and in the mudroom finished, custom sliding cabinets built and installed by Terry who lent us his jig that made intalling drawer pulls quick and easy. Paint touch ups were made. Washer and Dryer installed. Mud room bench installed. Hand rails sanded, polished and installed.
- Siding Continues: Weather and scaffolding logistics continue to dodge siding progress but it’s nearly complete.
February 2024
- Fencing: While a fence is not typically needed for occupancy, we needed one because of the height on our retaining wall up the side walk. To make it safe, a fence or temporary railing is required.
- Final Inspections: The stage was set for the final inspections. Each detail, from electrical to plumbing, was scrutinized to ensure safety and compliance.
Stage Three Status
As we stand in our completed carriage house, we can’t help but reflect on the incredible journey. The vision that began as extra storage transformed into a double car garage with a bright studio space that is just waiting for memories to be made.
My favorite part is how involved everyone was in this project! We tried to support and employ friends who are masters of their trade.
This was especially evident in Mike, our electrician, who did very immaculate work and was great about the last minute changes that I would make (often).
Our gorgeous custom shelving, made by Jason, was an early on splurge to the budget. I am so glad that we made the decision early to have custom, built in shelving in every room.
Each room now has more personality, and is richer for it. The shelving ties the entire build together and was one of the best investments we could have made.
Final details!
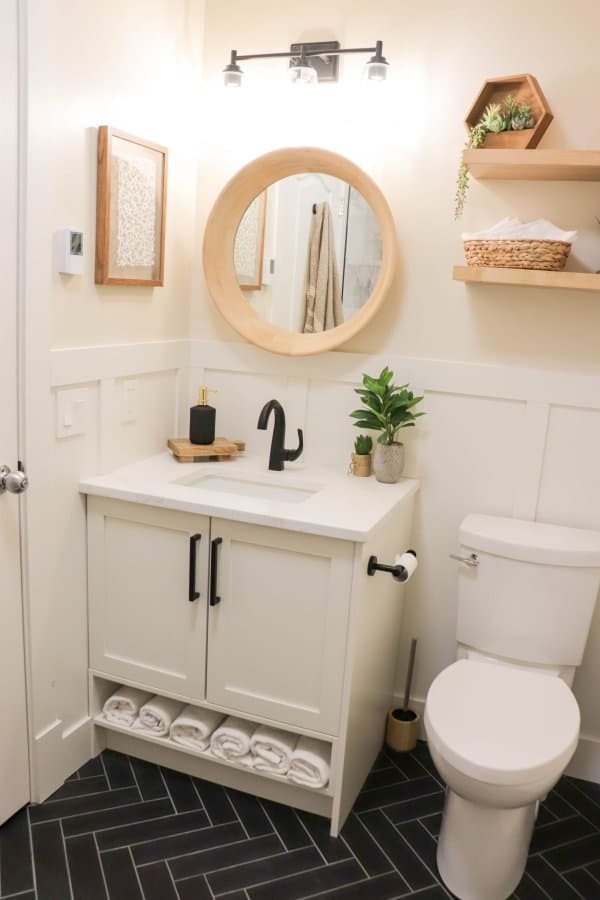
And finally, it was a treat to witness Vince, our long-time friend at work. He is a master tile setter who helped to create the bathroom of our dreams. Complete with a heated floor, gorgeous tile and custom shower with dual shower heads.

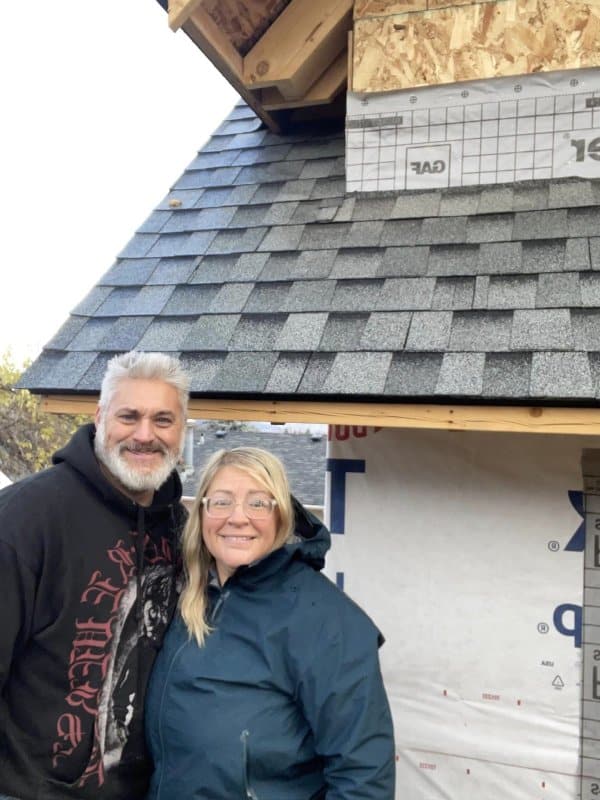
Martin and I enjoyed working together on many of these finishing details. I am so grateful to have a partner who is skilled in many areas of construction.
This build would not have been done without his positive outlook, work ethic and knowledge. It was a treat to do many of these final details with him! We spent a lot of date nights in the carriage house painting & installing trim, patching & painting walls, sanding & installing hand rails and creating custom artwork.
Financing the Dream: Stage Three Expenses
This was the most challenging stage in terms of financing because we had certainly maxed out whatever budget we had and incurred many extra expenses right around the holidays. I was grateful that many of the higher end finishings were picked with deposits paid before this otherwise I may have cheaped out on the final details to save money.
Ultimately the blog helped to finance and pay down half of the cost of the carriage house build before occupancy.
Not only did the entire build cost roughly half of what it would have had we hired a contractor to build it for us, but 50% of the cost will have been paid off before we ever have to roll it into my current mortgage on the main house.
We will be looking at a total of about $75,000 on the line of credit when that happens.
| Month/Year | Activity | Cost |
|---|---|---|
| September 2023 | Insulation | $2,500 |
| Vapor Barrier & Sealant | $462 | |
| HVAC Supplies | $500 | |
| Garage Door Deposit | $1,400 | |
| Drywall | $2,132 | |
| Trailer Rental for Drywall | $264 | |
| Pot Lights | $380 | |
| Backfill | $972 | |
| October 2023 | Siding | $6,700 |
| Electrical Labour | $270 | |
| Switches and Handles | $465 | |
| Mud & Tape Supplies | $1,386 | |
| Mud & Tape Labour | $1,800 | |
| Equipment Rental for Fill | $827 | |
| Sidewalk Forming Prep | $1,100 | |
| Concrete and Line Pump | $4,950 | |
| Bathroom Tile | $2,786 | |
| Paint | $480 | |
| Cabinet Final | $5,800 | |
| November 2023 | Flooring Final | $1,380 |
| Countertop Final | $651 | |
| Garage Door Final | $1,400 | |
| HVAC Labour | $1,200 | |
| Siding | $710 | |
| Custom Shelves Final | $2,800 | |
| Stair Trim | $525 | |
| Electrical Supplies | $950 | |
| Electrical Labour | $650 | |
| Trim | $1,100 | |
| Toilet | $550 | |
| Hot Water Tank | $550 | |
| Extra Cabinet Instal | $750 | |
| December 2023 | Plumbing Supplies | $250 |
| Electrical Labour | $670 | |
| Electrical Supplies | $150 | |
| Trim | $250 | |
| Bathroom Tile Prep | $1,000 | |
| Oven | $1,897 | |
| January 2024 | Hand Rail | $200 |
| Tile Setting Labour | $4,300 | |
| Shower Door | $1,240 | |
| Fencing | $329 | |
| February 2024 | Gutters | $2,000 |
| Total Project Cost | $179,365 |
Final Carriage House Cost: $179,365*
*this cost has fluctuated between $175,000 & $185,000 as I was not sure if I should include things like secondary floor choices, the retaining wall for the pool deck, fencing etc. Also keep in mind that we chose to use many custom, high end finishings.
With our total build being 1,050 square feet, our project cost approx. $170 per sq ft. This is roughly half of what it would cost to have had a contractor build it for us. The current building rate in Kelowna is around $350 per sq ft for builders grade construction (no custom upgrades).
Be sure to check out all of the details of our Carriage House Boho Studio design. This post shares all of the sources, color choices and fun finds that have helped to transform this space into a gorgeous Airbnb – the current plan for the carriage house until we are ready to move in.

As we wrap up the Carriage House Chronicles, we extend our heartfelt gratitude to everyone who has been part of this incredible journey. From a garage to a home, our dream is now a reality.
May your own dreams be as fulfilling and joyous as ours have been. Until the next adventure, happy home-making!
If you loved reading about our carriage house build stage three – from lock up to occupancy, please share it on Facebook or Pinterest!
