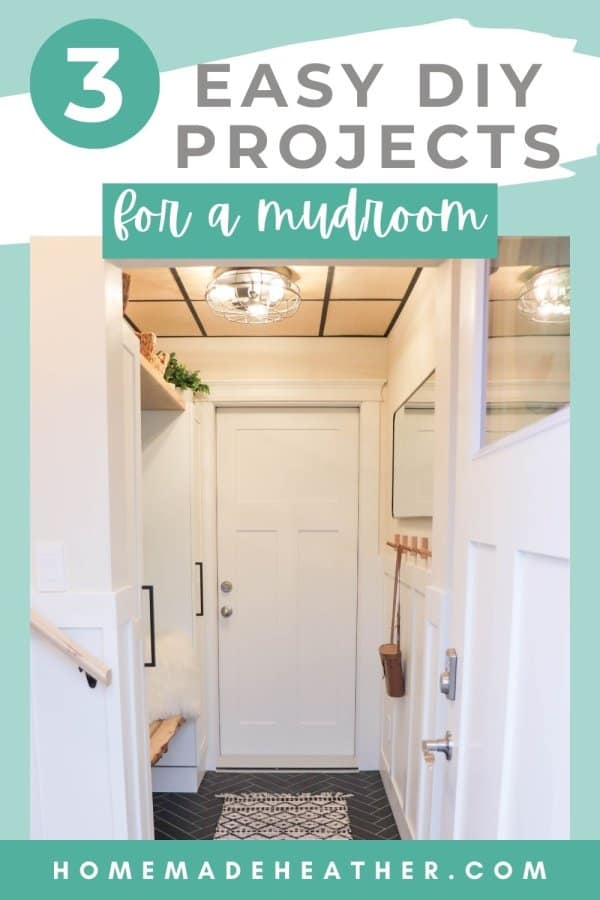
3 Easy DIY Mudroom Projects to Upgrade Your Space
Upgrade your space with these three easy DIY mudroom projects! Create a graphic trim art piece, build a custom live edge bench or add a wood drop ceiling.
If you are lucky enough to have a mudroom then you know that it can often become a neglected drop zone full of the kids stuff. Let’s fix that and level up your space with these three simple do-it-yourself projects!
Too busy to make this right away? Pin it for later! Pin this post to your favorite board on Pinterest and it will be there when you’re ready!
It’s easy to add a bit of style and functionality to a space. With a few simple supplies, like wood and paint, you can create a mudroom that appeals to guests as you welcome them to your home.
This mudroom is part of a series of posts in our carriage house build. Get all of the details here…
MORE CARRIAGE HOUSE POSTS
- Carriage House Stage One (permits to foundation)
- Carriage House Stage Two (from framing to lock up)
- Carriage House Stage Three (lock up to occupancy)
- DIY Wood Drop Ceiling
- 3 Easy DIY Projects for a Mudroom (you are here)
- How to Create a Trim Mountain Accent Wall
- How to Create an Easy Trim Accent Wall
- Boho Studio Design & Decor
- How to Air BNB Your Space (Printable Checklist)
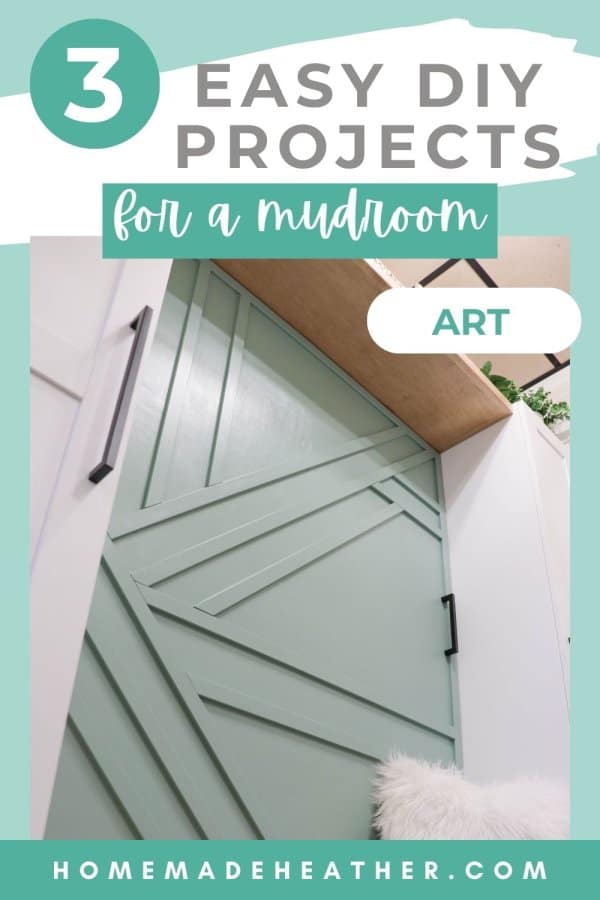
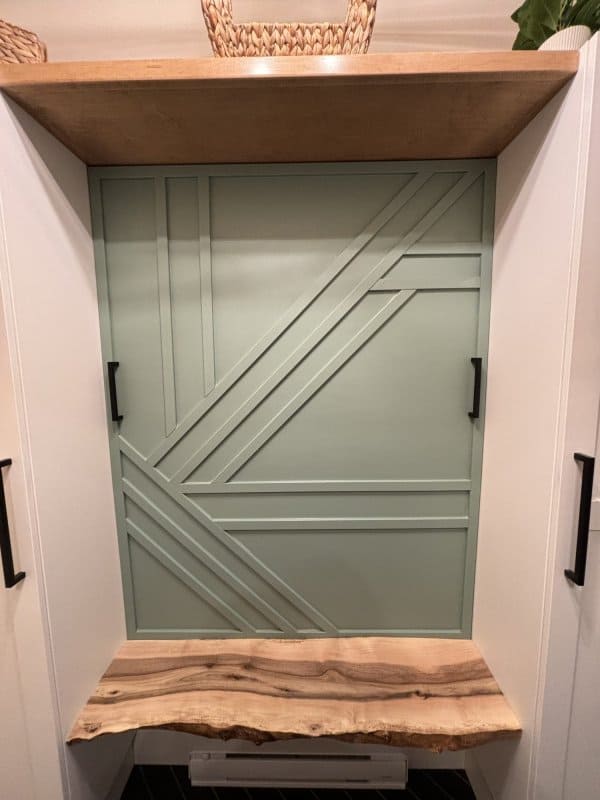
Project One – Graphic Trim Art Piece
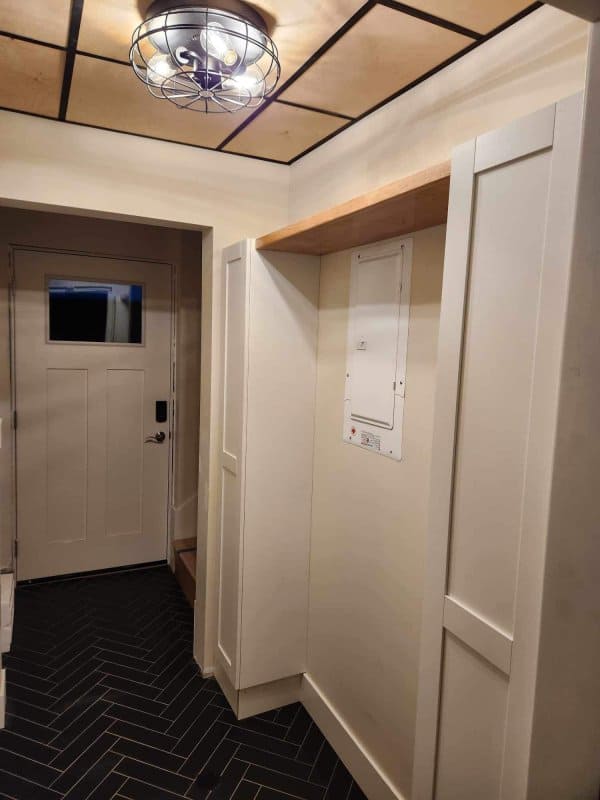
Let’s kick it off with project number one – this graphic trim art piece! This was created to cover the electrical panel on our wall (now hidden by the wood art).
We created a large scale art piece that could hang on the wall and be removed if needed. That’s why our trim art piece has handles.
But! You can totally apply these same techniques directly to the wall. Or! Use a piece of plywood like we did to create an art piece that can easily be moved around and hung.
This post contains affiliate links.
SUPPLIES
- 8 pieces of 1″ x 1/4″ primed trim – 6ft lengths were $8 at Home Depot
- Finishing nails – the shorter the better
- Ryobi brad nailer – this is the one I have
- Plywood – cut to the size you want the art (ours was approx. 44″ x 58″)
- Painters Tape
- Mitre saw (or hand saw)
- Wood glue
- Wood filler
- Paint – our color is Track Green by Sherwin Williams
- Paint Brush
Instructions
1. Cut the plywood to size.
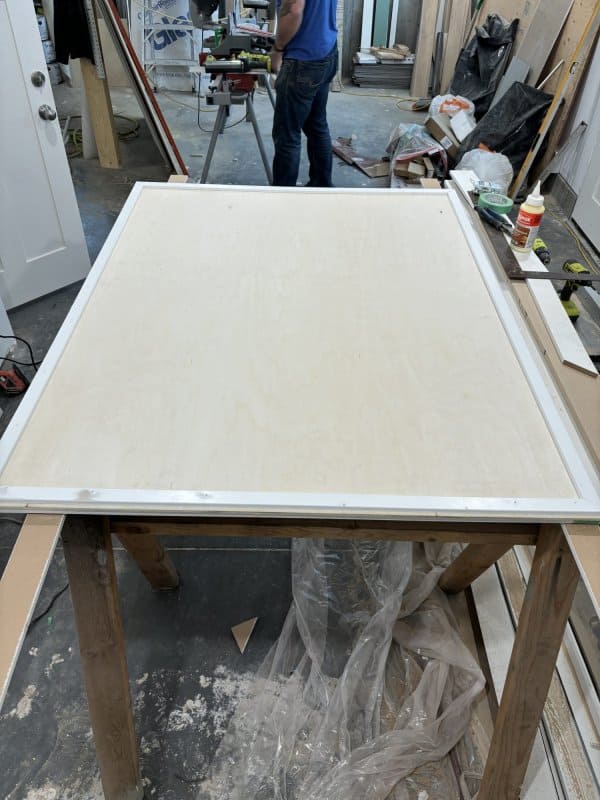
2. Measure each side of the plywood and cut trim to create a frame around the edges.
3. Use the wood glue and brad nails to fasten the trim to the plywood.
Tip: Use caution with the nails as they might come through to the other side of your project. If they do, simply use a pair of pliers to cut off the excess nail at the back.
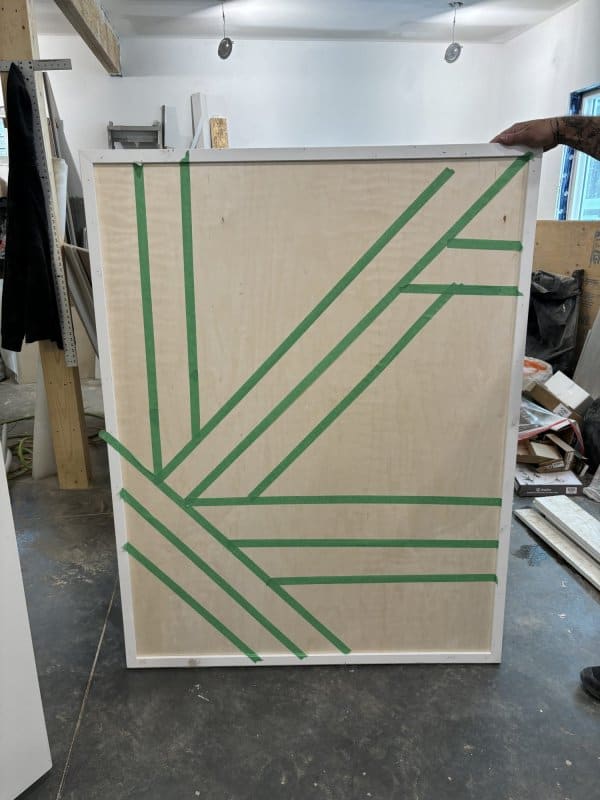
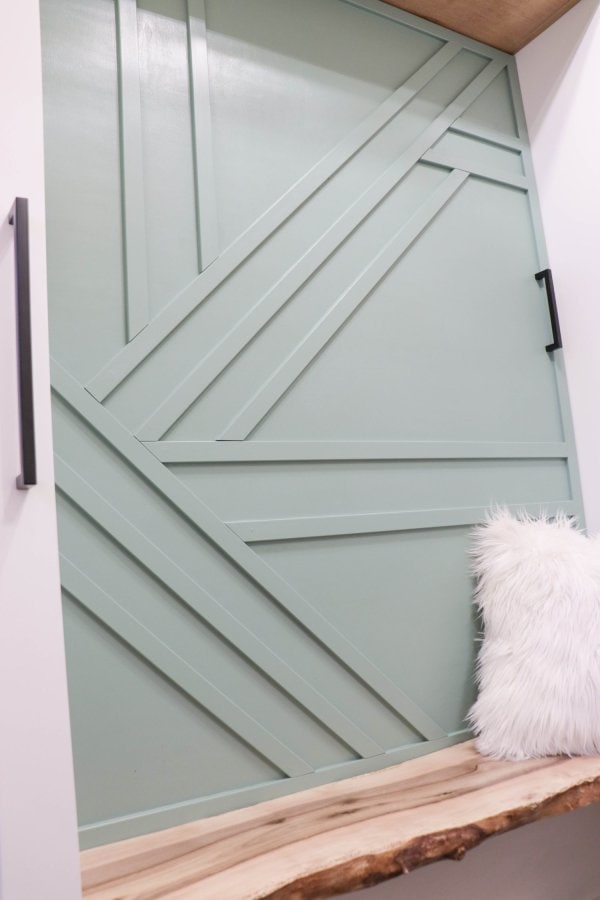
4. Now use the painters tape to map out a graphic design on the interior of the plywood.
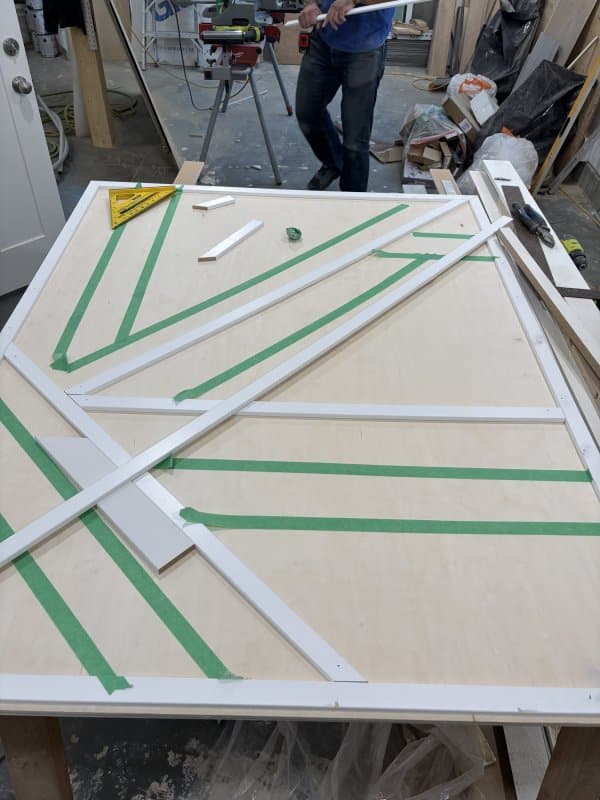
5. Measure the accent trim pieces and cut them to length and size.
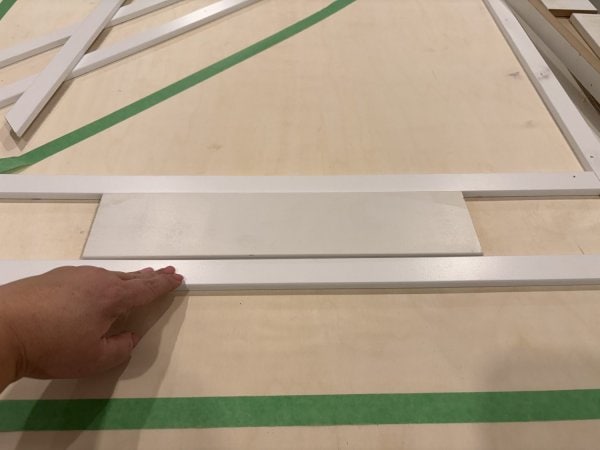
Tip: Use a larger piece or trim or block of wood to help determine even spacing between the wood trim.
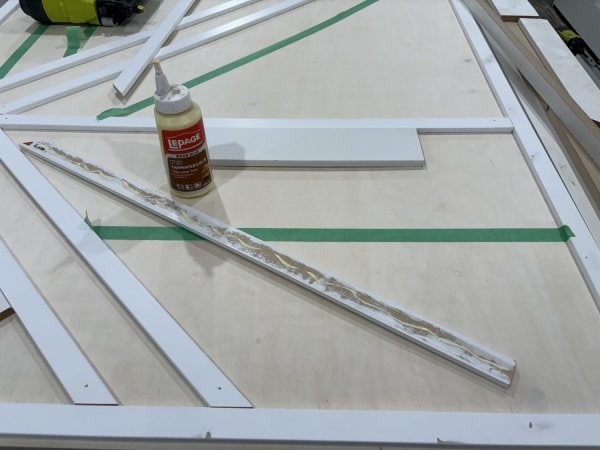
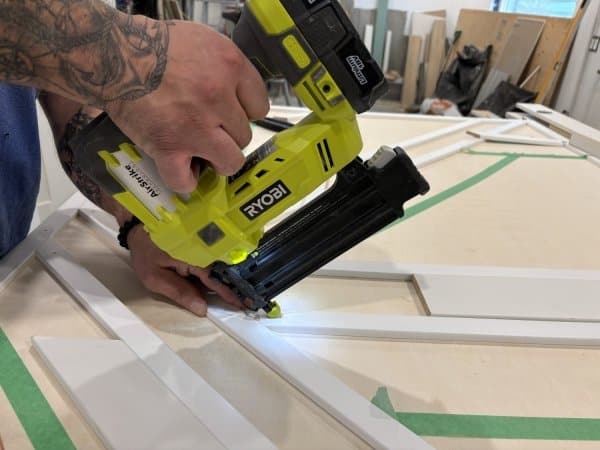
6. Fasten each piece of trim to the plywood using brad nails and glue.
Tip: Use the wood glue sparingly otherwise it will press out from under the trim.

7. Fill the nail holes and paint the entire piece your color of choice.
8. Hang with hooks and wire.
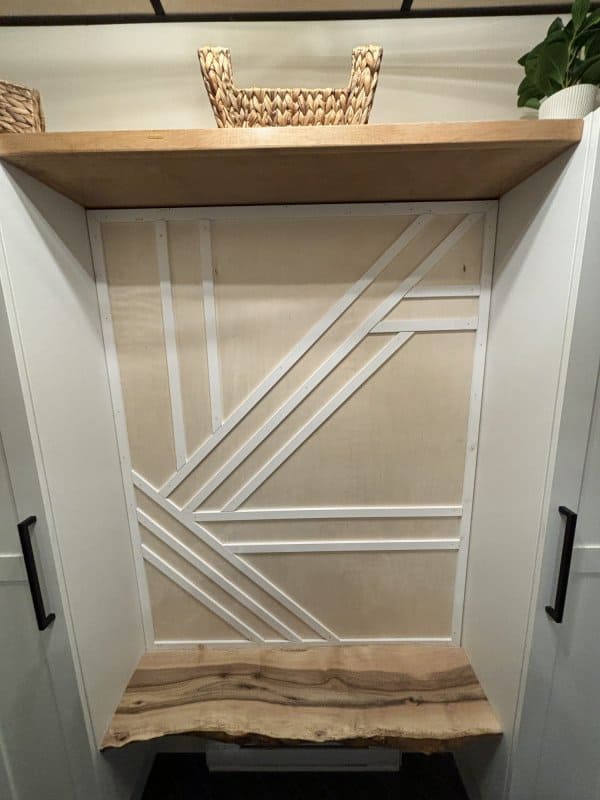
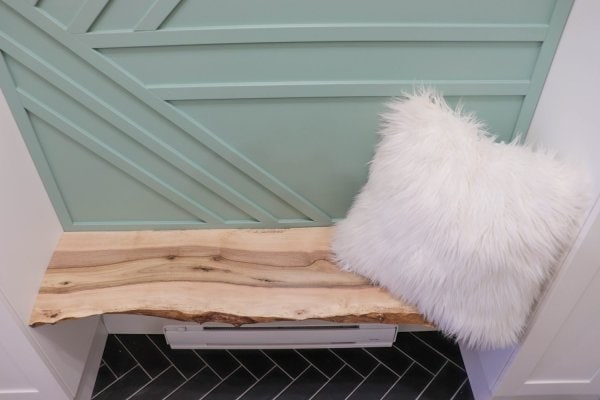
Fun right?! What I love most about this geometric trim art is that it ties together with our wood trim accent walls in the studio space and with our kitchen island that is the same color.
Creating a trim art piece is a great way to add personality and a pop of color to your mudroom!
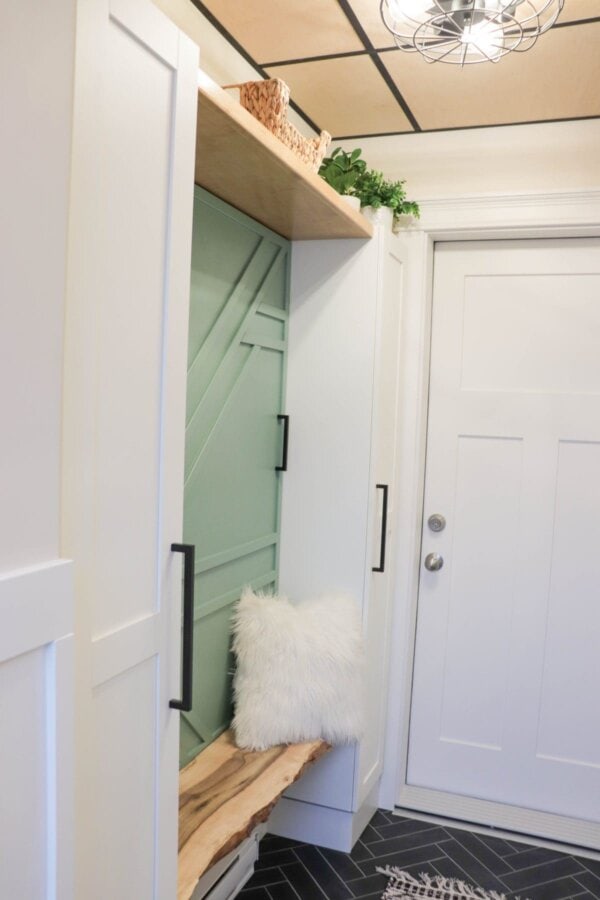
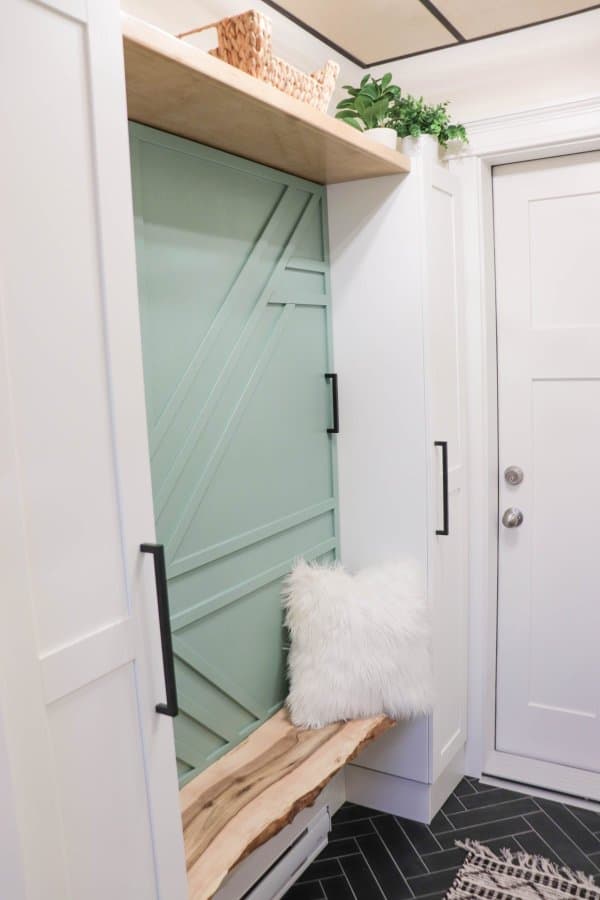
Project Two – Custom Live Edge Bench
Creating a bench is actually super easy and there are a ton of different ways to do it! Let me show you what went into creating the bench in our mudroom to hopefully inspire your own design.
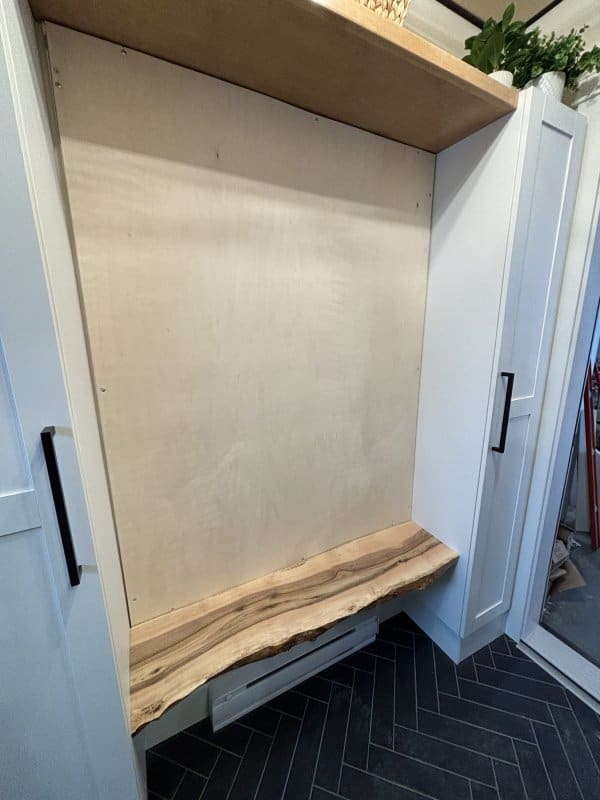
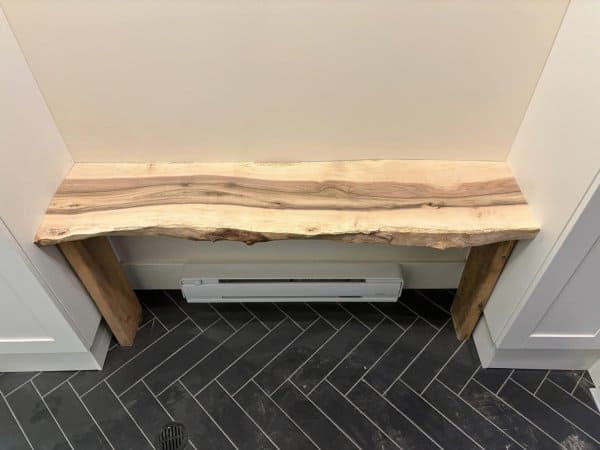
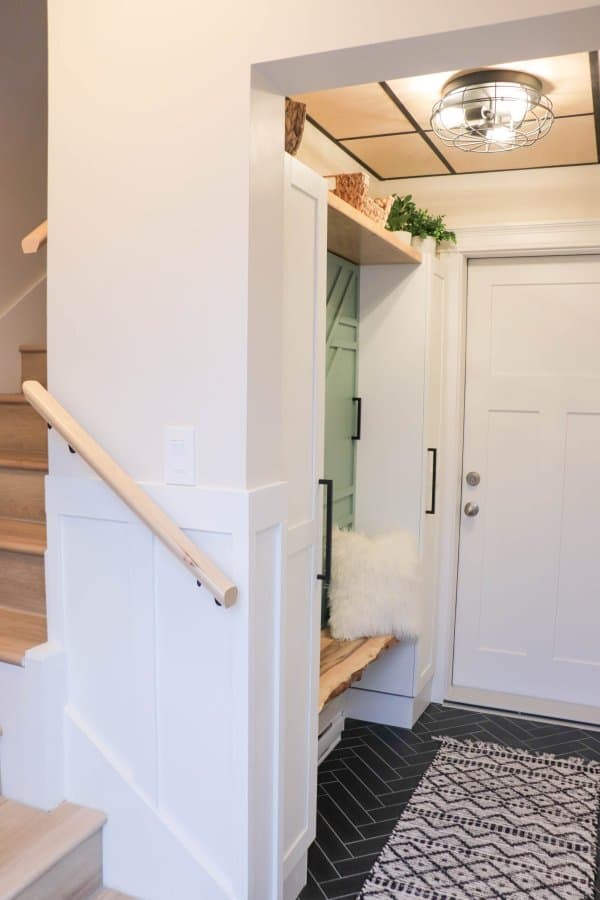
This live edge bench is a welcome addition to our mudroom, adding extra seating and a place to put on your shoes.
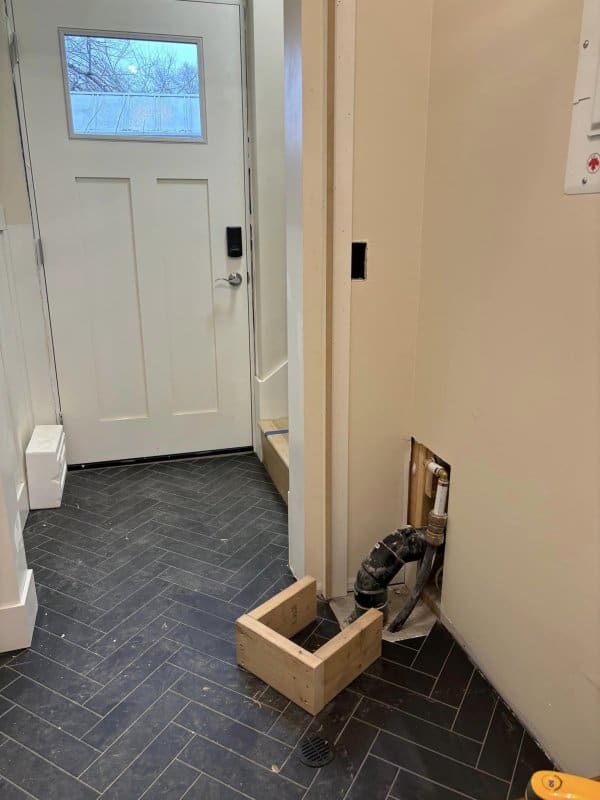
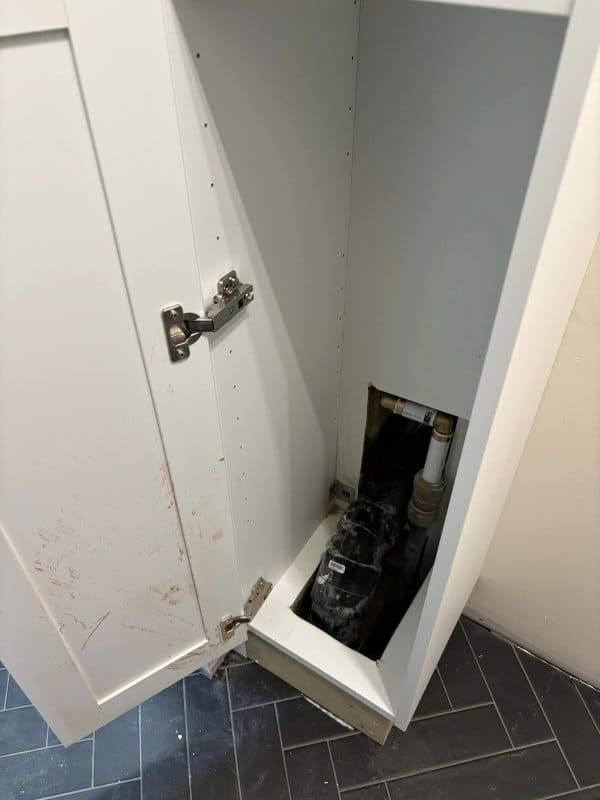
We started off by adding two Ikea cabinets to either side of the space. These created a hiding spot for plumbing (left from the original mechanical room), extra storage and a framework for our bench.
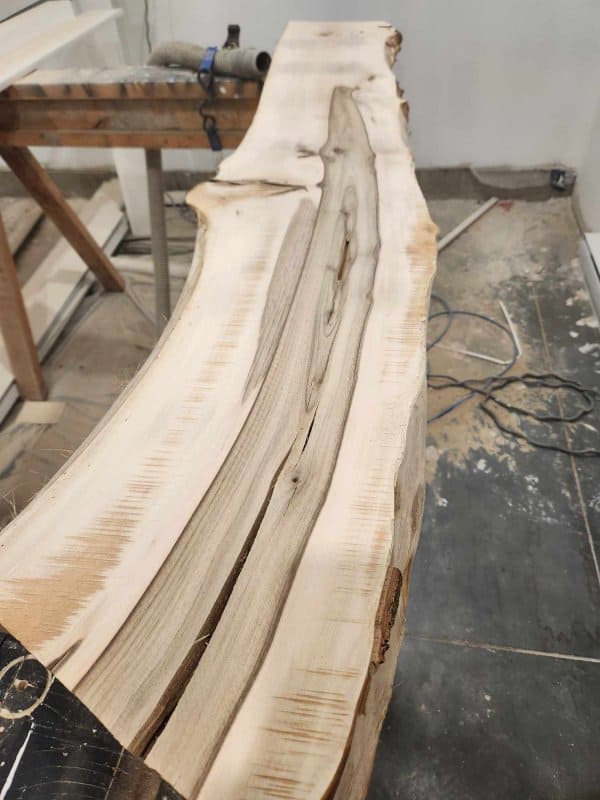
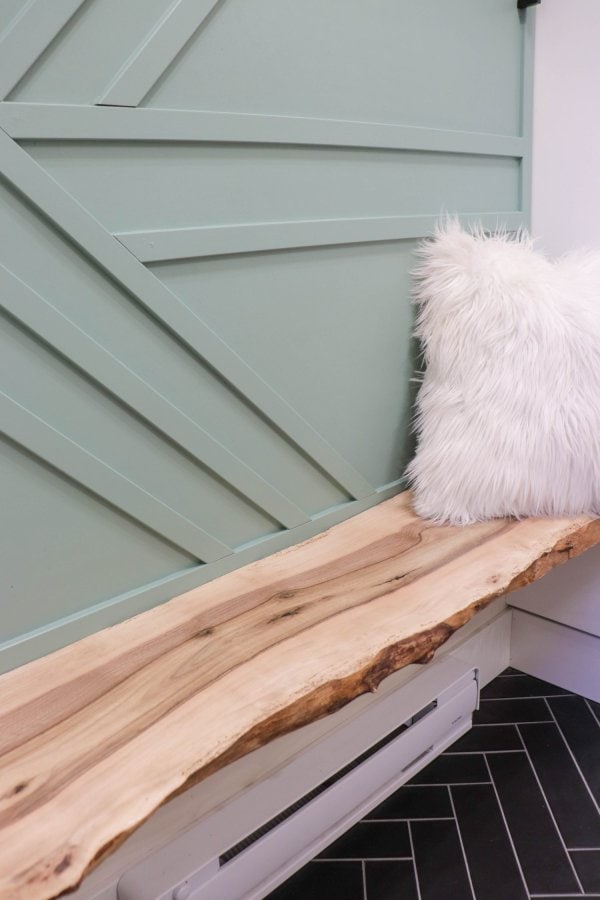
Then we picked up a gorgeous piece of walnut from our neighbour who owns “Wade’s Wood”, where he creates the most gorgeous live edge tables, vanities and charcuterie boards. You can often find live edge slabs on Marketplace if you don’t happen to have a neighbour like ours lol.
Next, Martin cut the slab to size trimming off the ends and some of the back.
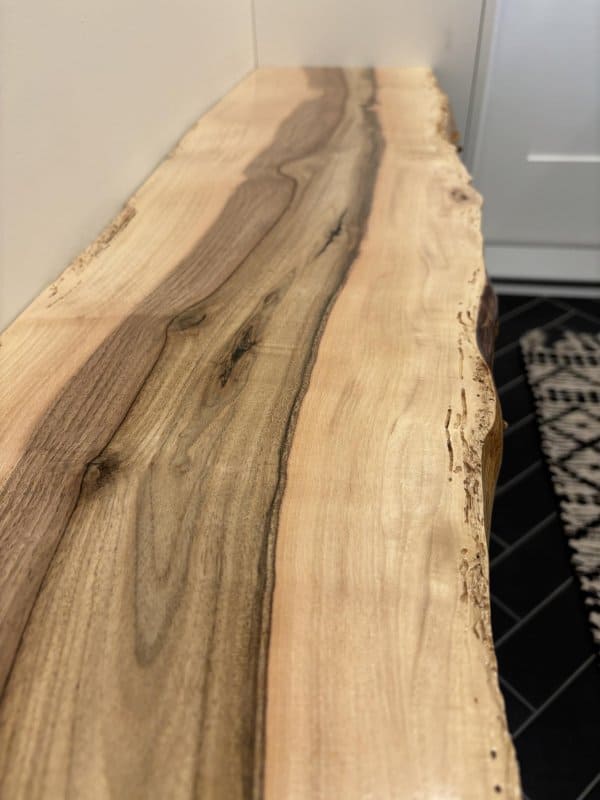
Then we sanded the bench with progressively finer grit paper before filling the cracks with black epoxy and sealing it with 4 or 5 coats of Varathane.
Finally, Martin installed the bench between the cabinets using 2 x 2 blocks as brackets, screwed into the studs at the back and into the cabinets at the sides.
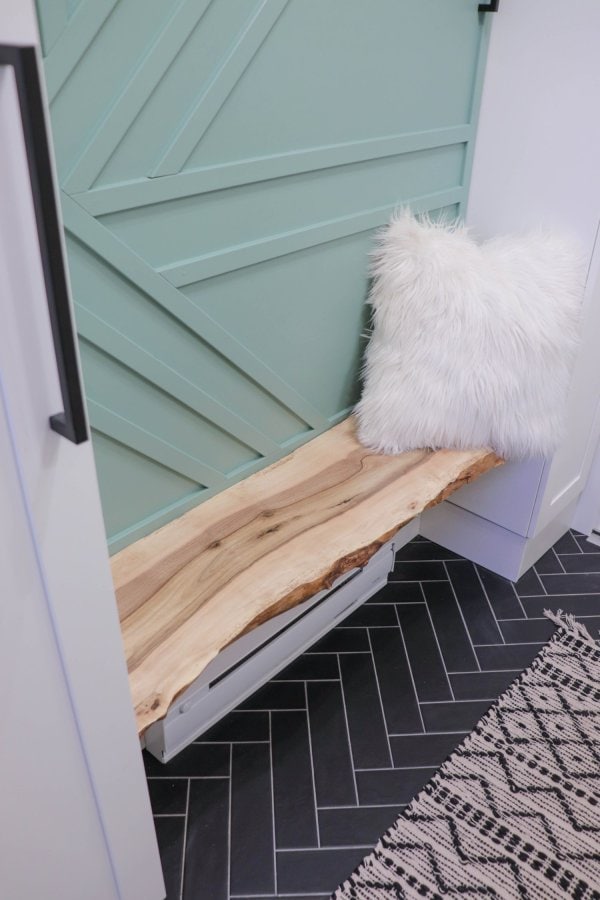
Creating a mudroom bench is easy! Rather than wall brackets, you could also make legs for the bench from wood.
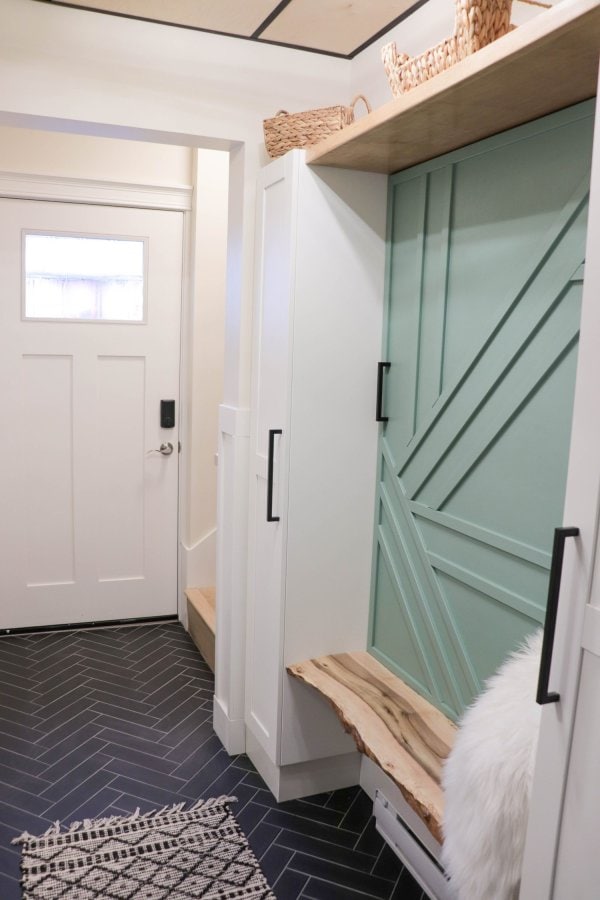
I love how it look with the wall art and black tile floors!
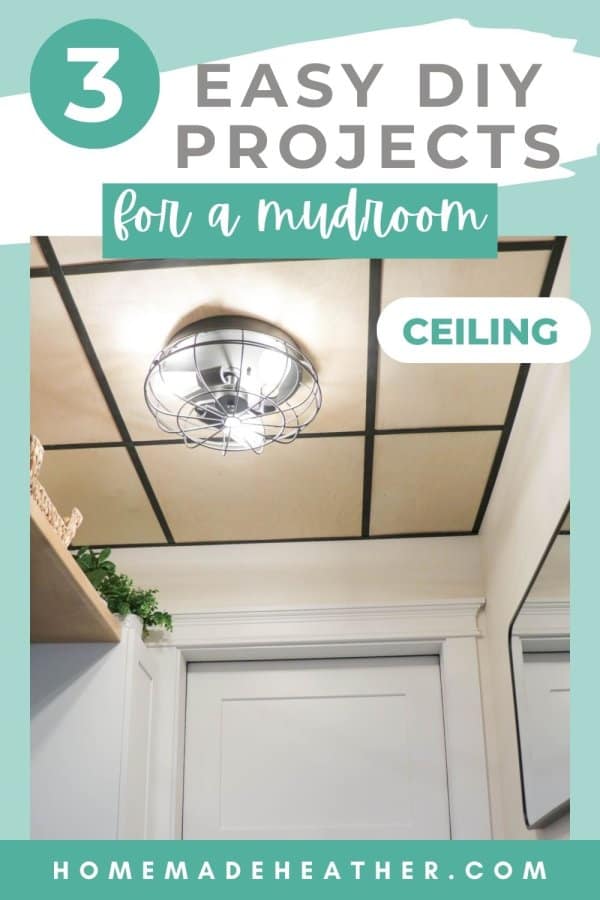
Project Three – Wood Drop Ceiling
This do-it-yourself wood drop ceiling has got to be one of my favorite projects to date! This simple DIY worked wonders in elevating the mudroom in our carriage house.
The full project was a bit detailed so we’ve created a blog post just for it. Be sure to check out how to create a wood drop ceiling here.
There are so many fun ways to add functionality and design to a mudroom! Which one that I shared today was your favorite?
If you love these three easy DIY mudroom projects, please help me share them on Facebook or Pinterest!

Graphic Trim Art Piece
Materials
- 8 pieces of 1″ x 1/4″ primed trim – 6ft lengths were $8 at Home Depot
- Finishing nails – the shorter the better
- Ryobi brad nailer – this is the one I have
- Plywood – cut to the size you want the art ours was approx. 44″ x 58″
- Painters Tape
- Mitre saw or hand saw
- Wood Glue
- Paint – our color is Track Green by Sherwin Williams
- Paint Brush
Instructions
- Cut the plywood to size.
- Measure the each side of the plywwod and cut trim to create a frame around the edges.
- Use the wood glue and brad nails to fasten the trim to the plywood.
- Now use the painters tape to create a graphic design on the interior of the plywood.
- Measure the accent trim pieces and cut them to length and size.
- Fasten each piece of trim to the plywood using brad nails and glue.
- Paint the entire piece your color of choice.
- Hang with hooks and wire.
