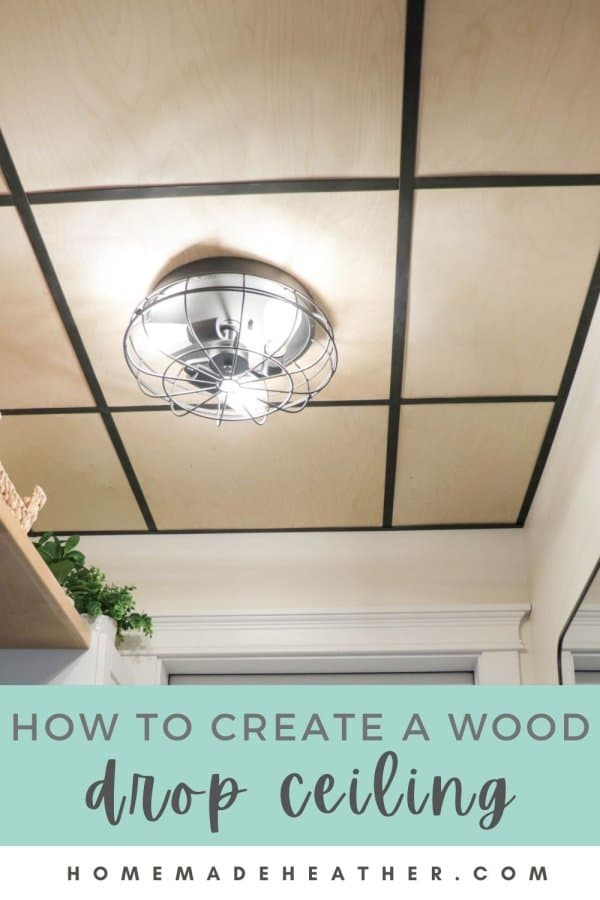
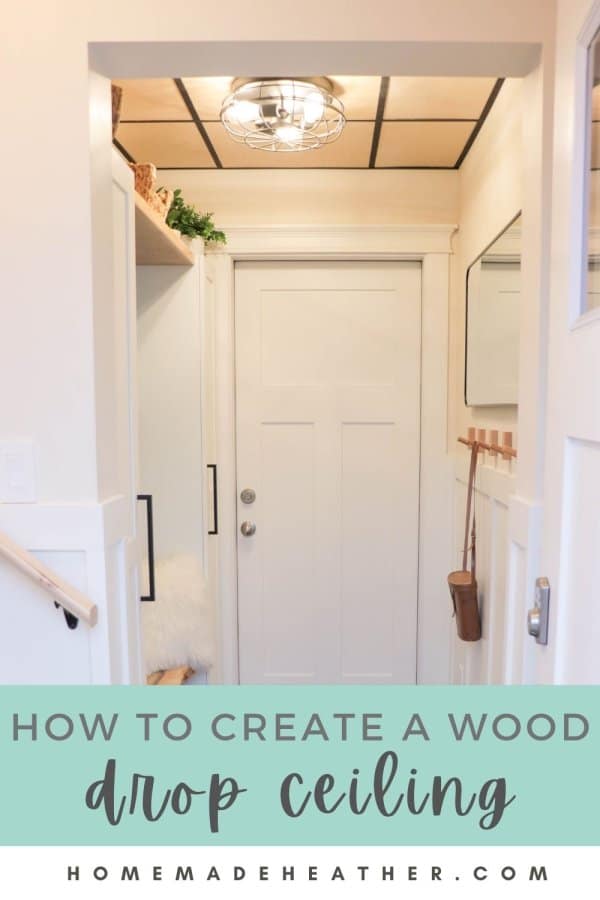
How To Create a Wood Drop Ceiling
Transform your space with a stunning wood drop ceiling. Follow this step-by-step tutorial to create a stylish and functional masterpiece.
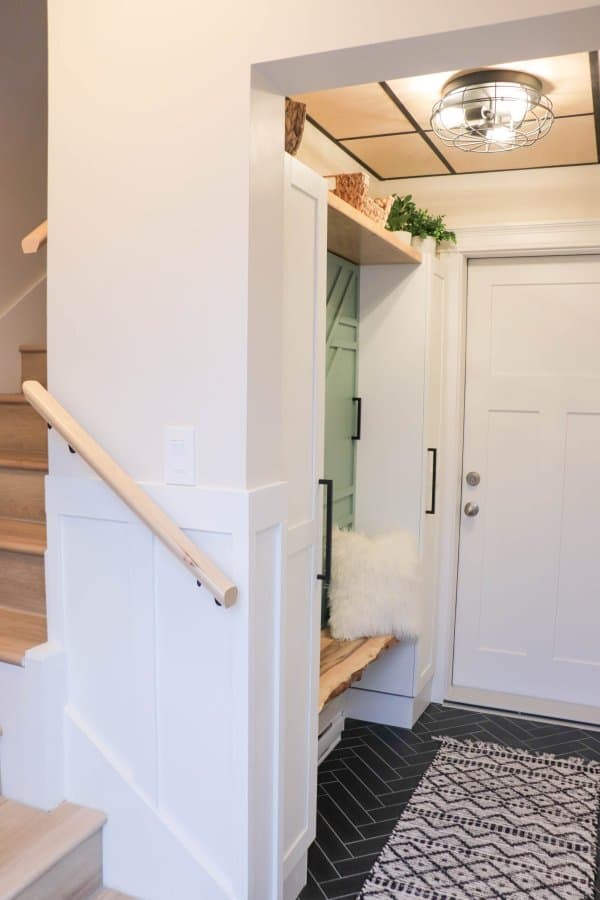
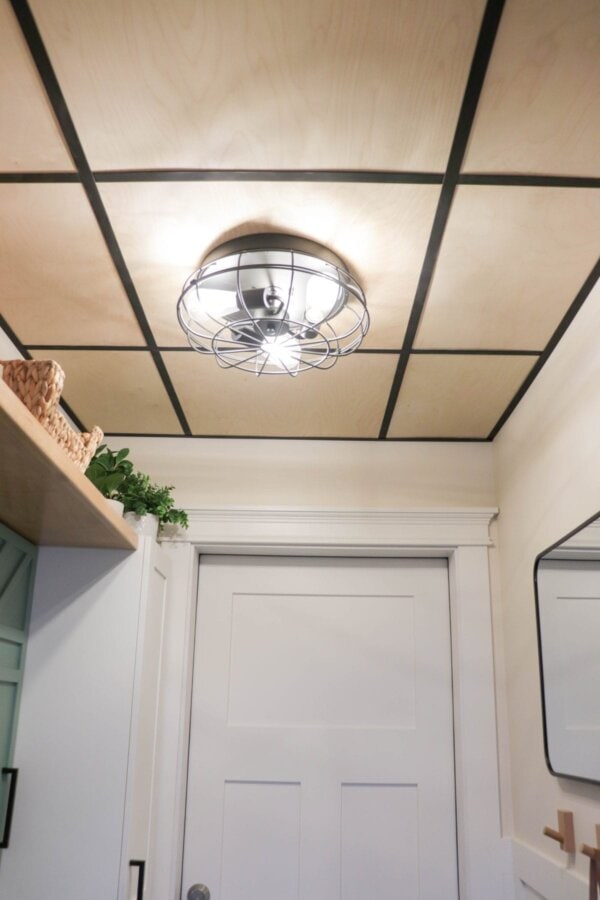
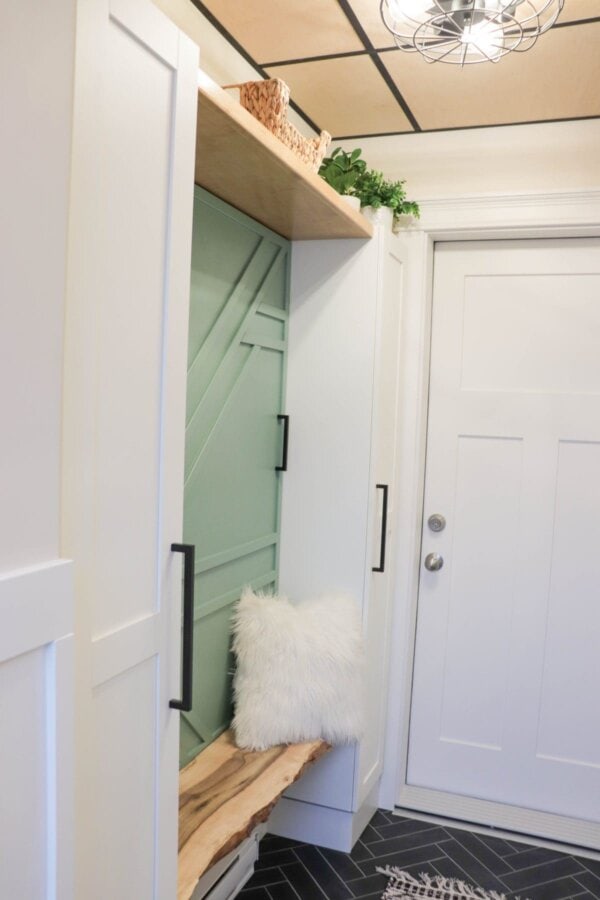
This do-it-yourself wood drop ceiling has got to be one of my favorite projects to date! This simple DIY worked wonders in elevating the mudroom in our carriage house.
Too busy to make this right away? Pin it for later! Pin this post to your favorite board on Pinterest and it will be there when you’re ready!
If you have a drop ceiling in need of replacing or repair, why not create this easy wood drop ceiling?! All you need is a bit of black paint and plywood!
This post is part of a larger series of home decor post all about our carriage house build. Be sure to check out all of the details below…
More Carriage House Posts
- Carriage House Stage One (permits to foundation)
- Carriage House Stage Two (from framing to lock up)
- Carriage House Stage Three (lock up to occupancy)
- DIY Wood Drop Ceiling (you are here)
- 3 Easy DIY Projects for a Mudroom
- How to Create a Trim Mountain Accent Wall
- How to Create an Easy Trim Accent Wall
- Boho Studio Design & Decor
- How to Air BNB Your Space (Printable Checklist)
What is a drop ceiling?
A drop ceiling, also called a suspended ceiling, is one that is built with a grid of metal support brackets and ceiling tiles. It’s primarily used to hide unsightly ducting and/or plumbing while still allowing access to utilities and structures that may be hidden in the space above.
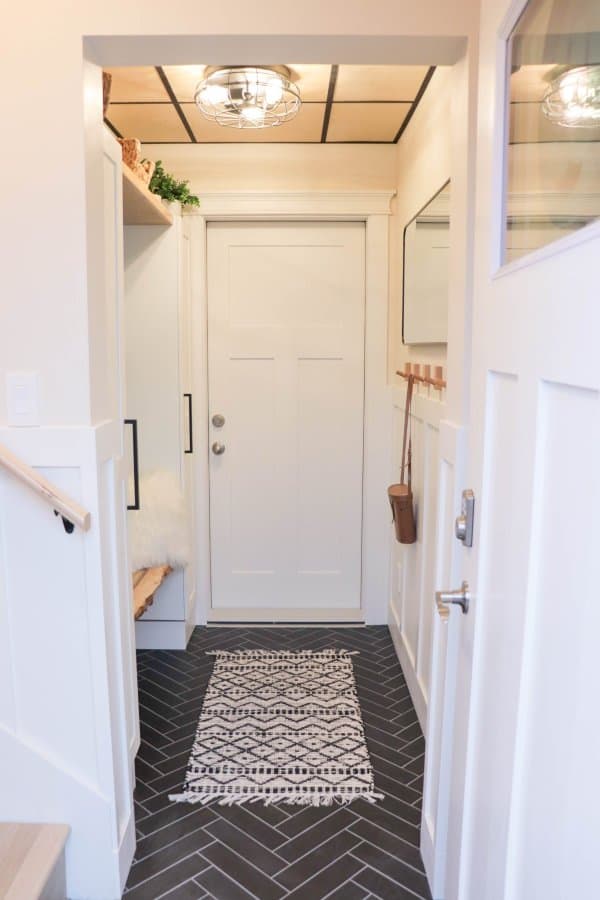
In our case, creating a drop ceiling allows for access to the electrical panel and some plumbing in the garage & mudroom space of our carriage house.
We built our drop ceiling from scratch as this was a newly built room. However, this is a great option for any home and makes an easy upgrade!
Do you have unsightly duct work, exposed beams or ceiling watermarks? Creating a drop ceiling, or updating your old ceiling to a more stylish wood one, may be the perfect solution for you!
How much does a drop ceiling cost?
The cost of this project is going to vary greatly based on the size of your room. Our mudroom is 7ft x 5 1/2ft making this a small and affordable upgrade to the space.
We priced out traditional ceiling tiles at a cost of $20 per tile. A pre-cut 24″ x 48″ birch plywood panel at Home Depot cost $33 per panel. When you cut the wood panel in half you get two ceiling tiles, making this actually a cheaper option than ceiling tiles.
The total cost for our mudroom wood drop ceiling was $220. We spent $100 on the plywood panels and $120 on the metal brackets. I had the black paint in my stash but would have added $10 in a can of spray paint.
This post contains affiliate links.
Supplies
- Table Saw (you can also have the plywood cut at Home Depot for an additional fee)
- Tin Snips – for cutting the metal supports to length
- Drill Driver – this Ryobi is the one that I have
- Screws
- Stud Finder
- Metal L Shaped Outer Bracket
- Metal T Main Support Bracket
- Metal Cross T Support Bracket
- 1/4″ Plywood – we used birch
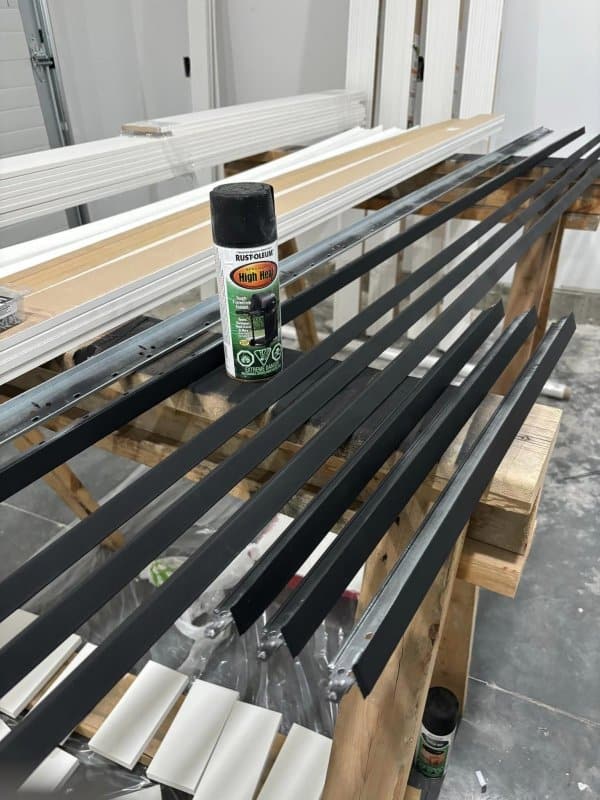
- Black Spray Paint – we used Rustoleum high heat spray paint
Instructions
1. Measure the ceiling space. Purchase enough “L shaped” outer track for the perimeter of the room. Purchase “T main” supports for the length of the room. The “T main” supports are needed for every two feet across. Purchase “cross T” supports for the width of the room, again spacing every two feet.
2. Purchase 1/4” birch plywood. This is cut to 23 3/4” squares. Measure and cut to width as needed around the room.
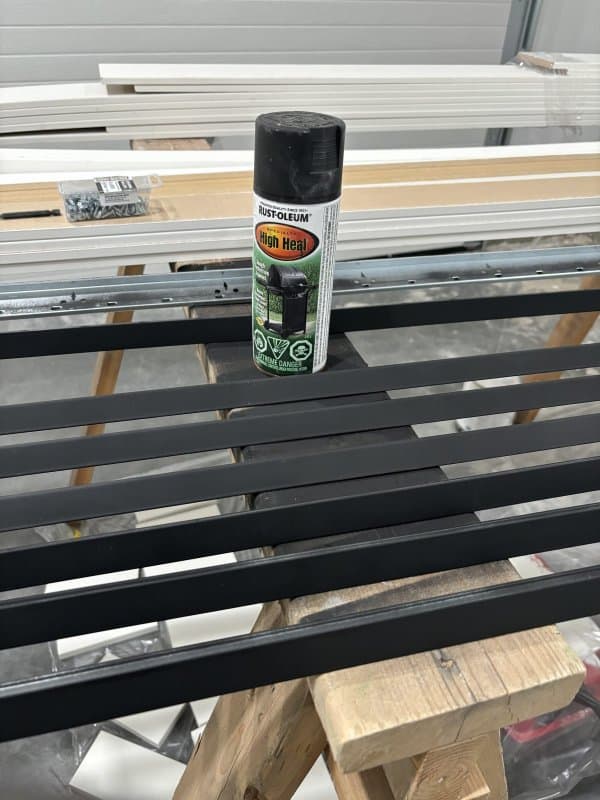
3. Paint the supports and brackets black with spray paint. Give them two even coats and allow to dry.
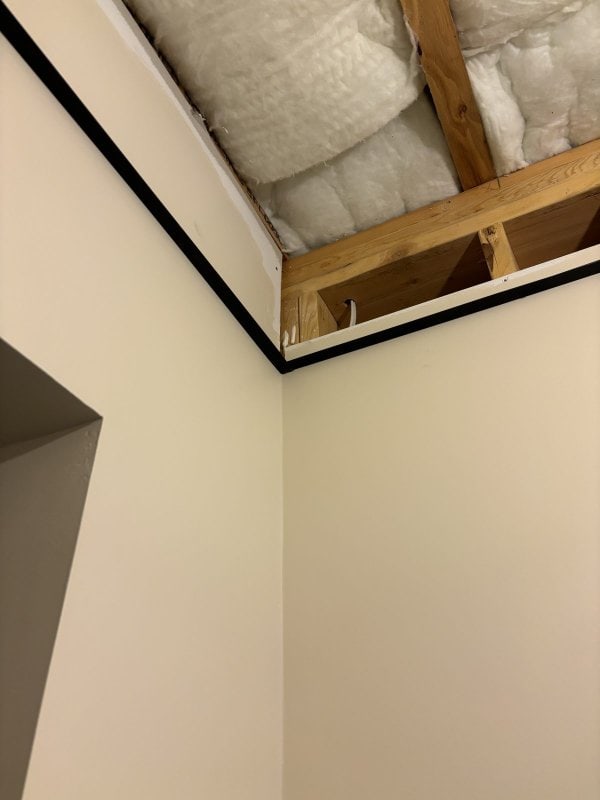
4. Put up the L shaped outer track around the outer edge of the ceiling. Measure the distance from the floor and mark lines around the room at the same height (standard is 8FT). Use a level to make sure the marks are level. Screw them into the wall, preferably into studs.
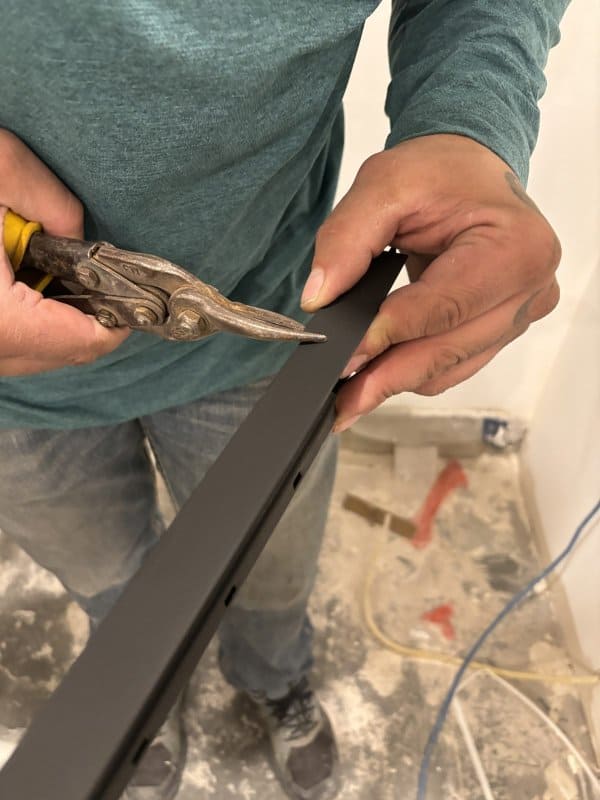
5. Cut the T main to length using tin snips. Cut the backbone first and then each side of the T.
Tip: On the main T there are notches every 6”, be sure to have them equally spaced from the wall so that your ceiling tiles are then equally spaced.
Tip: If your room is longer than a T main, you’ll need to use wire to hang it from the joists for added support.
Almost there!
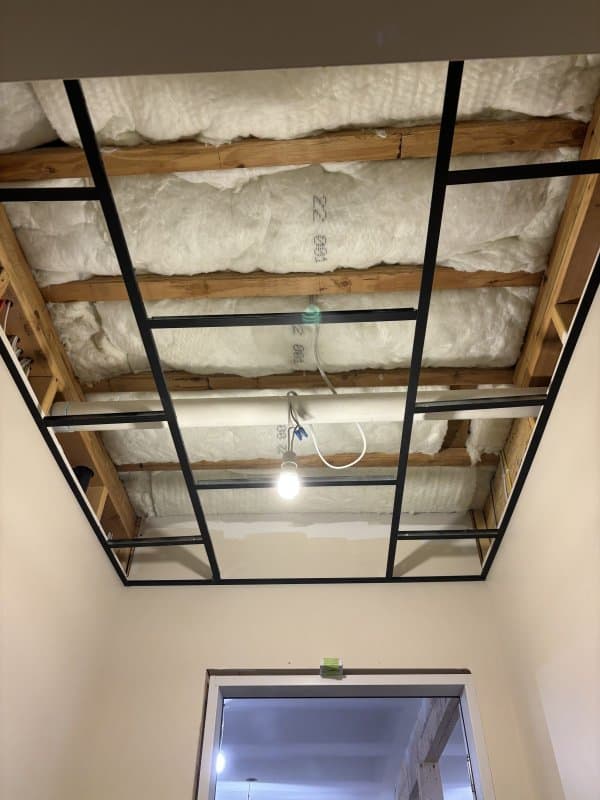
6. Place the T main onto the L supports, being sure to measure that everything is centered the way you want it.
Tip: We started by centering a tile in the middle of our ceiling and worked out from there.
7. Instal cross Ts between the mains and the L supports. You may need to cut these to length depending on your room size.
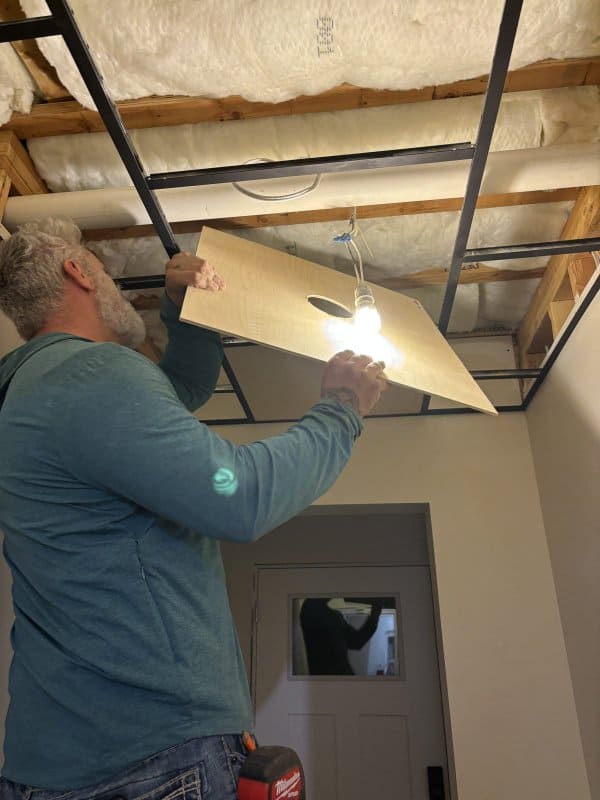
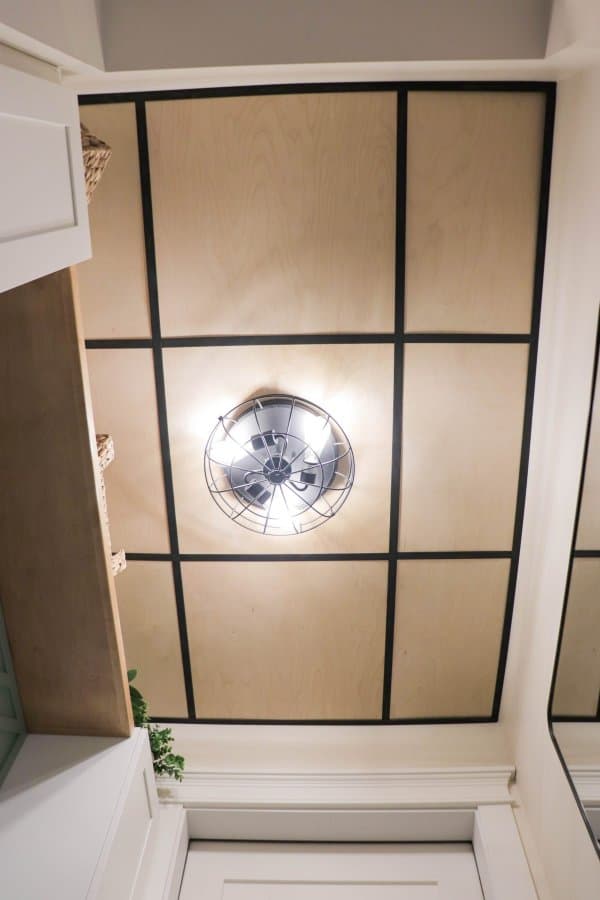
8. Cut the plywood to size for each section within the supports. The T shaped supports allow for the plywood panel to rest within them.
9. Place the plywood within the supports. Angle the plywood into the open space and allow it to drop into the supports.
Pro Tips
- Make sure that the plywood is always laid flat so that it does not bend or warp.
- You can seal the plywood with a coat of Varathane if desired.
- If you are working on an existing drop ceiling, remove the traditional tiles and remove the metal brackets (if possible) to paint them. The metal brackets could also be painted in place, you’ll just need to tape off the walls with painters tape.
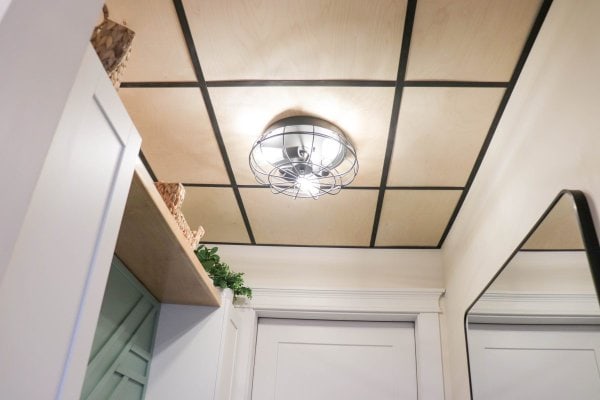
- You may need to cut a hole in one of the wood tiles for a light fixture, like we did. We used a drill with a 4″ circular saw attachment.
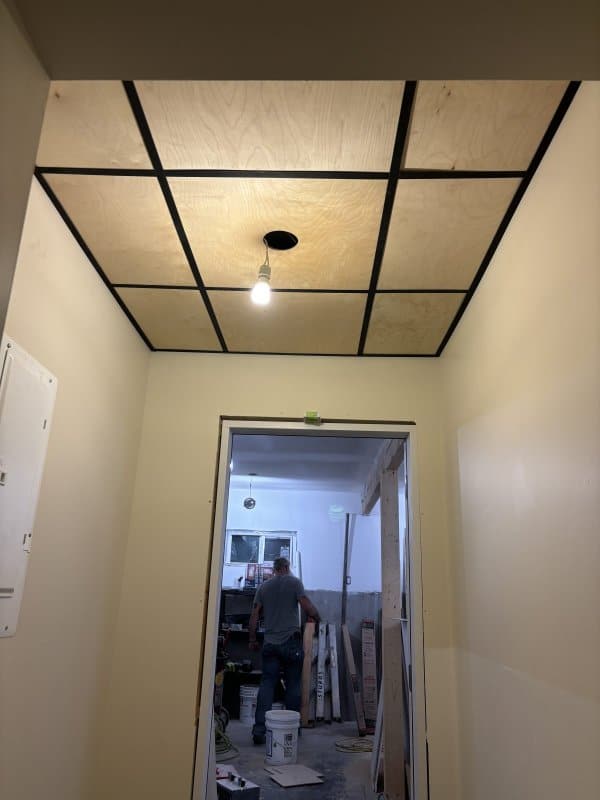
How amazing does this finished space look? Be sure to check out the other easy DIY Mudroom Projects that we made to finish off this area.
Creating a wood drop ceiling is truly an easy way to upgrade any room! I love, love, love the way it added a pop of texture and graphic design to our mudroom.
If you have enjoyed learning how to create a wood drop ceiling, please share this post on Facebook or Pinterest.
How to Create a Wood Drop Ceiling
Materials
- Table Saw
- Tin Snips
- Screw Driver
- Screws
- Stud Finder
- Metal L Shaped Outer Bracket
- Metal T Main Support Bracket
- Metal Cross T Support Bracket
- ¼ ” Plywood – we used birch
- Black Paint
Instructions
- 1. Measure the ceiling space. Purchase enough “L shaped” outer track for the perimeter of the room. Purchase “T main” supports for the length of the room. The “T main” supports are needed for every two feet across. Purchase “cross T” supports for the width of the room, again spacing every two feet.
- 2. Purchase 1/4” birch plywood. This is cut to 23 3/4” squares. Measure and cut to width as needed around the room.
- 3. Paint the supports and brackets black with spray paint. Give them two even coats and allow to dry.
- 4. Put up the L shaped outer track around the outer edge of the ceiling. Measure the distance from the floor and mark lines around the room at the same height (standard is 8FT). Use a level to make sure the marks are level. Screw them into the wall, preferably into studs.
- 5. Cut the t main to length using tin snips. Cut the backbone first and then each side of the t.
- 6. Place the t main onto the L supports, being sure to measure that everything is centered the way you want it.
- 7. Instal cross ts between the mains and the L supports. You may need to cut these to length depending on your room size.
- 8. Cut the plywood to size for each section within the supports. The t shaped supports allow for the plywood panel to rest within them.
- 9. Place the plywood within the supports. Angle the plywood into the open space and allow it to drop into the supports.
Notes

Much nicer than the old crappy tiles. I love it!
Thank you!
Have you had any issues with warping since install?
No, but on install we added a few placer screws into the tracks to help hold them in place. If you are worried about humidity/moisture we would recommend using a thicker ply.