How To Create an Easy Trim Accent Wall
Learn how to create an easy trim accent wall with this step-by-step tutorial. Transform your space with simplicity and style.

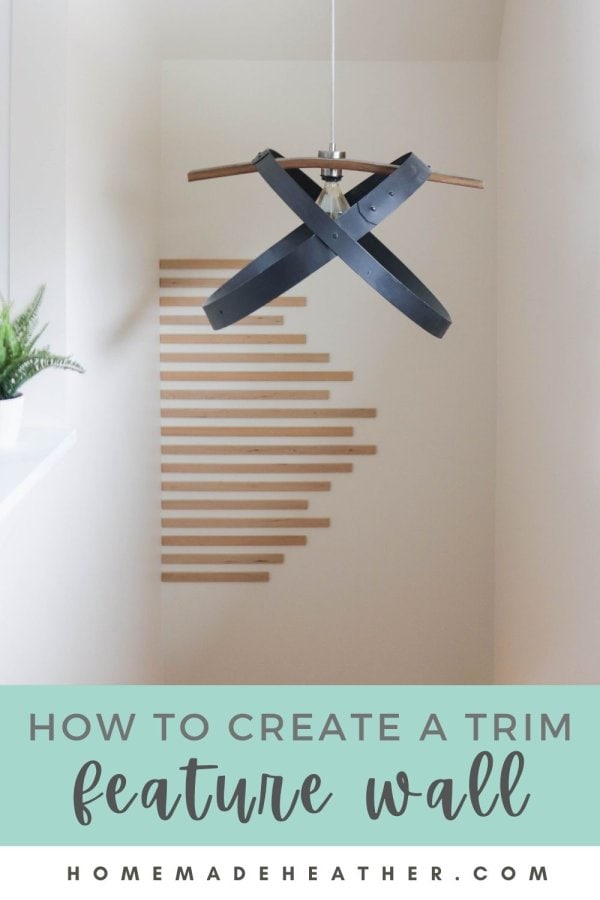
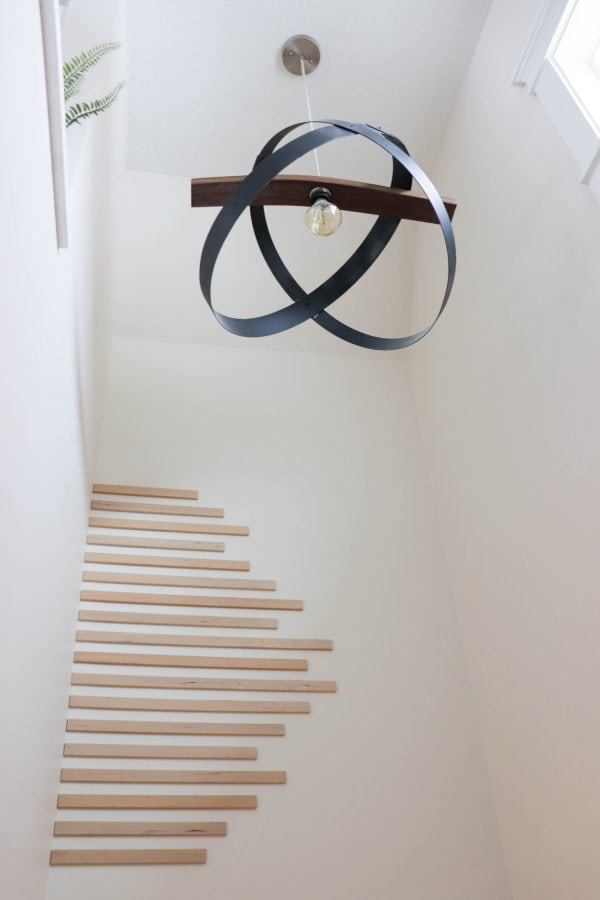
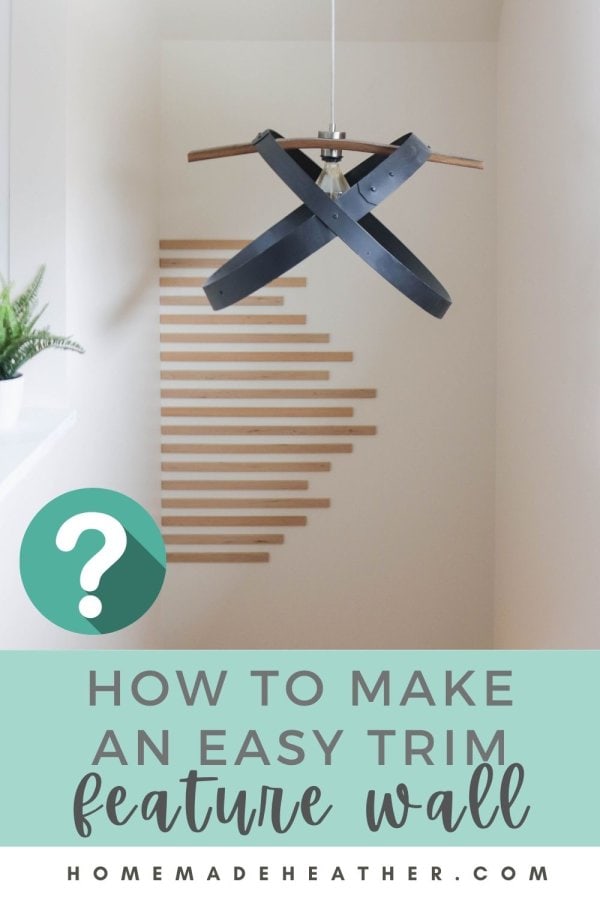
This wood trim feature wall was one of the easiest projects and added a lovely pop of texture to our carriage house stairwell. Let me show you how to create a trim accent of your own!
Too busy to make this right away? Pin it for later! Pin this post to your favorite board on Pinterest and it will be there when you’re ready!
This easy accent wall is part of a larger series of posts on our carriage house build. Get all of the details here…
MORE CARRIAGE HOUSE POSTS
- Carriage House Stage One (permits to foundation)
- Carriage House Stage Two (from framing to lock up)
- Carriage House Stage Three (lock up to occupancy)
- DIY Wood Drop Ceiling
- 3 Easy DIY Projects for a Mudroom
- How to Create a Trim Mountain Accent Wall
- How to Create an Easy Trim Accent Wall (you are here)
- Boho Studio Design & Decor
- How to Air BNB Your Space (Printable Checklist)
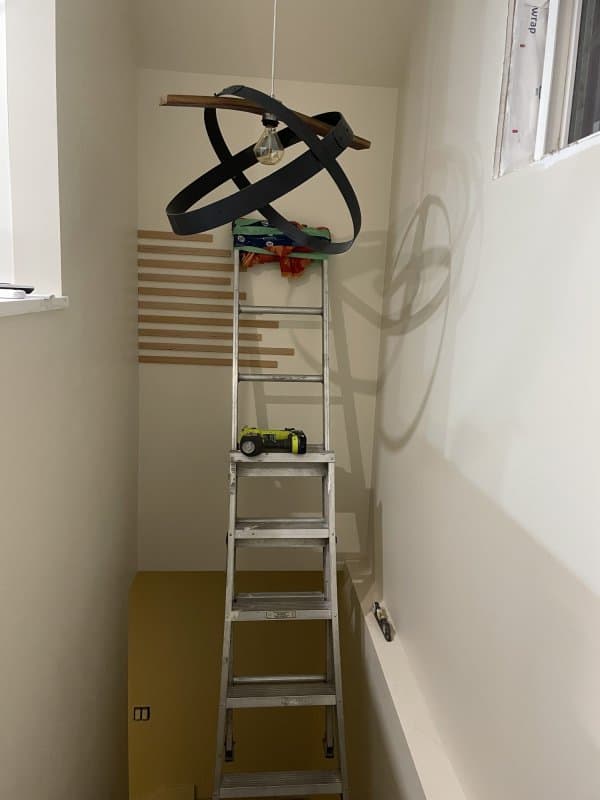
One of the first questions we get asked is, “where did you get that light?!” The light fixture in our stairwell was actually found on Marketplace!
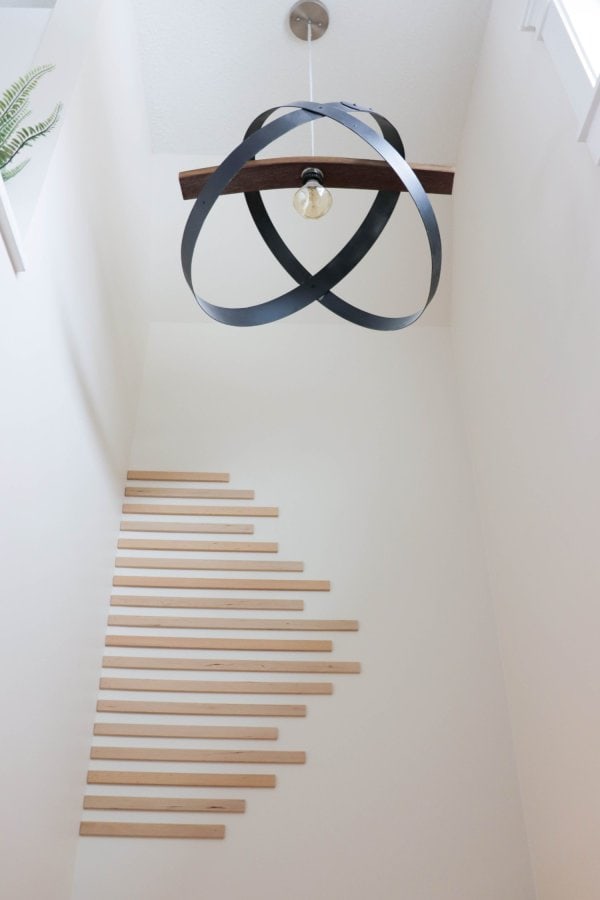
This pendant light was only $75 and made using an old wine barrel. Living in the heart of wine country, we love that! It also adds wood and metal elements that help to tie the space together.
While the fixture provided a much needed focal point for this large stairwell, it needed something else. That’s where this easy feature wall came in. Here’s how to make your own…
What’s great about this do-it-yourself project is that you don’t even need a power saw. You could simply use a hand saw to make the straight cuts used for the trim here.
This post contains affiliate links.
Supplies
- 8 pieces of 1″ x 1/4″ birch trim – 6ft lengths were $8 at Home Depot
- Fine grit sanding paper
- Finishing nails
- Ryobi brad nailer – this is the one I have
- Level
- Painters Tape
- Mitre saw (or hand saw)
- Stud Finder
- Wood Filler
- Varathane
- Paint Brush
Instructions
1. Prep the trim either with paint or varathane to seal.
2. Sand the trim and apply a second coat of sealer if needed.
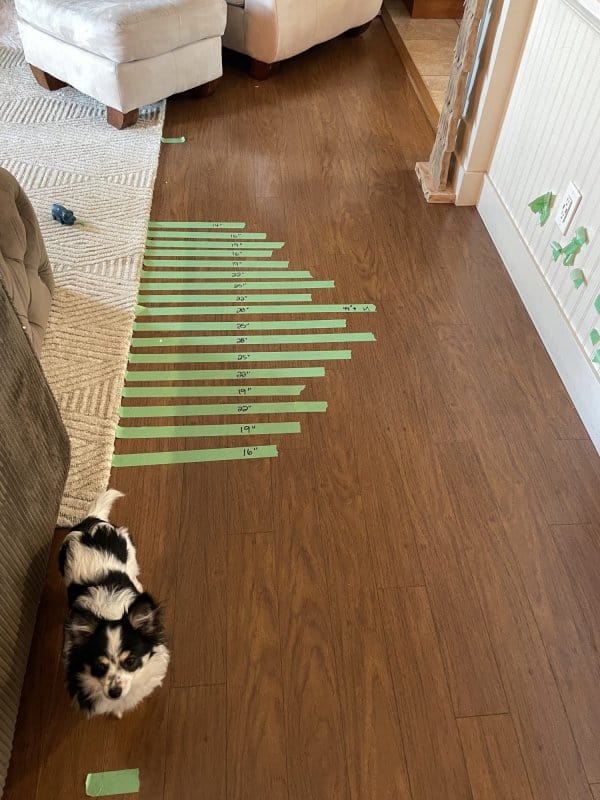
3. Use painters tape to map out the design on the floor.

4. Measure each length of tape and cut each piece of trim to length.
5. Make sure to use a level to get the first horizontal piece just right.
6. Use a stud finder to find the studs and use a finish nailer to nail the trim into them.
Tip: Nailing into the studs helps the trim to stay securely fastened and eliminates gaps between the trim and the wall. I nailed each end of the trim and then at least one nail into a stud along its length.
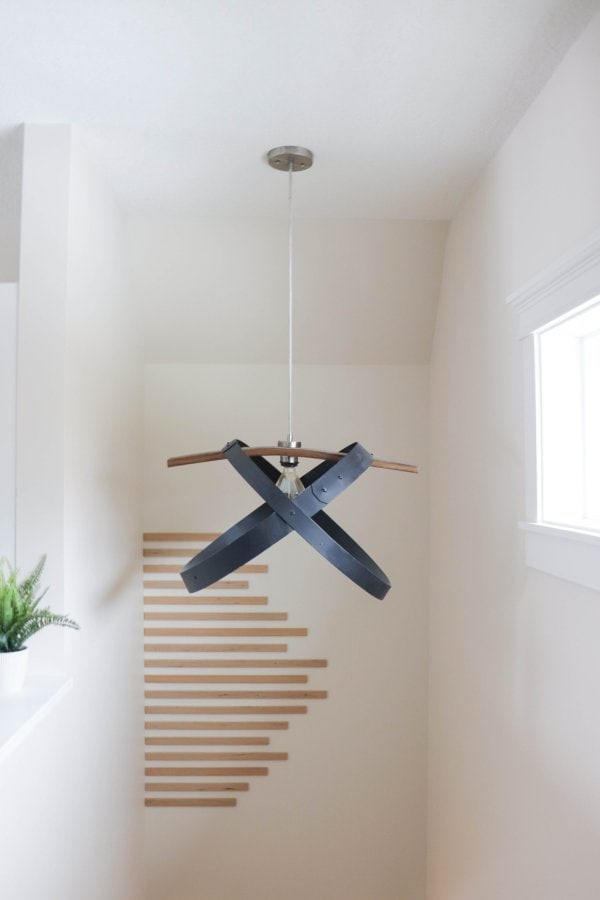
7. Continue with each section of trim, about 1” apart.
Tip: Use a piece of trim as a guide for spacing.
8. Fill the nail holes with wood filler.
Tip: Create a custom fill color by adding acrylic paint to the wood filler.

9. Seal with varathane.
Pro Tips
- If you want to avoid the sealing, sanding and wood fill process you can paint the entire wall all the same color!
- Use a good quality hard wood trim for best results.
- Sealing and sanding isn’t required but gives the trim a smooth, satin finish.
- You *could* glue the trim to the wall instead of nailing it but just because you could, doesn’t mean that you should. It would be much more difficult to remove and repair later.
Seriously, how easy was this wood trim accent wall to create?! Easy peasy right?! You could totally tackle this project!
Don’t have a saw?! Simply make the cuts to the trim at Home Depot before you check out!
I’m now looking around the rest of our home to see where else I could add a fun feature wall…
If you loved the easy trim accent wall, please give it a five star review and help me share it on Facebook or Pinterest!

How to Create an Easy Trim Accent Wall
Materials
- 8 pieces of 1″ x 1/4″ birch trim – 6ft lengths were $8 at Home Depot
- Fine grit sanding paper
- Finishing nails
- Ryobi brad nailer – this is the one I have
- Level
- Painters Tape
- Mitre saw or hand saw
- Stud Finder
- Wood Filler
- Varathane
- Paint Brush
Instructions
- Prep the trim either with paint or varathane to seal.
- Sand the trim and apply a second coat of sealer if needed.
- Use painters tape to map out the design on the floor.
- Measure each length of tape and cut each piece of trim to length.
- Make sure to use a level to get the first horizontal piece just right.
- Use a stud finder to find the studs and use a finish nailer to nail the trim into them.
- Continue with each section of trim, about 1” apart.
- Fill the nail holes with wood filler.
- Coat with varathane to seal.

beautiful and I am going to do this in my entry BUT it LOOKS as though there is more than 1/4 inch between the slats but I could be having an old timers moment on reading this! Thank you for this great idea.
You are correct! Fixed in the post – they were 1″ (width of trim) apart.
Well the way those wood trims are located, you will NOT have studs that close together. They are usually 12-16 inches apart. Just a little piece of advice.
Our studs are 12″ apart and I used a stud finder to make sure that each piece of trim was nailed to studs. Having built the space ourselves, it was nice to know where the backing was.