DIY Beauty & the Beast Mask
This DIY Beauty & the Beast Mask is totally epic for Halloween! Follow the detailed step-by-step tutorial to add this custom mask to your costume this year.

Every year my kids challenge me to create unique DIY costumes and this year was no exception! In the past we’ve made a Plague Doctor, Functioning Demogorgon Mask, Beeker Costume, Mario & Luigi Go Kart Costumes and a whole Beetlejuice Family!
Too busy to make this right away? Pin it for later! Pin this post to your favorite board on Pinterest and it will be there when you’re ready!

When planning for Halloween this year we had a hard time coming up with something that could rival last years Adam & Barbara Maitland costumes. They are seriously my all time favorite.
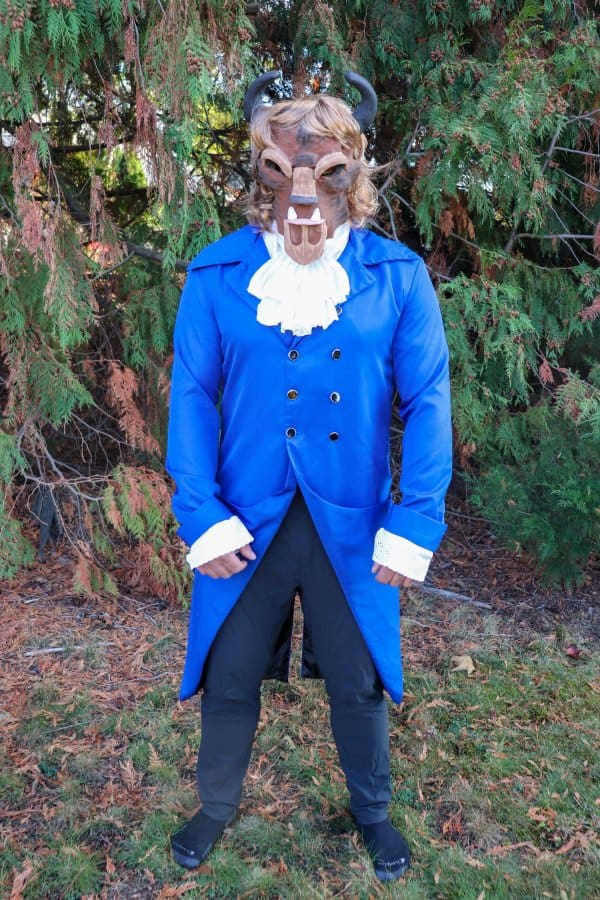
But this Beast Costume comes very, very close to being just as awesome. Especially because it suites the mans personality to a tee. The mask is the center piece and makes the entire costume absolutely epic.

I have detailed every step of how to create this epic Beast mask. It’s easy with this step-by-step tutorial, promise!

This post contains affiliate links.
Supplies that you’ll need to create this costumes:
- Halloween Mask
- Air dry clay
- Acrylic paint
- Paintbrush
- Hot glue gun
- Hot glue
- White glue
- Craft paper
- Brown curly wig
- Blue dress coat
- White ruffle dress shirt
I found most of the craft supplies at our local Dollarama store but have linked similar materials on Amazon.

I have included photos along the way but if you have any questions at all be sure to drop me a message.
Beast mask tutorial:
- Start the base of the mask.

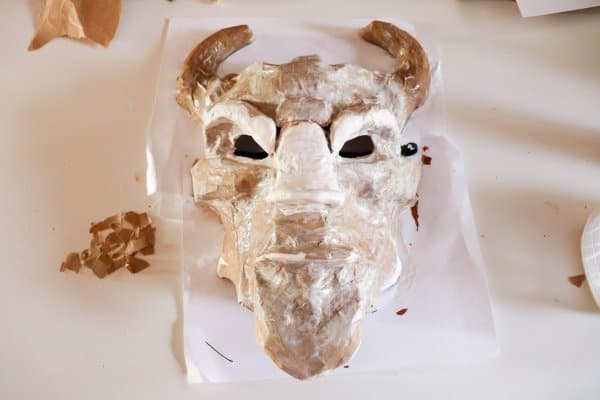
2. Use the air dry clay to form the features of the Beast on the mask. Add larger eyebrows, a big flat nose, a large lower lip, goatee and teeth.

3. Allow the clay to dry for at least 8 hours. It may shrink and fall off in the drying, if that happens just use hot glue to glue the clay to the mask.

4. Tear craft paper into strips and small pieces.

5. Use a mixture of one part white glue, two parts water to cover the mask in paper mache.
6. Allow the paper mache to dry completely, about 2 hours.

7. Use the acrylic paint to add color to the mask.

8. Allow the paint to dry.

Use several different shades of brown to paint the mask and give it definition and texture.

Mask detail.

Pair the mask with a brown curly wig, white ruffly dress shirt and blue dress coat.

Finding this blue coat at Value Village was the key to this costume. I was thrilled! It totally pulls the costume together.

We absolutely love how this costume turned out!

The Beast in all of his glory!

Isn’t the coat just perfect?! I think that it was only ten bucks?!

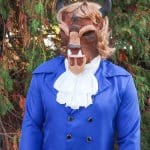
I absolutely love how authentic this mask looks! These creepy masks totally make this Beast costume over the top.


We can’t have the Beast without Beauty!

This post contains affiliate links.
More of our crafting essentials:
- We love using these Apple Barrel Acrylic Paints to add bright color to all of our projects.
- These paint brushes are ideal for most craft surfaces and a great price!
- This art supplies kit is our favorite because it has everything we needed to get started.
- This rolling storage cart helps to keep our craft supplies organized.
If you like this DIY Beauty & the Beast mask please help us by sharing it on Facebook or Pinterest so that others can enjoy it too!
DIY Beauty & the Beast Mask
Materials
- Halloween Mask
- Air dry clay
- Acrylic paint
- Paintbrush
- Hot glue gun
- Hot glue
- White glue
- Craft paper
- Brown curly wig
- Blue dress coat
- White ruffle dress shirt
Instructions
- 1. Start the base of the mask.
- 2. Use the air dry clay to form the features of the Beast on the mask. Add larger eyebrows, a big flat nose, a large lower lip, goatee and teeth.
- 3. Allow the clay to dry for at least 8 hours. It may shrink and fall off in the drying, if that happens just use hot glue to glue the clay to the mask.
- 4. Tear craft paper into strips and small pieces.
- 5. Use a mixture of one part white glue, two parts water to cover the mask in paper mache.
- 6. Allow the paper mache to dry completely, about 2 hours.
- 7. Use the acrylic paint to add color to the mask.
- 8. Allow the paint to dry.
