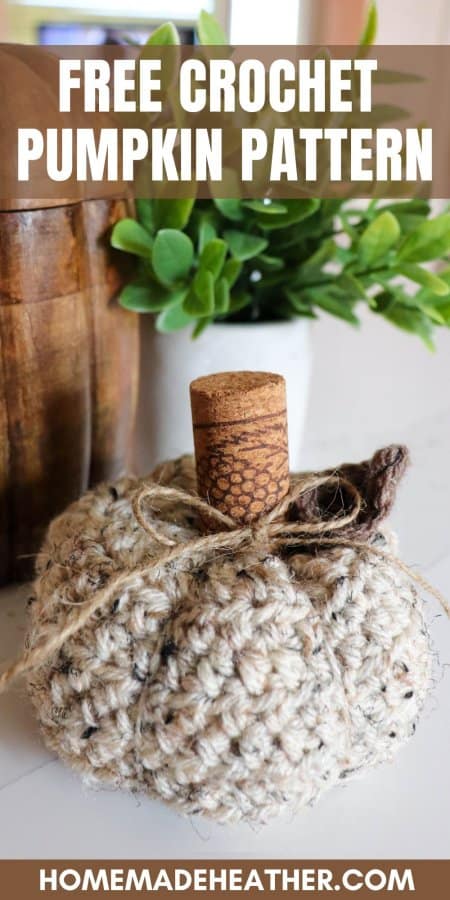
Free Easy Pumpkin Crochet Pattern

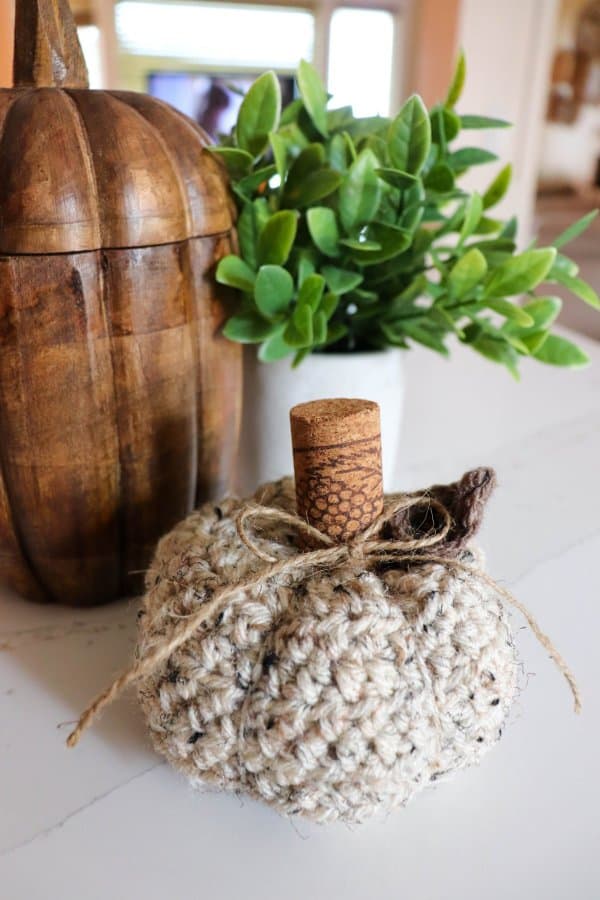
This easy crochet pumpkin pattern is absolutely darling, free and whips up quickly! It’s perfect for creating lovely little pumpkins to add to your decor this year.
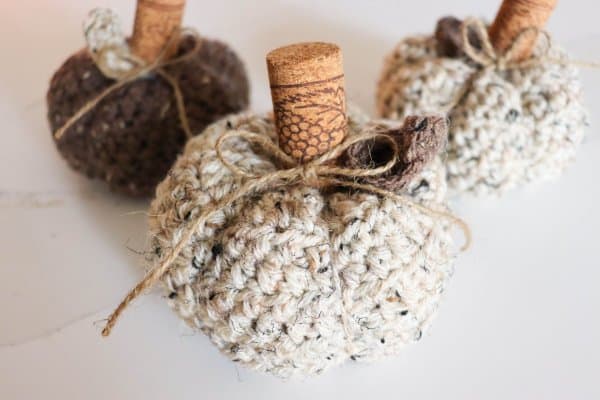
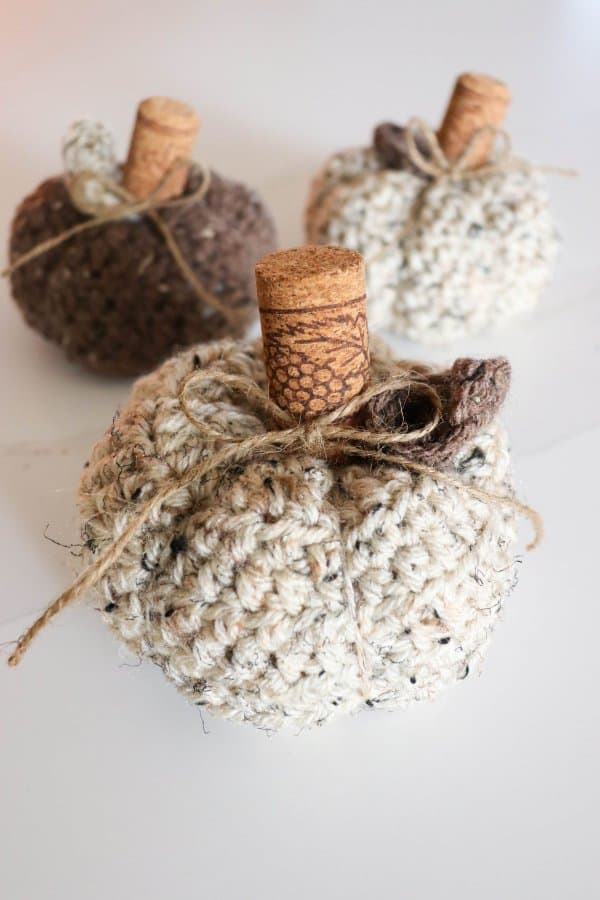
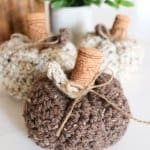
This free crochet pumpkin pattern is great for creating a small pumpkin or larger pumpkins or a whole patch of cute little pumpkins. They are so much fun to make and add to fall decor.
Too busy to make this right away? Pin it for later! Pin this post to your favorite board on Pinterest and it will be there when you’re ready!
If you need a crochet refresher course be sure to check out my Learn To Crochet – a Complete Beginner Guide eBook for an easy step-by-step guide! It’s a great resource for learning how to make a magic ring, basic crochet stitches and different ways to use up scrap yarn.
My favorite kind of crochet patterns are ones that work up quickly and can be completed in an evening. Like this Crochet Headband Pattern, this easy Hanging Plant Holder Crochet Pattern and this fun Crochet Slipper Pattern.

This cute crochet pumpkin pattern is great for any skill level, the basic stitches are fairly easy to work with. This fall crochet pattern is a great way to use up your yarn stash with cute crochet pumpkins.
You can get the free, printable PDF pattern by scrolling to the bottom of this post and entering your email in the form below.
This post contains affiliate links.
Supplies:
- 5mm crochet hook
- Poly-fil stuffing
- Yarn needle
- Stitch marker
- Worsted weight yarn
- Scissors
- Cinnamon stick or small twig
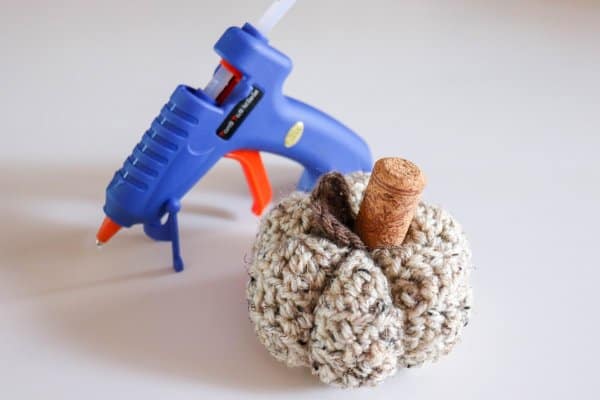
- Glue gun
- Ribbon for bow embellishment
Crochet Abbreviations:
CH – Chain
SL ST – Slip Stitch
ST – Stitch
SC – Single Crochet stitch
HDC – Half Double Crochet stitch
DC – Double Crochet stitch
INC – Increase
Crochet Pumpkin Pattern:
Begin with a slip knot
1: Ch 32, HDC into the 3rd ch from the hook.
Yarn over, insert your hook into the chain, yarn over again, pull up a loop and draw your loop through all 3 loops on your hook.
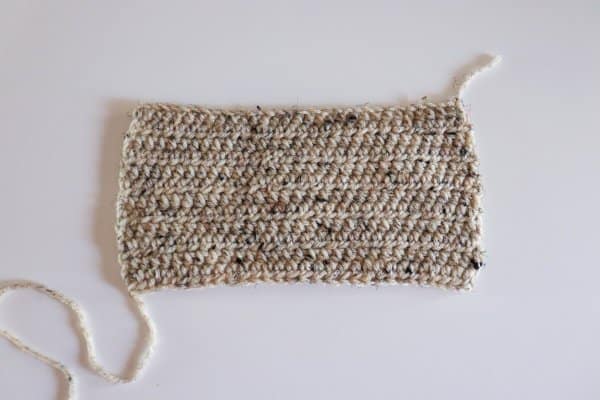
2: Ch 2, turn your work and HDC across (30)
3-12: HDC across (30)
Remember to count the number of stitches at the end of every row. Chain 2 at the end of each row, turn and continue across until you reach 12 rows. Leave an extra long tail of yarn.
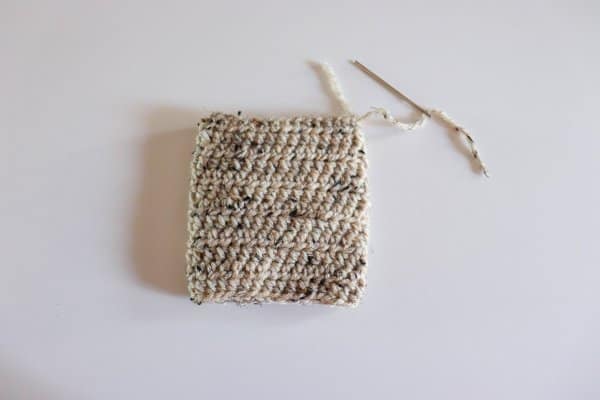
How to create the pumpkin shape:
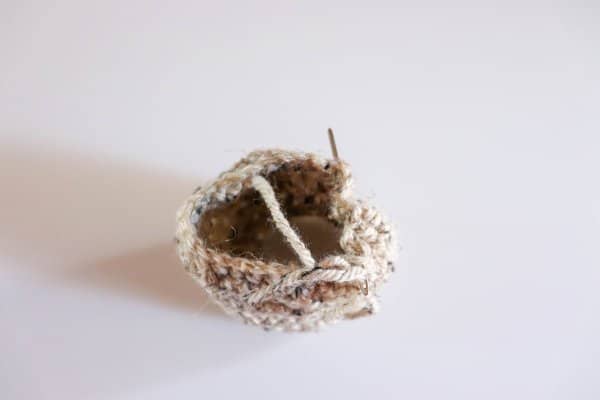
1. Fold the work in half, seams together. Sew the ends together. You can do this by either slip stitching or sewing the ends together with a tapestry needle. Make sure not to leave any gaps so there are no holes in the pumpkin.
2. Now, weave the bottom circle closed by going in and out every couple of stitches with the long yarn tail. You can use a whip stitch or loosely sew with a darning needle and then pull tight to close. Weave through the stitches together to tighten the bottom.
3. Turn the work inside out and then stuff pumpkin with polyfil. Stuff it well because when you make your pumpkin ridges, your pumpkin will get shorter and smaller so you want to make sure you’ve got lots of filling to keep it nice and plump!
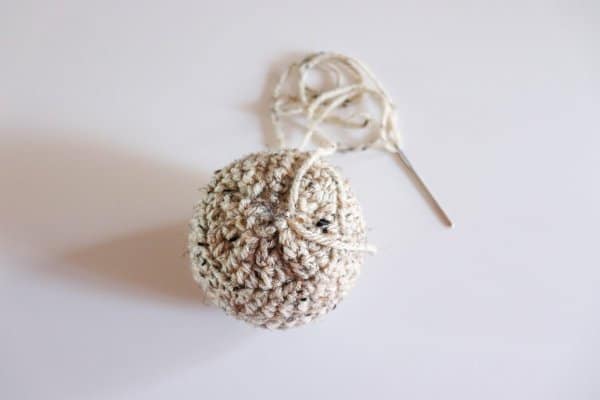
4. Weave the yarn end in and out of the top stitches and then pull to cinch closed. Go through the stitches to tighten just as you to close up the bottom.
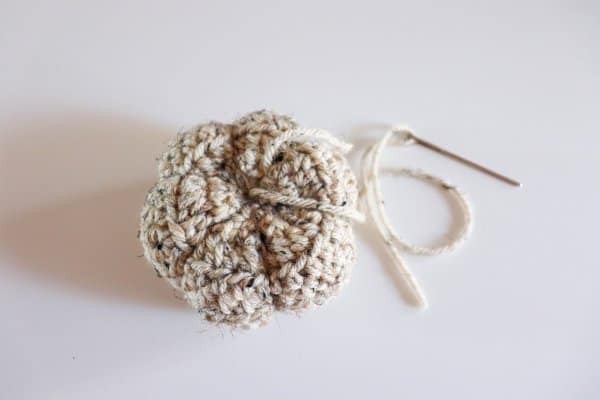
5. To make the pumpkin ridges, take the end of yarn along the outside of your pumpkin and go through the center of the pumpkin bottom and then up through the top and pull tight. Continue doing this till you’re happy with the amount of ridges. Weave your end in and out of the pumpkin to secure and hide your tail.
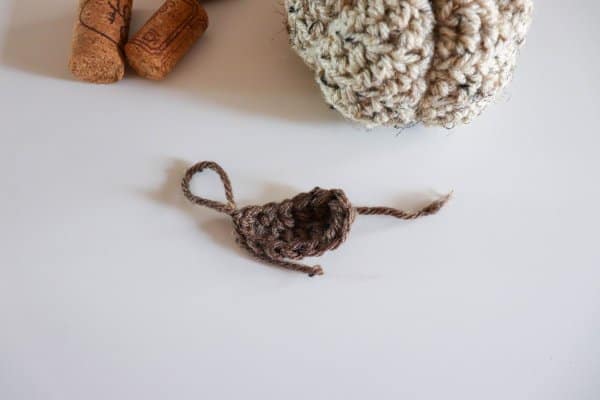
To make the leaf:
Chain 7.
Down the chain.
- Sl St in the 2nd ch, sc, sc, hdc, hdc, DC 4 in the last stitch
- Working on the bottom side of the chain, complete the following: hdc, hdc, sc, sc, sl st in the last and then sl st to the first sl st from round 1 to finish off. Weave in your ends.

How to assemble the pumpkin:
- Using a glue gun, fasten the stem to the top of the pumpkin.
- Sew the leaf to the top and then finish off with a bow.
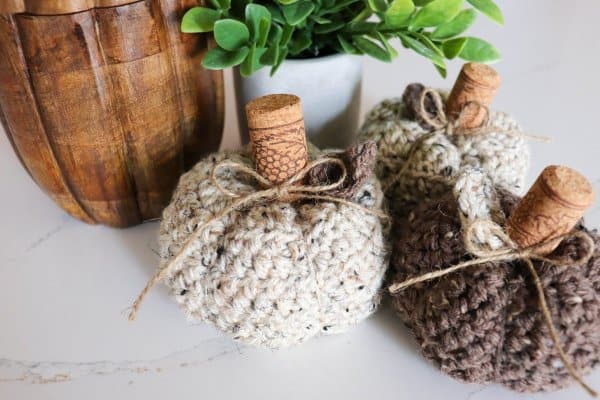
Pumpkin variations:
- Change up the pumpkin stem with a wine cork or piece of wood.
- Use bulky yarn or a larger hook size to make bigger pumpkins.
- Mix various shades of orange yarn.
This post contains affiliate links.
My crafting essentials for crochet projects:
- I love using this Vannas Choice yarn for soft silky projects every time.
- These crochet hooks are ideal for using with all sizes of yarn.
- This crochet kit is perfect for the beginner because everything you need to start is included.
- This lovely yarn tote makes traveling with your crochet project both stylish and easy.
Enter your name and email below to get an instant download of the files! You are then registered for my weekly email Newsletter that is full of fun recipes, easy crafts, and free printables.
File Usage
- All digital files on Homemade Heather are for personal use only.
- Please direct others to the original website link when sharing.
- Digital reselling, resharing, or distribution is prohibited and NOT allowed.
If you love this free crochet pattern please give it a five star review and help me share it on Facebook or Pinterest so that others can enjoy it too!
Crochet Pumpkin Pattern
Instructions
- Crochet Ch 32, HDC into the 3rd ch from the hook.
- Crochet Ch 2, turn your work and HDC across (30).
- Crochet 3-12: HDC across (30).
- Fold the work in half, seams together. Sew the ends together. You can do this by either slip stitching or sewing the ends together with a tapestry needle. Make sure not to leave any gaps so there are no holes in the pumpkin.
- Now, weave the bottom circle closed by going in and out every couple of stitches with the long yarn tail. You can use a whip stitch or loosely sew with a darning needle and then pull tight to close. Weave through the stitches together to tighten the bottom.
- Turn the work inside out and then stuff pumpkin with polyfil. Stuff it well because when you make your pumpkin ridges, your pumpkin will get shorter and smaller so you want to make sure you’ve got lots of filling to keep it nice and plump!
- Weave the yarn end in and out of the top stitches and then pull to cinch closed. Go through the stitches to tighten just as you to close up the bottom.
- To make the pumpkin ridges, take the end of yarn along the outside of your pumpkin and go through the center of the pumpkin bottom and then up through the top and pull tight. Continue doing this till you’re happy with the amount of ridges. Weave your end in and out of the pumpkin to secure and hide your tail.
- To make the leaf crochet Ch 7.
- Down the chain. Sl St in the 2nd ch, sc, sc, hdc, hdc, DC 4 in the last stitch.
- Working on the bottom side of the chain, complete the following: hdc, hdc, sc, sc, sl st in the last and then sl st to the first sl st from round 1 to finish off. Weave in your ends.
- Using a glue gun, fasten the stem to the top of the pumpkin.
- Sew the leaf to the top and then finish off with a bow.
