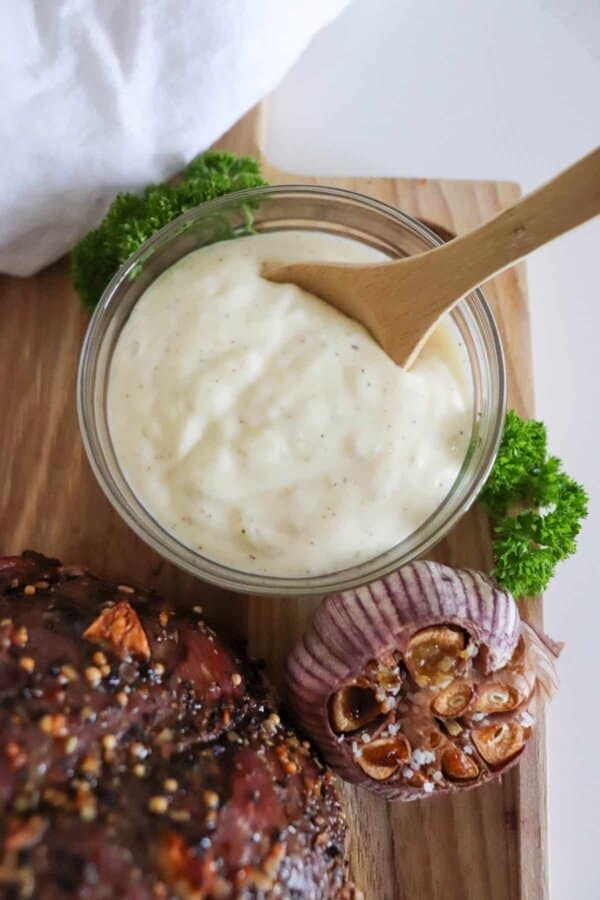
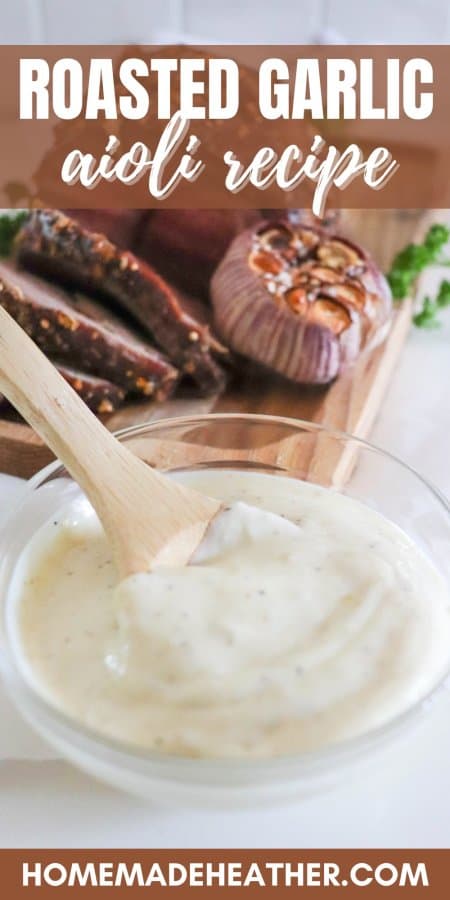
Roasted Garlic Aioli Recipe
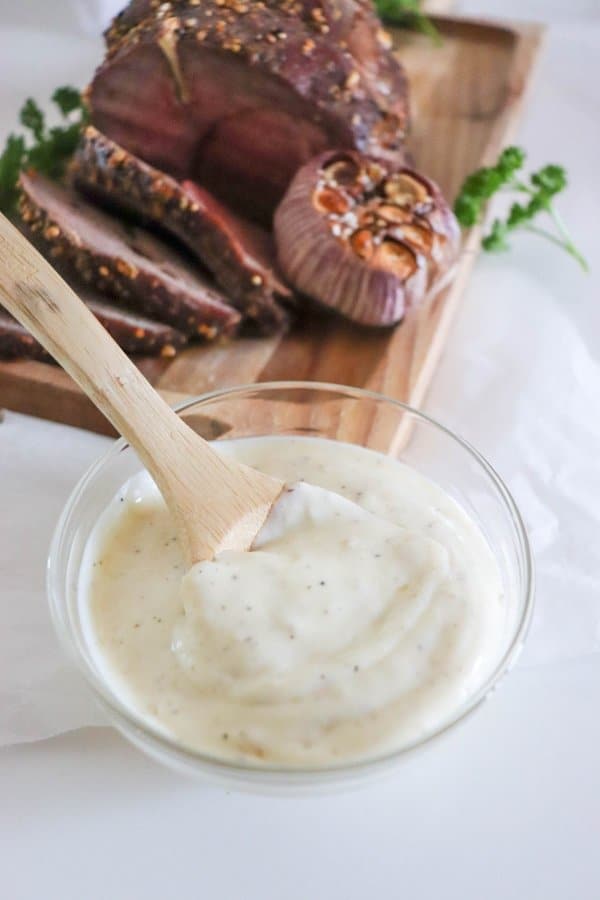
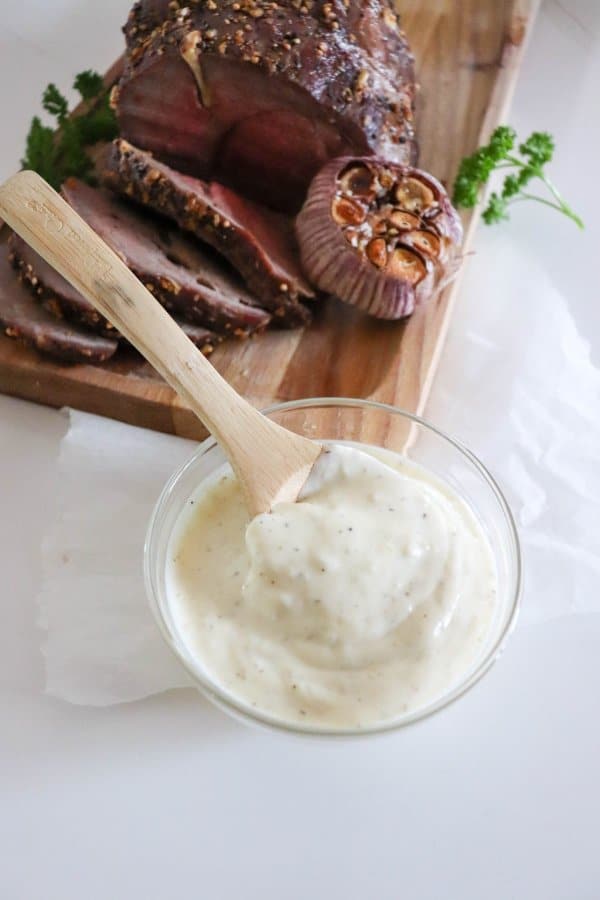
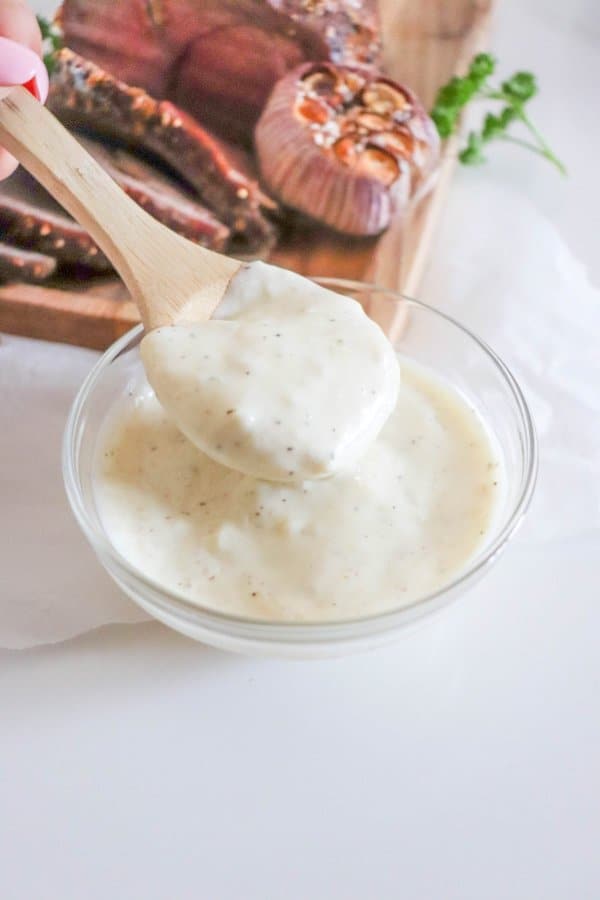
This roasted garlic aioli recipe is perfect for pairing with all of your favorite meats. Make this delicious creamy sauce to drizzle on your next grilled steak, brisket or roast.
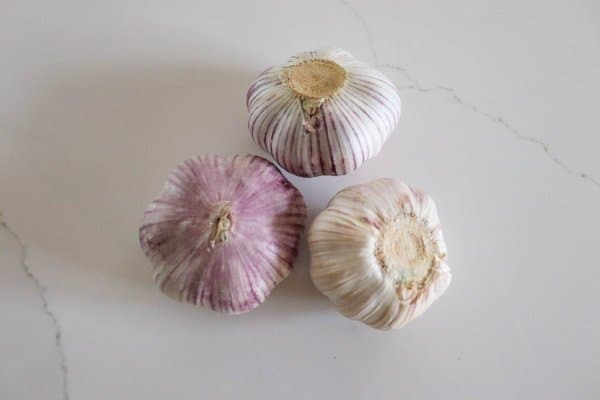
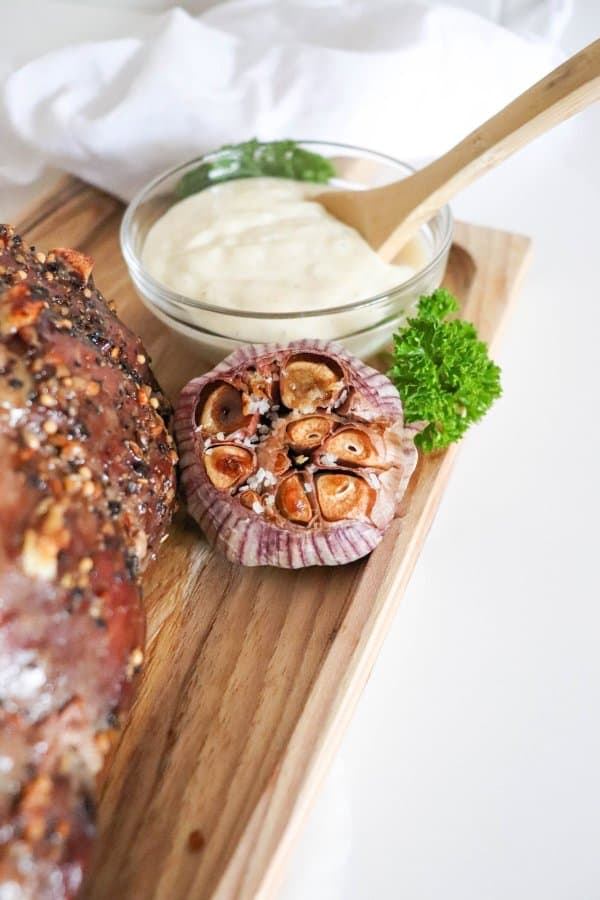
Roasting an entire bulb of garlic is something that we do whenever we’ve got a dish in the oven or on the grill. Using garlic is my favorite way to elevate the flavour profile of many of our recipes.
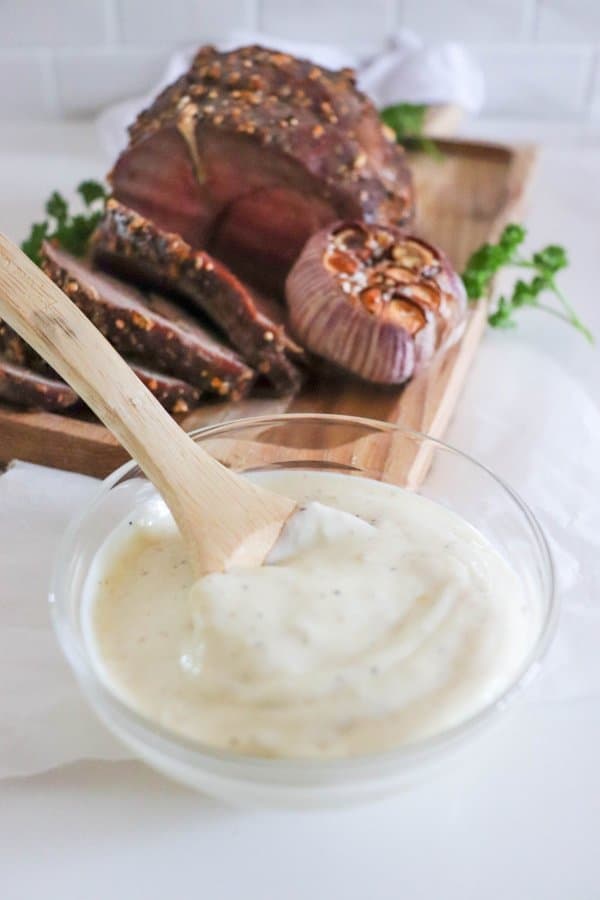
This homemade aioli sauce is perfect for garlic lovers and makes an ideal dipping sauce or sandwich spread! Use this simple method of roasting garlic and make this easy aioli recipe to level up your next at home dinner.
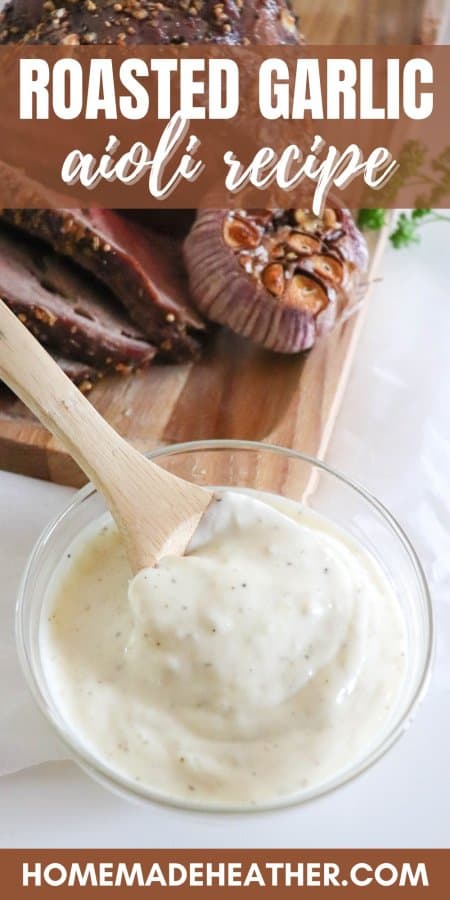
Too busy to make this right away? Pin it for later! Pin this post to your favorite board on Pinterest and it will be there when you’re ready!
What is garlic aioli sauce?
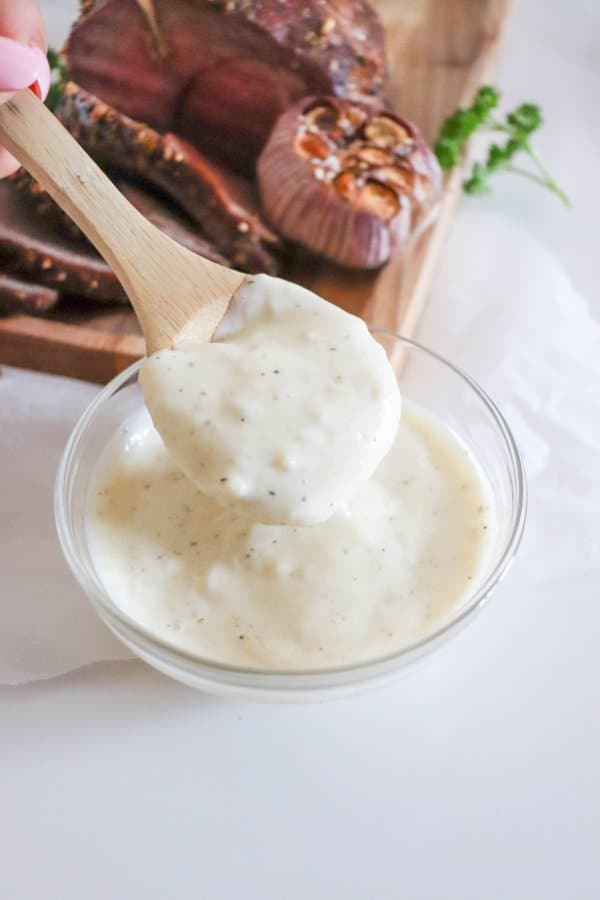
Garlic aioli is a versatile condiment that is made using simple ingredients with a mayonnaise base. The addition of garlic cloves and spices creates a flavourful dip that is ideal for dipping truffle fries in – ask us how we know!
Traditional aioli uses fresh garlic for a more in your face flavour, roasting the head of garlic in this recipes yields a more subtle garlic-y flavour that we love.
This easy garlic aioli was developed from the mans obsession with the truffle fries and dip at one of our favorite local restaurants called Central. He orders the same thing every time that we go, the vintage burger and truffle fries.
While I doubt we’d have much luck recreating the iconic burger and fries at home, this aioli has been a winner for sure!
Roasted Garlic Aioli Recipe:
This post contains affiliate links.
Supplies:
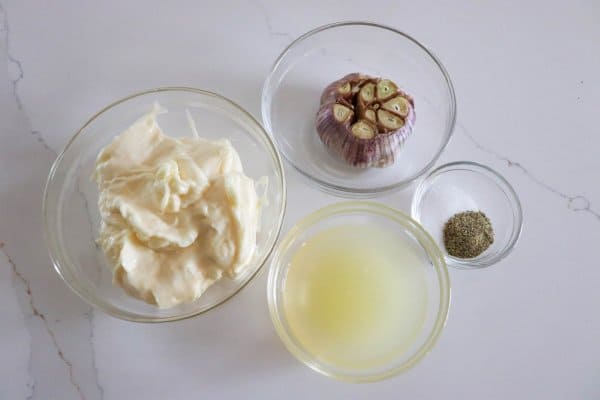
Ingredients:
- 1 head of raw garlic
- 1 Tbsp olive oil
- 1 cup Miracle Whip*
- 3 Tbsp lemon juice
- 1 tsp salt
- 1/2 tsp black pepper
*mayonnaise works too but doesn’t have the added kick like Miracle Whip.
Directions:
1. Gather ingredients.

2. Cut about 1/4″ of the top off of the garlic clove. Remove any of the papery skins that want to come off but do not peel.
I like to roast several heads of garlic ahead of time so that I always have some ready to make this creamy dip.

3. Place garlic heads in a baking dish or baking sheet lined with parchment paper. Drizzle with olive oil.

4. Roast the garlic at 400 degrees F for 30 minutes.

5. When the garlic has cooled, remove the garlic pulp from the skin. An easy way to do this is simply squishing it out from the bottom.
6. In a small bowl, mash it together with a fork.

7. In a medium bowl combine the rest of the ingredients.

8. Add the roasted garlic and mix well.
How to store this sauce:
This dressing can be stored in an airtight container or bowl covered in plastic wrap for a week. We like to keep this easy sauce in a mason jar in the fridge to use for dipping at a moments notice.
This great sauce comes together perfectly with the ingredients listed, however you can play with the original recipe by adding a few things to those basic ingredients.
Give this simple aioli a unique flavor that you can call your own. Simply add or substitute ingredients to your liking.
Substitutions & additions:
- Use fresh garlic instead of roasted and combine the ingredients in a food processor.
- Try adding this sauce to your next potato salad!
- Or adding it to your next potato dish instead of sour cream.
- Substitute homemade mayonnaise for the Miracle Whip.
- Try smoking the whole garlic bulb for a smokier flavor
- Add onion powder, garlic powder or hot sauce to taste.
If you think that this is great then you should also try our classic Alabama white sauce recipe. This white BBQ sauce recipe is perfect for adding to all kinds of dishes!
What to serve this sauce with:
- smoked brisket
- pork chops
- roast chicken
- french fries
- chicken wings
- bbq chicken
- roast beef
- chicken tenders
- smoked baby back ribs
If you love this roasted garlic aioli recipe, please give it a five star review and help me share it on Facebook or Pinterest so that others can enjoy it too!

Roasted Garlic Aioli Recipe
Ingredients
- 1 head of raw garlic
- 1 Tbsp olive oil
- 1 cup Miracle Whip
- 3 Tbsp lemon juice
- 1 tsp salt
- ½ tsp black pepper
Instructions
- 1. Gather ingredients.
- 2. Cut about 1/4" of the top off of the garlic clove. Remove any of the papery skins that want to come off but do not peel.
- 3. Place garlic heads in a baking dish or baking sheet lined with parchment paper. Drizzle with olive oil.
- 4. Roast the garlic at 400 degrees F for 30 minutes.
- 5. When the garlic has cooled, remove the garlic pulp from the skin. An easy way to do this is simply squishing it out from the bottom.
- 6. In a small bowl, mash it together with a fork.
- 7. In a medium bowl combine the rest of the ingredients.
- 8. Add the roasted garlic and mix well.
Nutrition
