How to Make Holiday Cutting Board Signs with Free SVG
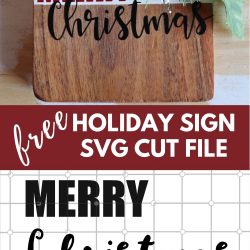
DIY your way to Christmas cheer with these charming holiday cutting board signs, made simple with a free SVG file!

These festive cutting board signs are the perfect DIY to deck your halls and spread a little handmade cheer this season. They are far easier to make than they look, especially with the free cut files!
If there’s one craft that completely stole my heart this year, it’s these holiday cutting board signs! They look like something straight out of a high-end boutique, but you can make them right at home — with supplies from the Dollar Tree, no less.
Add a little paint, a sprinkle of embellishments, and a cheerful “Merry Christmas” quote, and you’ve got the kind of project that makes your holiday decor shine.
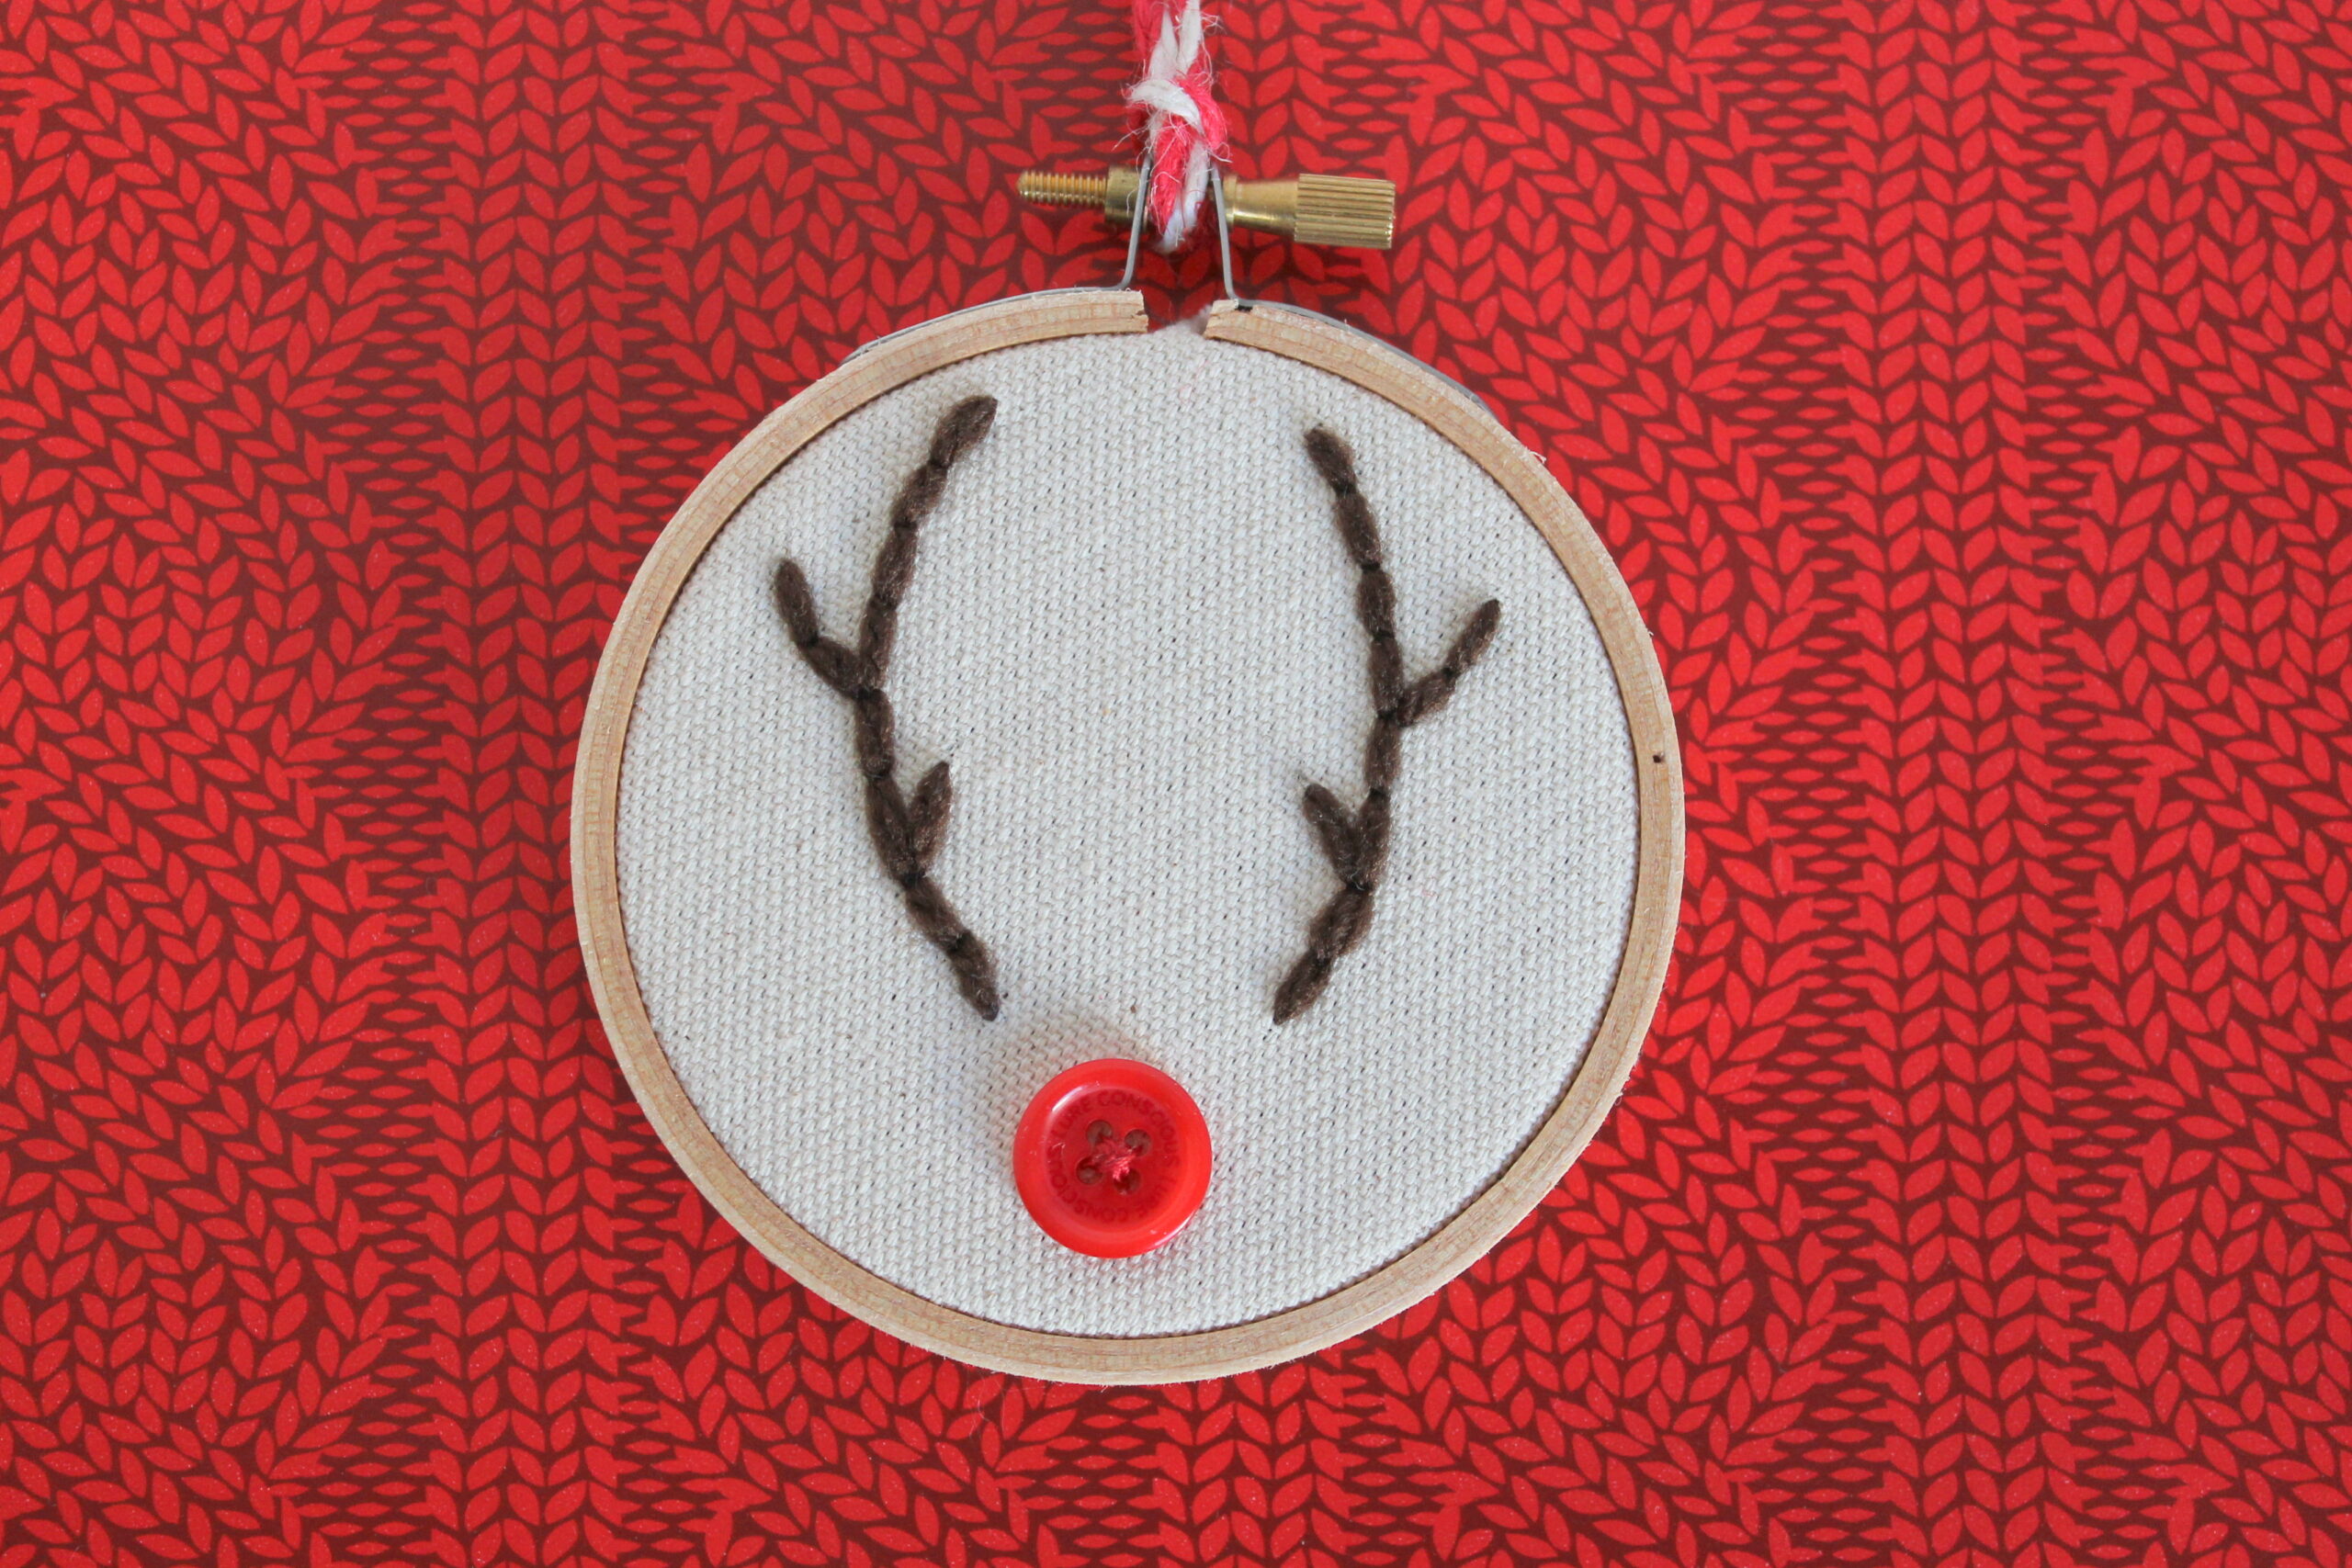
I love creating handmade holiday decor. Be sure to check out this sweater ornament tutorial, wooden plank tree signs, and scrap wood ornaments too.

Too busy to make this right away? Pin it for later! Pin this post to your favorite board on Pinterest and it will be there when you’re ready!
Why You’ll Love This Craft
You’ll love this holiday sign project because it’s festive, easy, and completely customizable. Using the free cut file makes it foolproof, and you can personalize each cutting board with any holiday quote that makes you smile.
Whether you go classic with “Happy Holidays” or channel your inner Buddy the Elf with “Smiling’s My Favorite,” this DIY lets you create something that’s 100% you. Plus, with simple, affordable materials and a few crafting staples, you can make a whole collection for gifts and decor or make it your next holiday craft night.
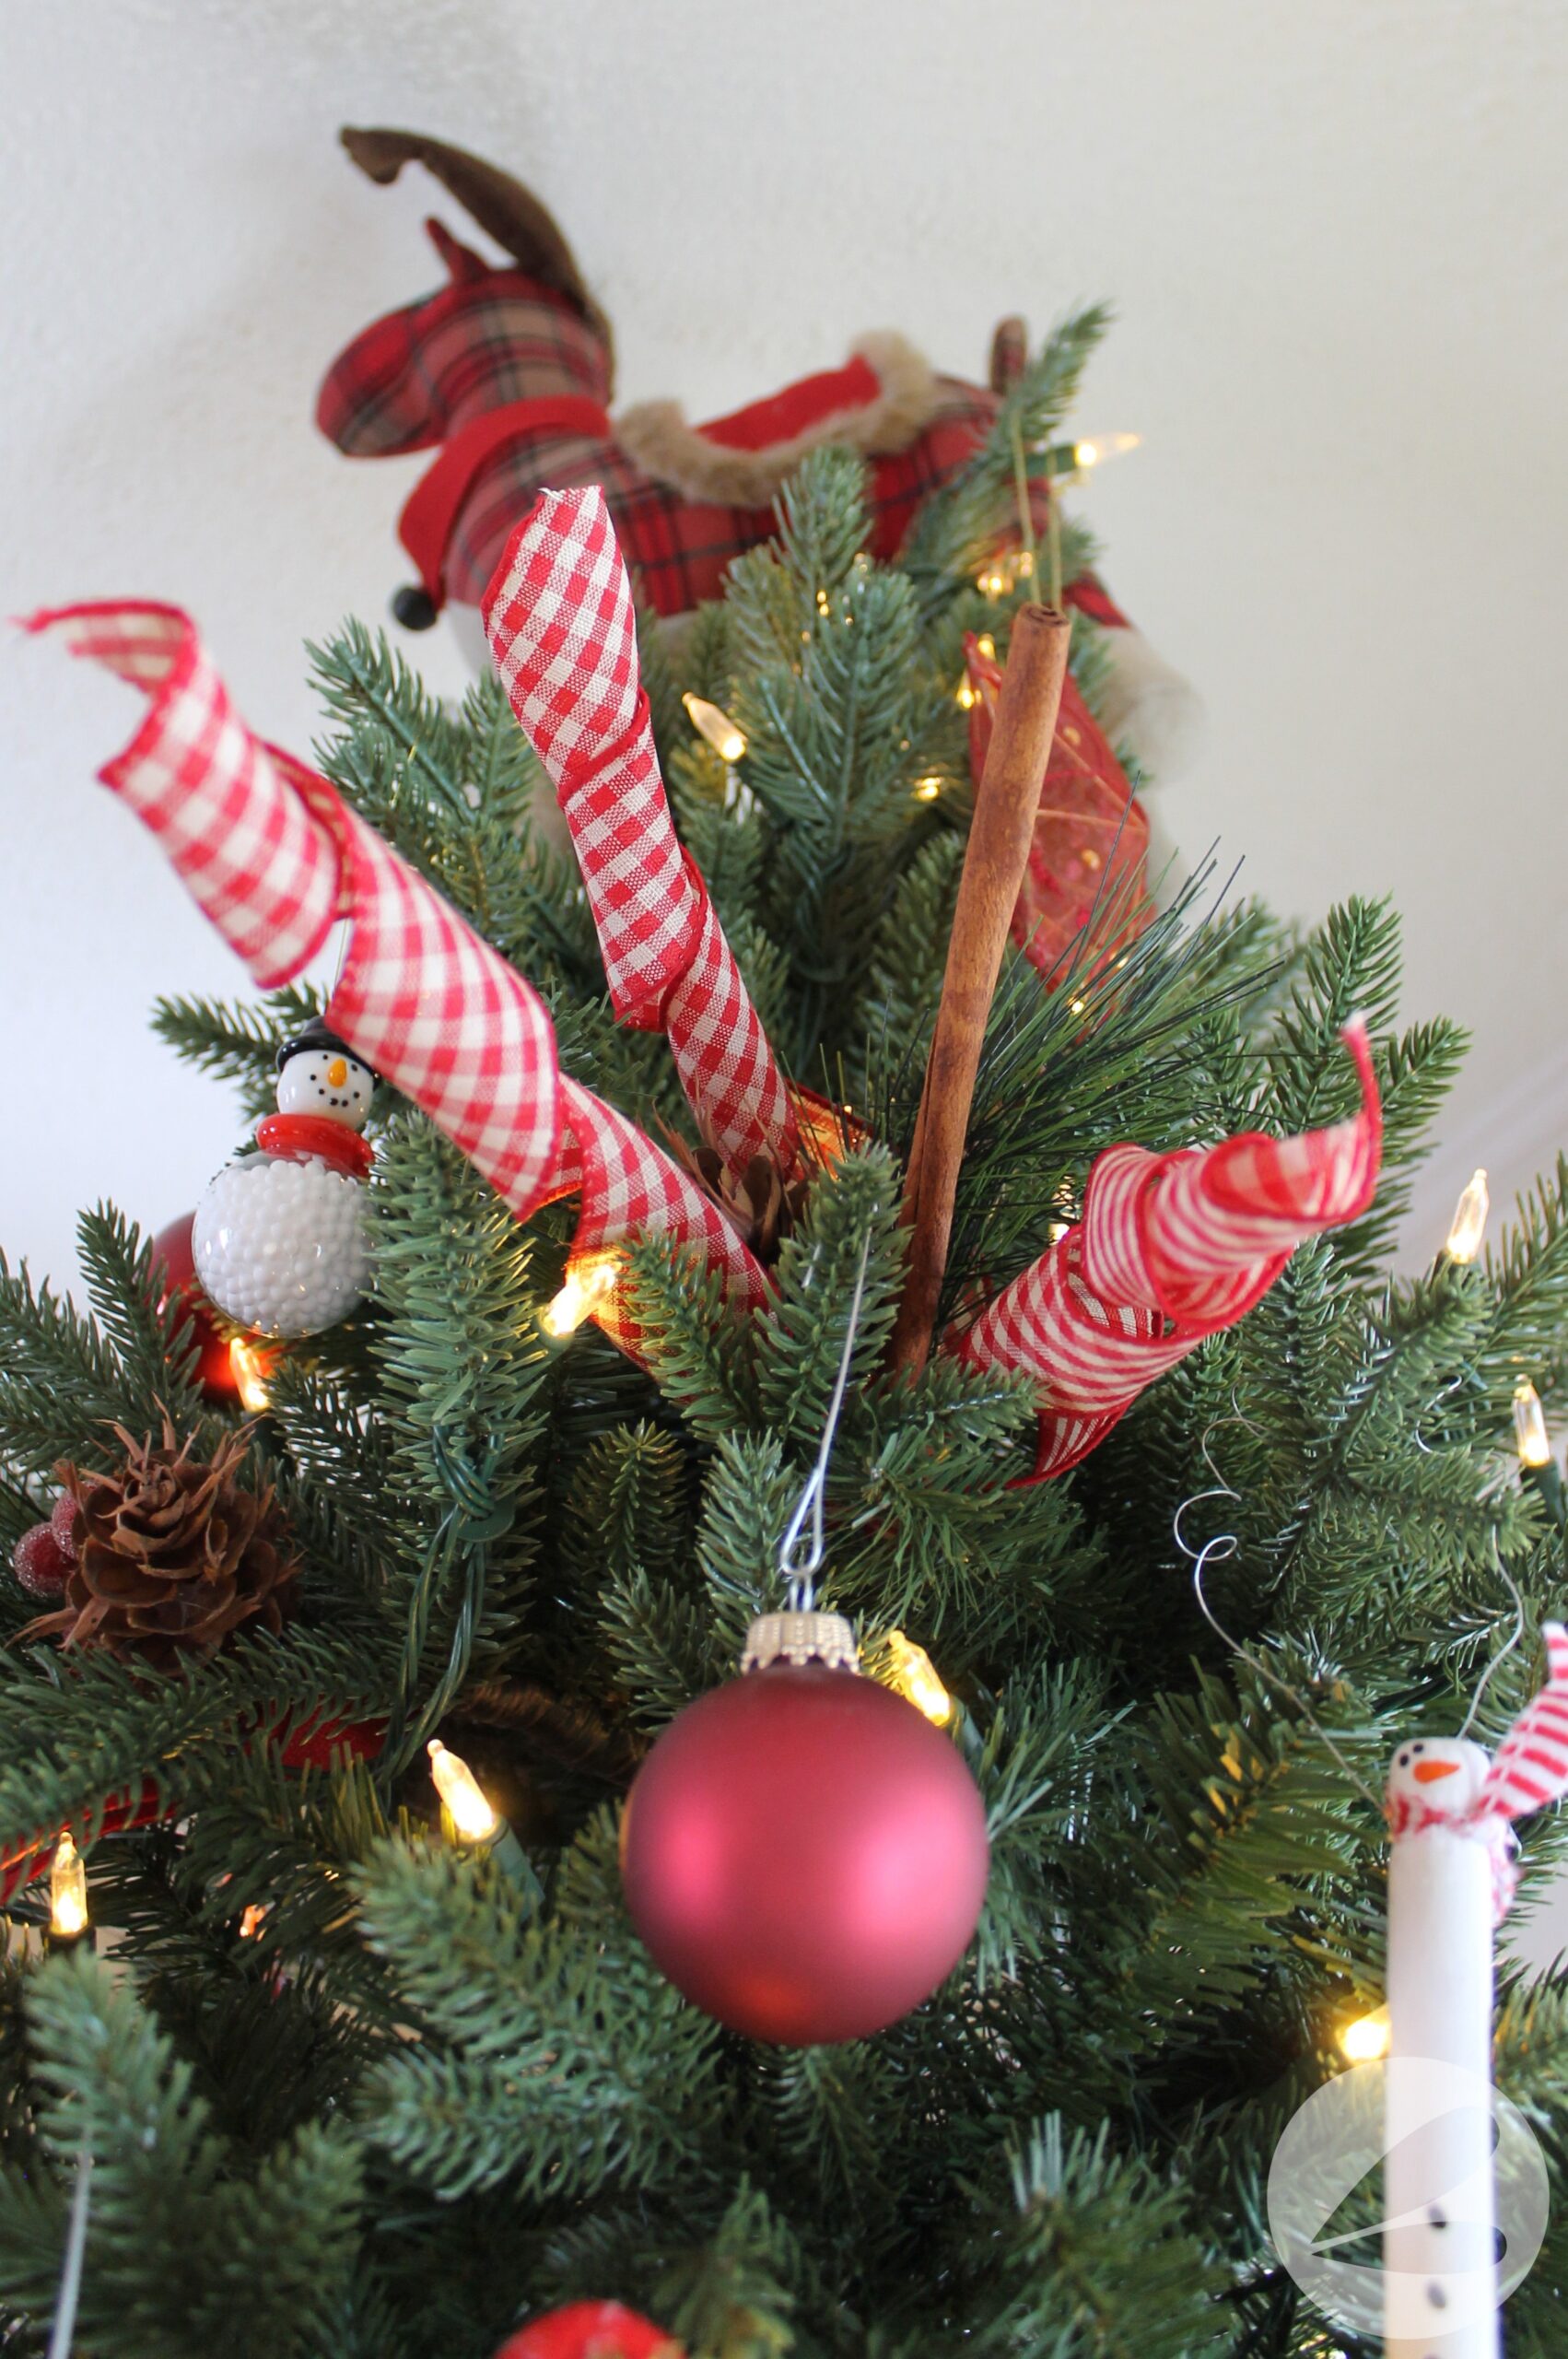
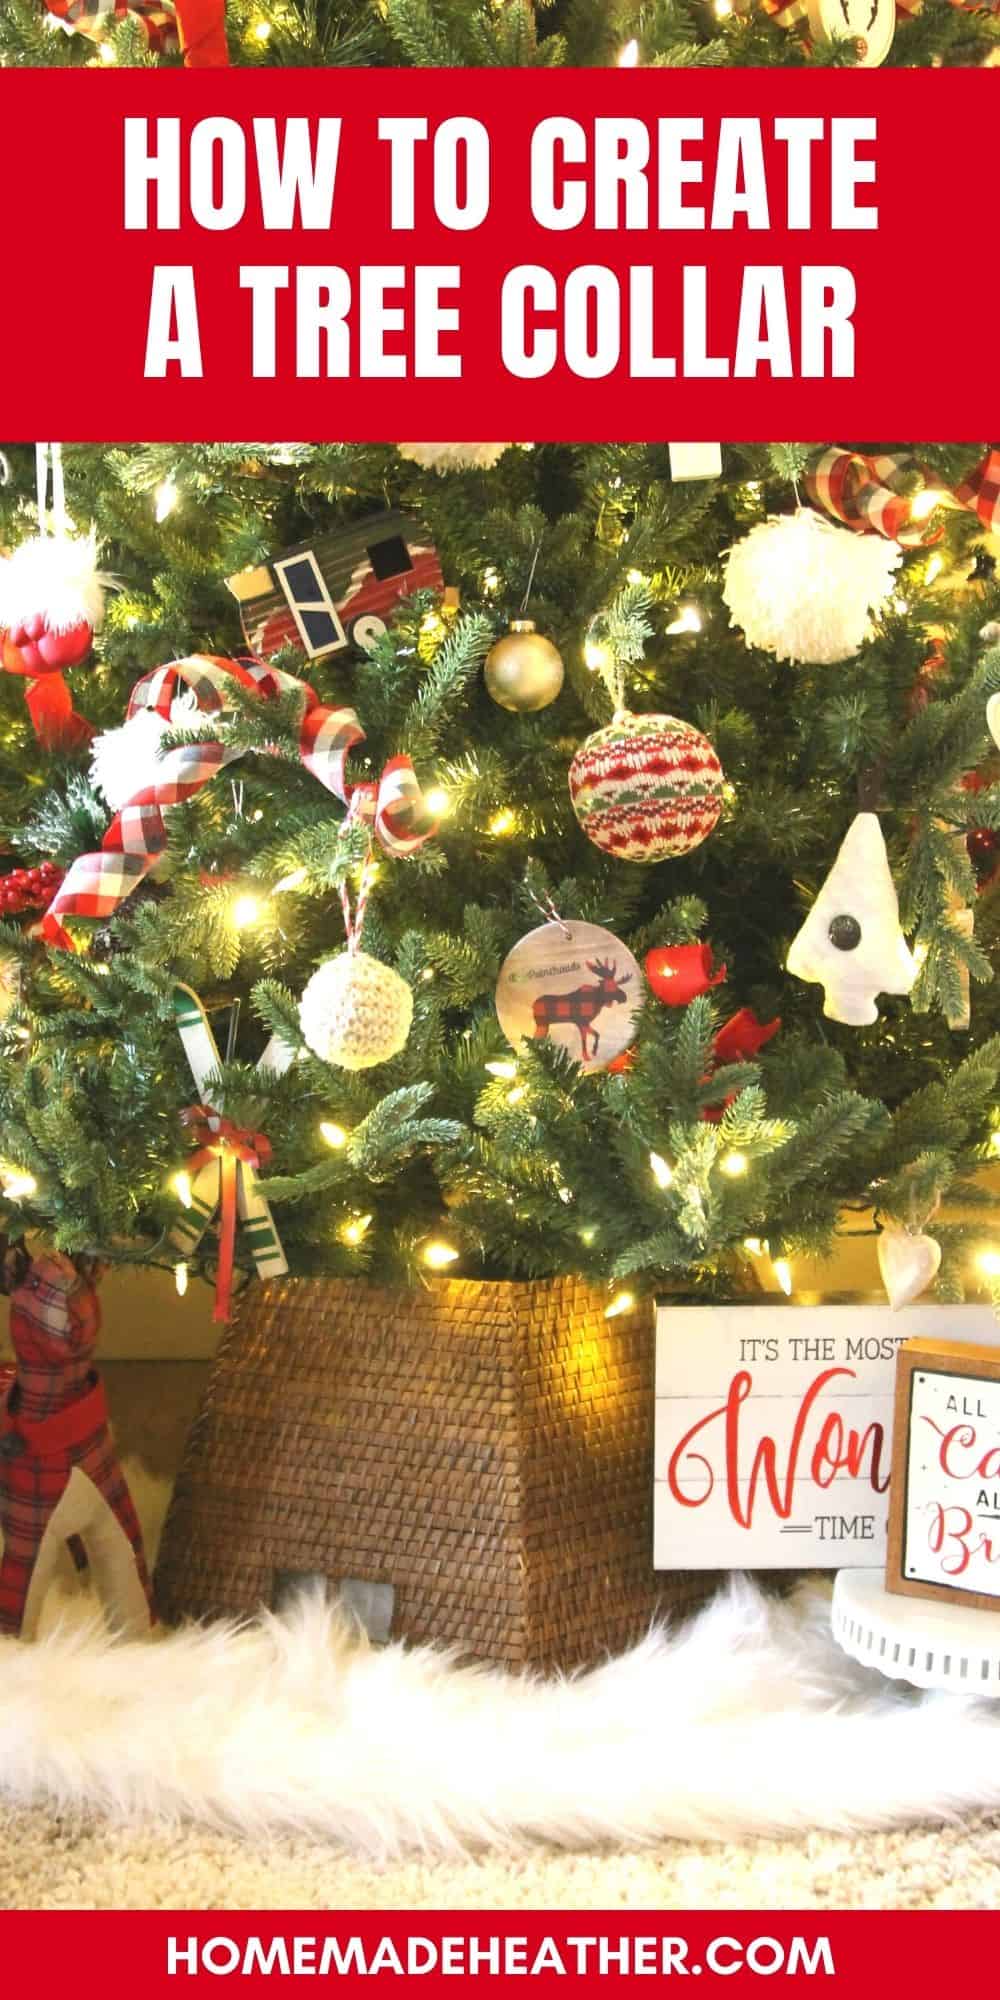
I had so much fun hosting the Twelve Days of Christmas Crafts on Instagram this year! We made a ton of crafts to go along with my DIY tree collar and holiday ribbon picks!
Every day I’d swear the latest craft was my new favorite. But I can honestly say that this holiday sign knocked it out of the park.
Now I’m totally obsessed and I can guarantee I will be recreating these little wooden wonders year after year. They are perfect for gifting to family and friends — especially when you want to give something handmade that still feels chic and personal.

How to Make Holiday Cutting Board Signs
This post contains affiliate links.
Supplies
- Wooden cutting boards – Grab them from the Dollar Tree for an affordable base or try bamboo for a smooth finish.
- White paint – This gives your cutting board a bright, clean backdrop.
- Paintbrush – Any medium-sized brush will do the trick.
- Painter’s tape – Keeps your paint lines crisp and helps you create those cute half-and-half board designs.
- Mod Podge – My go-to sealer that keeps the vinyl firmly in place and adds a subtle shine.
- Holiday quote cut files – Use the free SVG file to make your favorite festive sayings.
- Hot glue gun – Perfect for attaching embellishments like faux greenery, bows, or bells.
- Embellishments – Add sparkle and texture with mini pinecones, twine, red berries, or ribbon — whatever fits your holiday vibe.

Instructions
1. Prepare the supplies. This includes downloading the SVG file and cutting out the holiday quote.

2. Use painter’s tape to section off the top half of your cutting board.

3. Paint the top of the board white. Use at least two coats, letting each coat dry before adding another, to get full coverage.

4. Allow the paint to dry completely before adhering vinyl stickers to the wood, pressing down firmly to avoid bubbles.
Tip: You can also use stickers or a stencil, no need for a cutting machine! There are lots of options at Michaels or the dollar store.

5. Seal the project with Mod Podge or another sealer for durability. Don’t skip this step! It helps the vinyl stickers to adhere better to the wooden cutting board, preventing your holiday quote from lifting and separating from your surface.
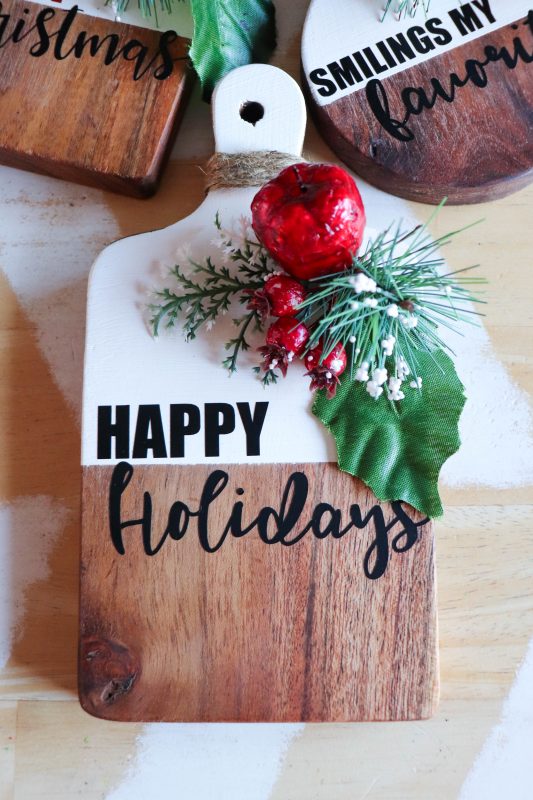
6. Finally, add embellishments, like faux greenery and red berries, to the top corner of the board using a hot glue gun.
We used hemp, baker’s twine, yarn, and various bits and bobs found in the craft room.
Now sit back and admire your work — you just made holiday magic happen!

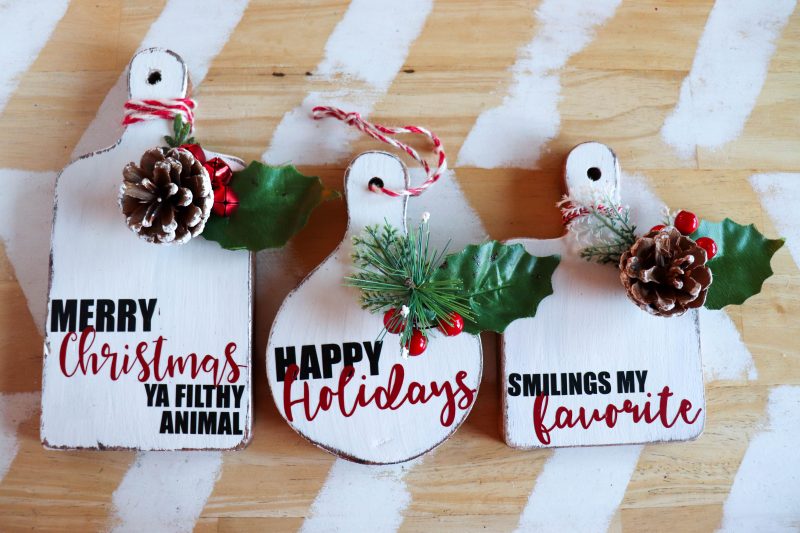
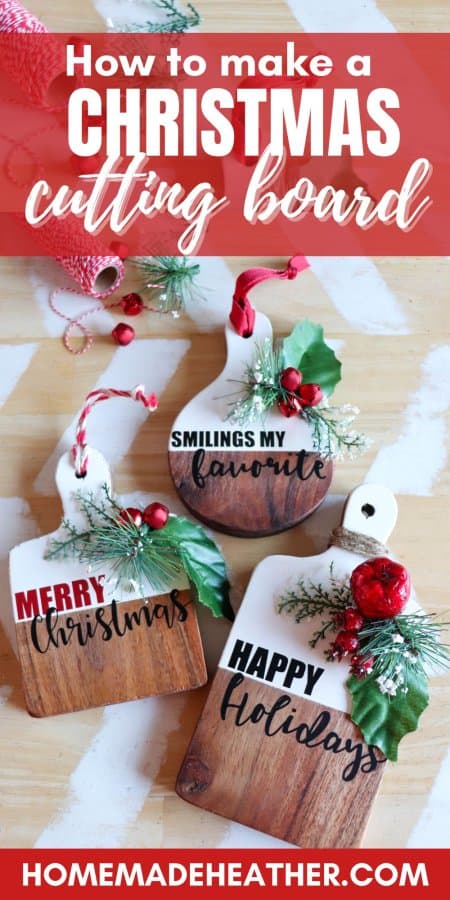
Our “Merry Christmas” holiday cutting board.

A “Happy Holidays” cutting board.

And a “Smiling’s My Favorite” cutting board.

Of course, I couldn’t stop there and made a few more variations to our holiday wooden cutting board signs!

For these ones, I painted the entire board white and sanded the edges to give it a rustic finish. Then I added a holiday quote and embellishments.

Aren’t these wooden cutting boards awesome? And super easy to make, right?!

I love, love, love how they look styled with the rest of my holiday decor! Which one is your favorite?
Tips and Tricks
- Use bamboo cutting boards for a smooth surface that’s easy to paint and decorate.
- A quick sand before painting helps the white paint adhere evenly and prevents peeling.
- Wipe excess paint with a paper towel to create a weathered, farmhouse-style look.
- For a rustic look, lightly sand the edges or use a wood-burning tool to etch borders or names.
- Keep your vinyl flat and bubble-free by securing it with small clamps while applying.
- Try stencils instead of vinyl if you don’t have a cutting machine — you can find adorable ones at the Dollar Tree.
- Add a final coat of sealer to make sure your embellishments stay in place all season long.
This post contains affiliate links.
My Crafting Essentials for the Holidays
- We love using these Apple Barrel acrylic paints to add bright color to all of our projects.
- These paint brushes are ideal for most craft surfaces and a great price!
- This art supplies kit is our favorite because it has everything we needed to get started.
- This rolling storage cart helps to keep our craft supplies organized.
Frequently Asked Questions
Can I use real cutting boards for this project?
Yes! You can use any type of wooden cutting board, including bamboo. Just make sure to clean and sand it first so the paint and vinyl stick well.
Do I need a Cricut or Silhouette to make these?
Nope! You can use stencils, stickers, or even printable templates. The free SVG file just makes it extra easy if you have a cutting machine.
How do I keep the paint from chipping?
A good sealer like Mod Podge is key! Let it dry completely before handling and avoid placing it in humid spots.
Can I actually use these boards for food afterward?
These are decorative only. The glue, paint, and sealer aren’t food-safe, but they’re perfect for hanging or displaying.
What’s the best way to personalize them for gifts?
Add names, dates, or custom quotes, or try wood-burning initials into the handle for a cozy, handmade touch.
Enter your name and email below to get an instant download of the files! You are then registered for my weekly email Newsletter that is full of fun recipes, easy crafts, and free printables.
File Usage
- All digital files on Homemade Heather are for personal use only.
- Please direct others to the original website link when sharing.
- Digital reselling, resharing, or distribution is prohibited and NOT allowed.
This DIY is the perfect mix of festive flair and handmade charm — plus, it makes a heartwarming gift for anyone who loves the holidays as much as you do. So let’s get crafting!
If you love this holiday wooden cutting board sign craft, please give it a five-star review and help me share it on Facebook and Pinterest!

Where did you get the cutting boards?
They were found at Dollaramma last season.